Three years have passed by since we began the process of turning our unfinished basement into a playroom, and I finally got around to taking photos to share! Honestly, the motivating factor was that a lot of this will change after Christmas because of a full-size air hockey table that is going to be gifted to the kids, so I wanted to make sure I took photos of it before the cuteness goes away. Read below for all details and links~
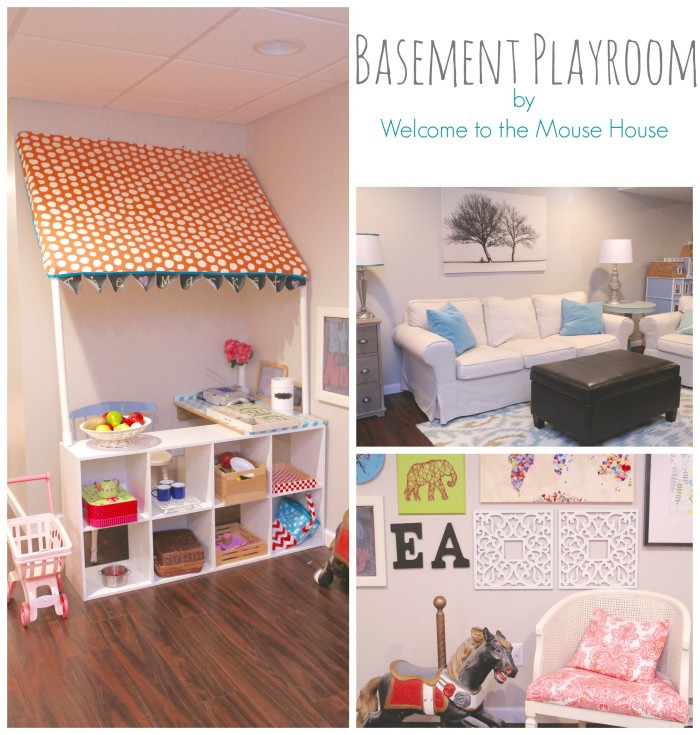
Our old playroom used to be in our upstairs spare bedroom. Read HERE to see that. The space was just entirely too small, so 3 years ago, we decided to turn our large, unfinished basement into a playroom with a studio for me. See the full Studio Tour HERE. The studio space is directly off of the playroom, so that I can keep an eye on my kids while they play.
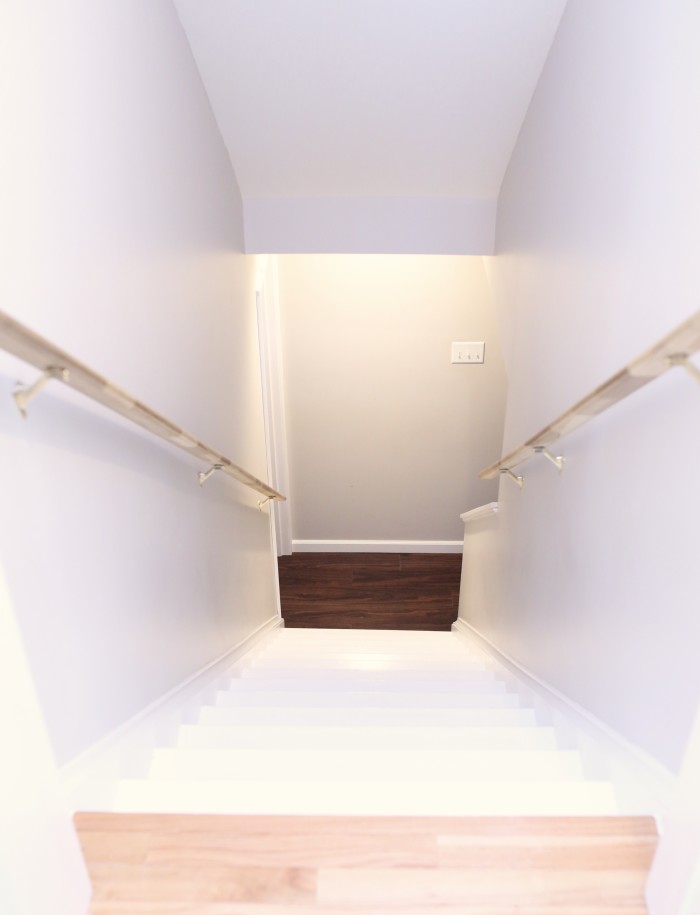
Let’s begin the tour! The basement stairs are directly off of our kitchen.
Turning to the right at the bottom of the stairs brings you right into the playroom seating area. This is where the kids can get comfortable and watch movies with their friends. We still have some decorating to do, but hey, that will happen eventually.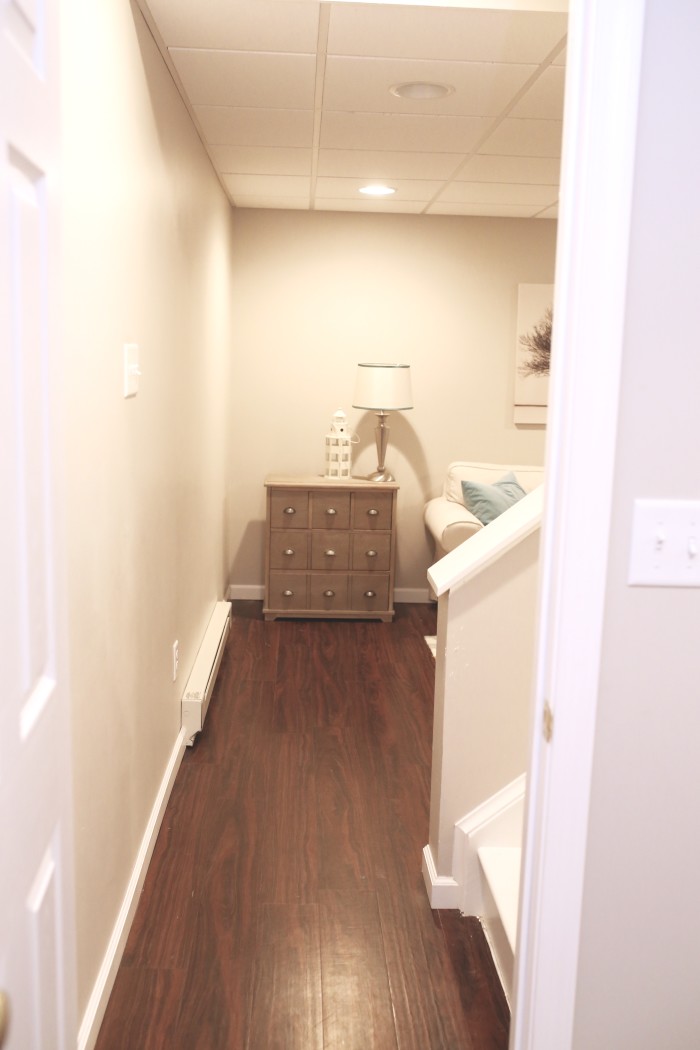
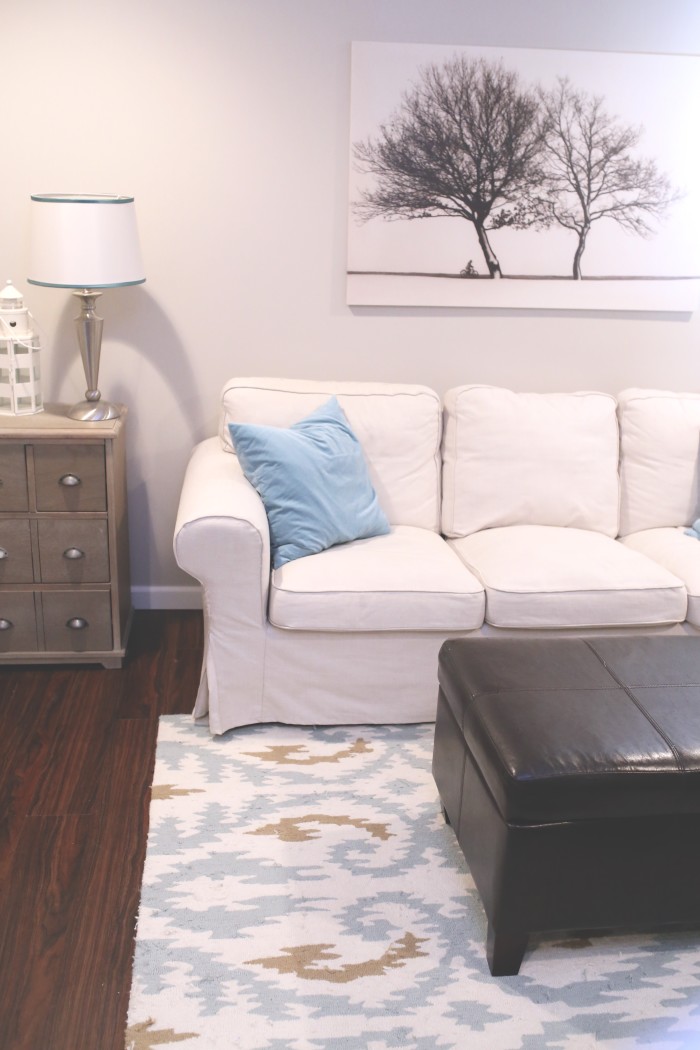
People are baffled by white couches in this area, but there are two things to keep in mind. One, we don’t allow food or shoes down there. Two, they are slipcovers and the magic of slipcovers is that they are washable.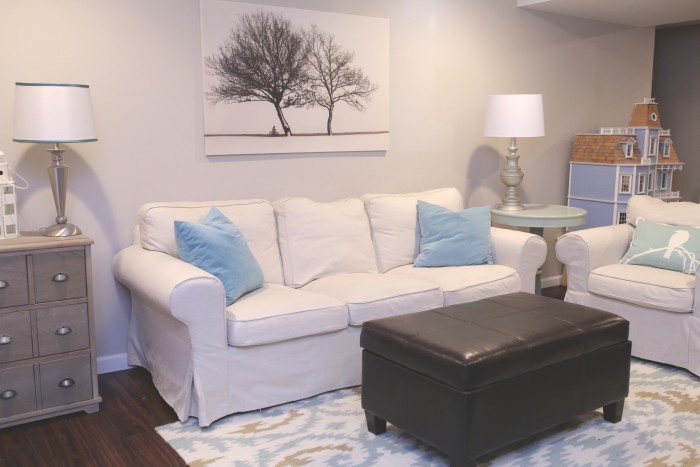
Couches and artwork are from Ikea. The rug is from Rugs USA.
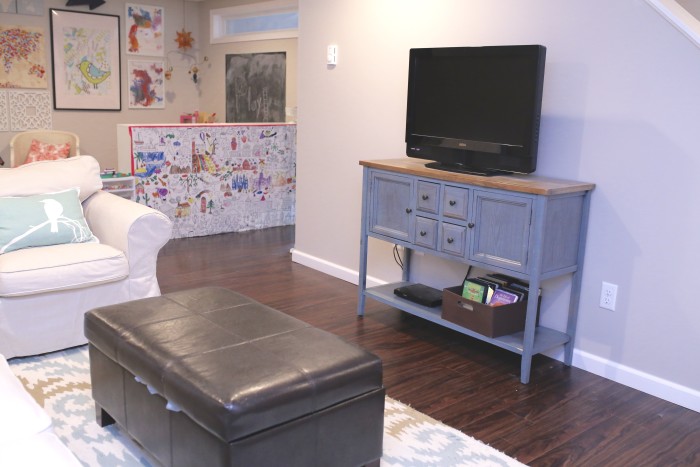
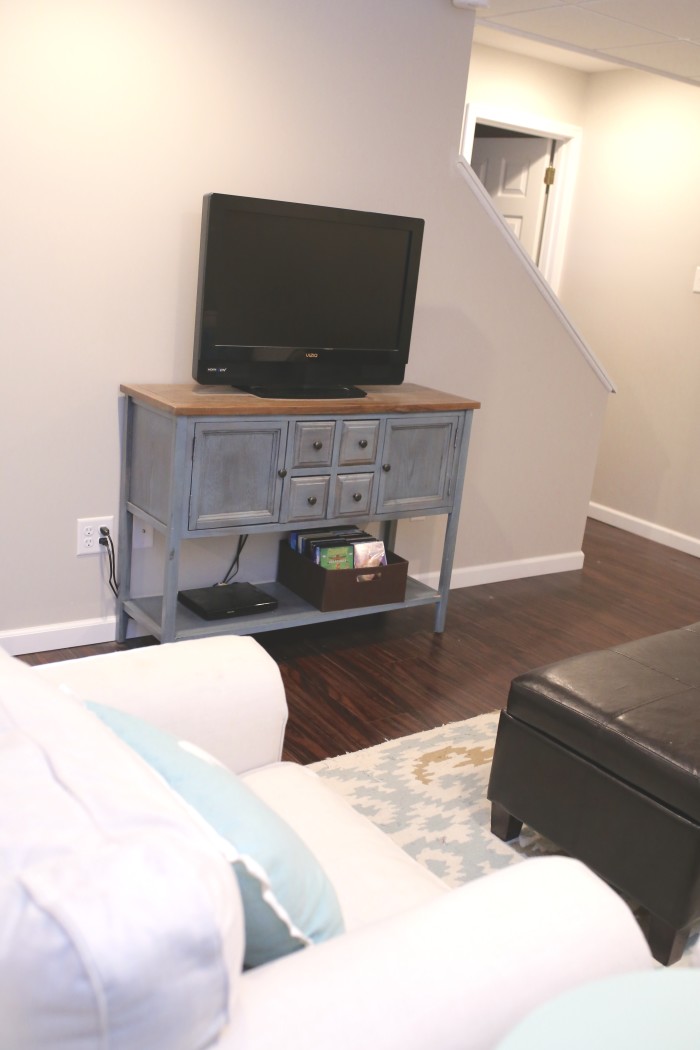
The TV is sitting on an old console table that we already owned.
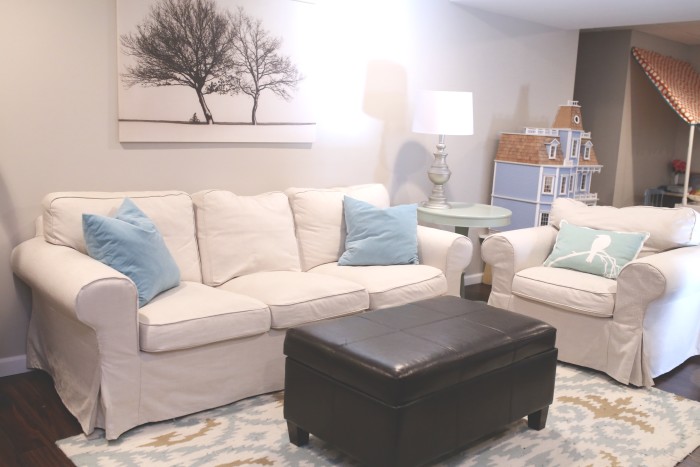
This is the view into the sitting area from the playroom. I am thinking something fun needs to go on that blank wall.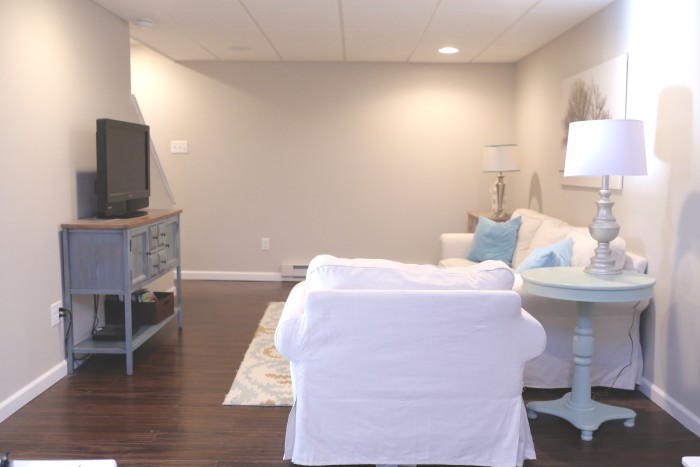
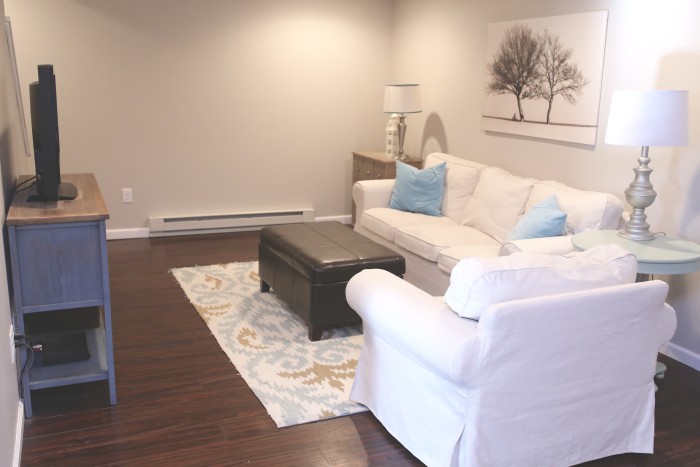
The leather ottoman is where we hide all of the dress up clothes. It makes for easy clean up.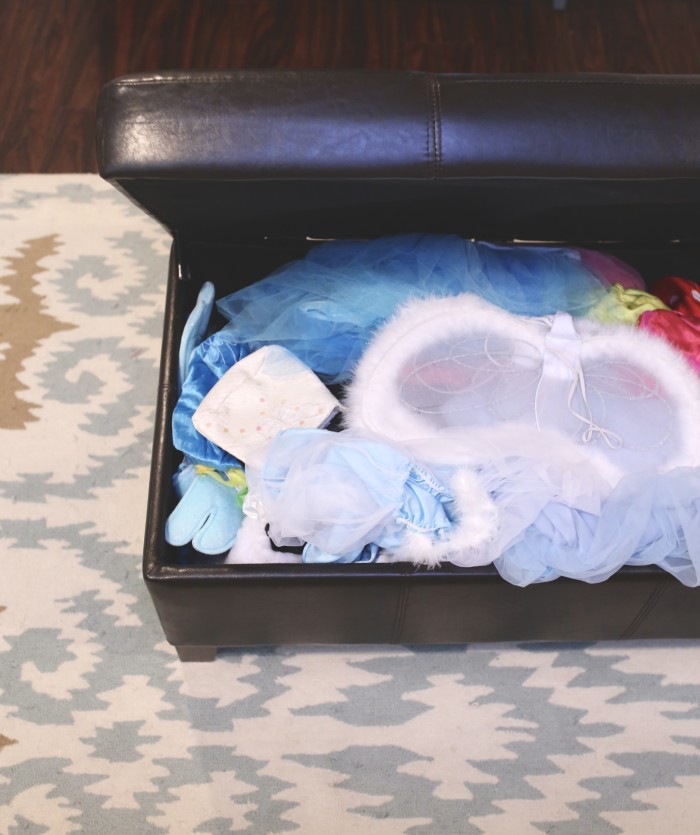
To the left of the stairs is a bathroom complete with a shower for overnight guests.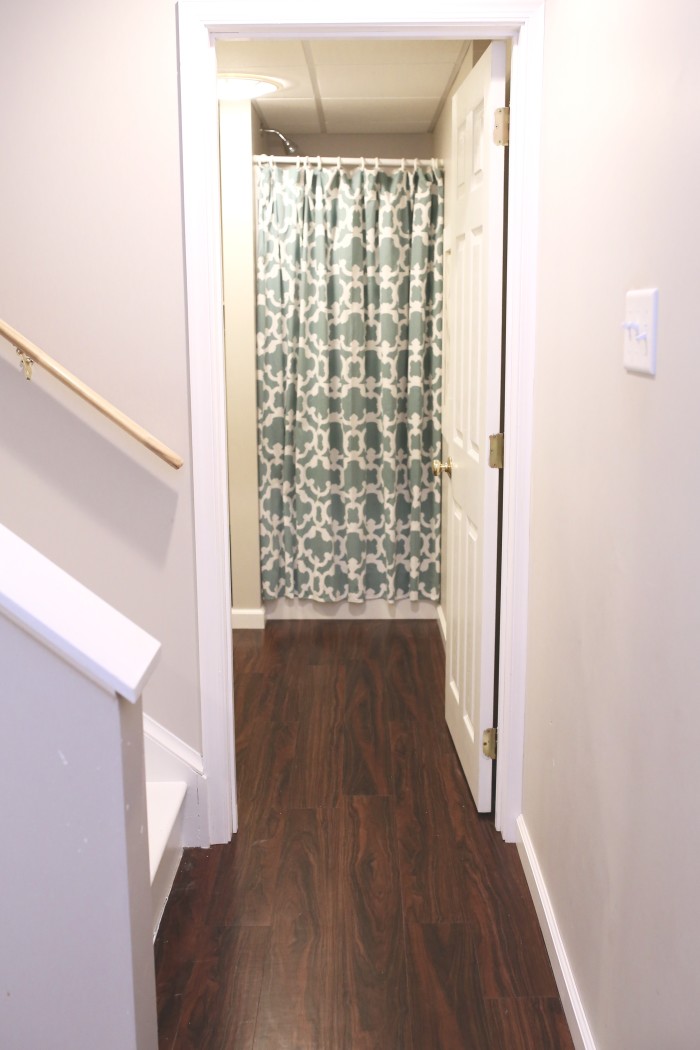
Again, I haven’t had much time to decorate yet, but it looks cute for now.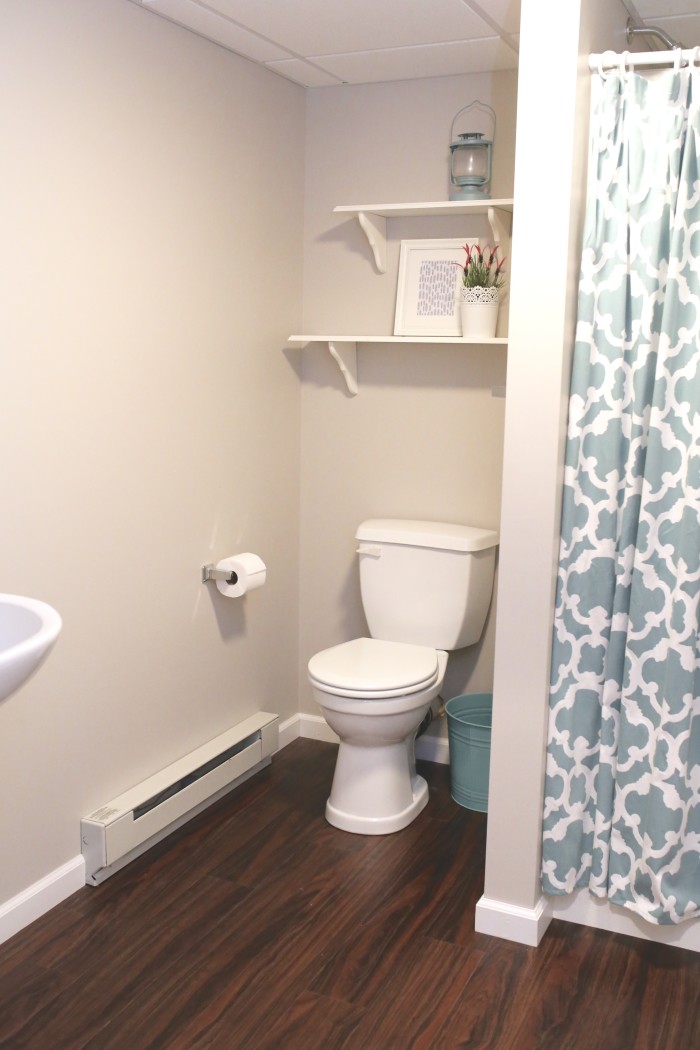
The shower curtain and mirror are from Target.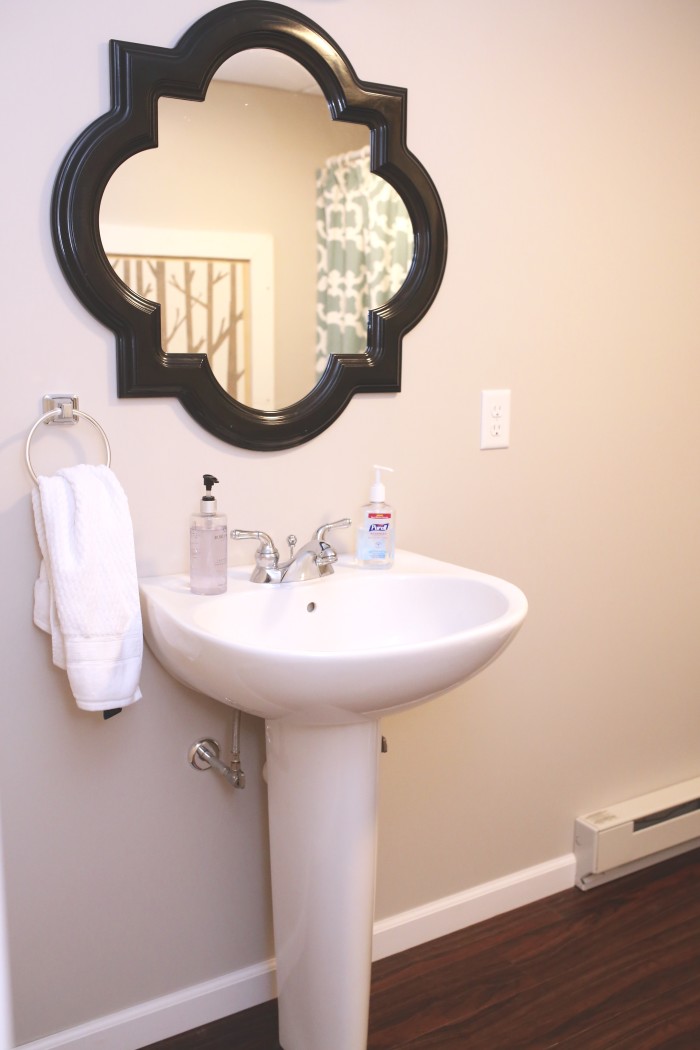
There needed to be a removable panel in here to access the pipes, so I placed some old artwork I had made in that spot. I am still on the hunt for something to cover it completely. Link to my wooden tree artwork tutorial HERE.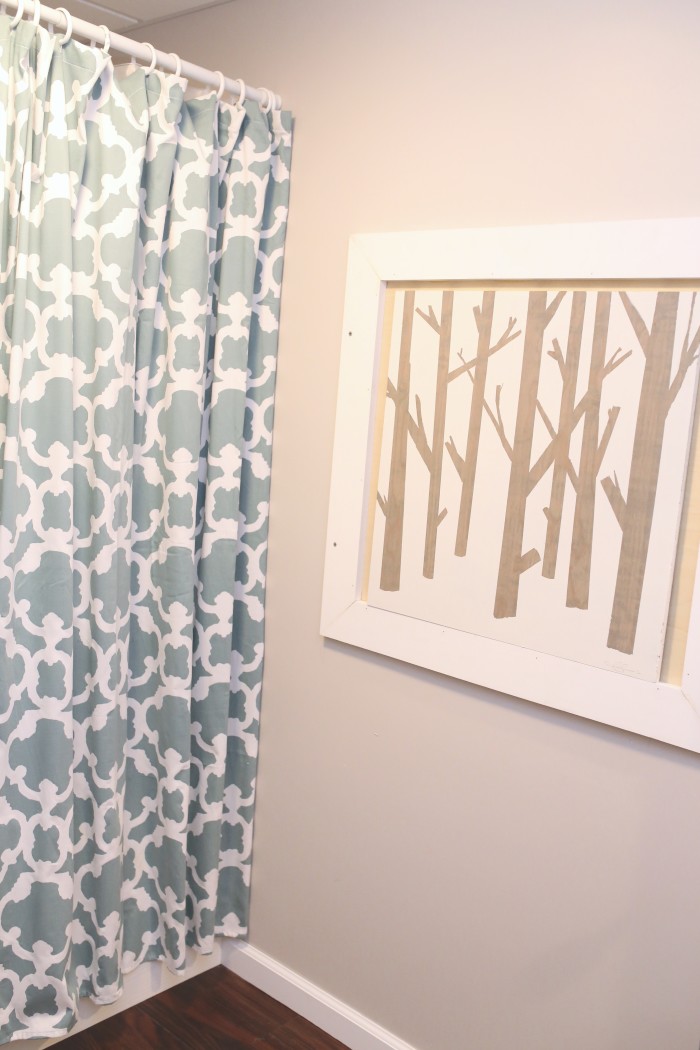
Here is the view into the play room from the seating area. I am normally against clutter on the walls, but this is a playroom and I wanted it to be fun. 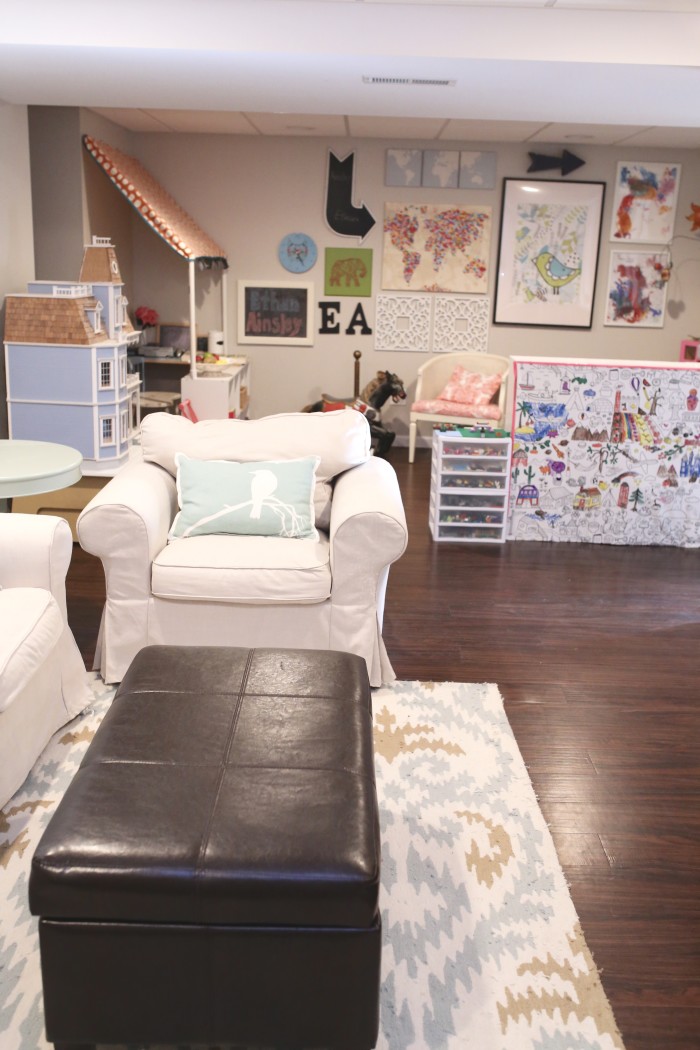
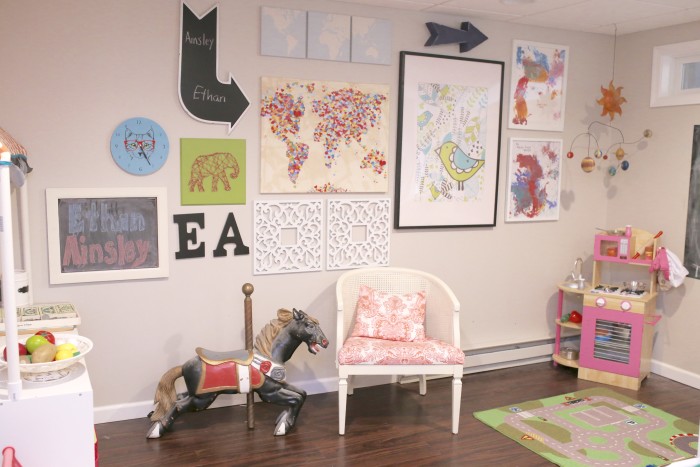
I collected various art works for the wall and there is still room for me. It is fun to personalize the space this way.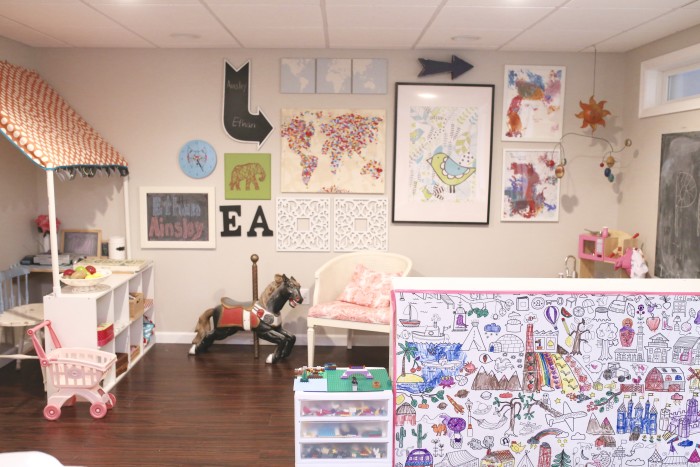
The colorful world map is something I made a few years back. Click HERE for that information. 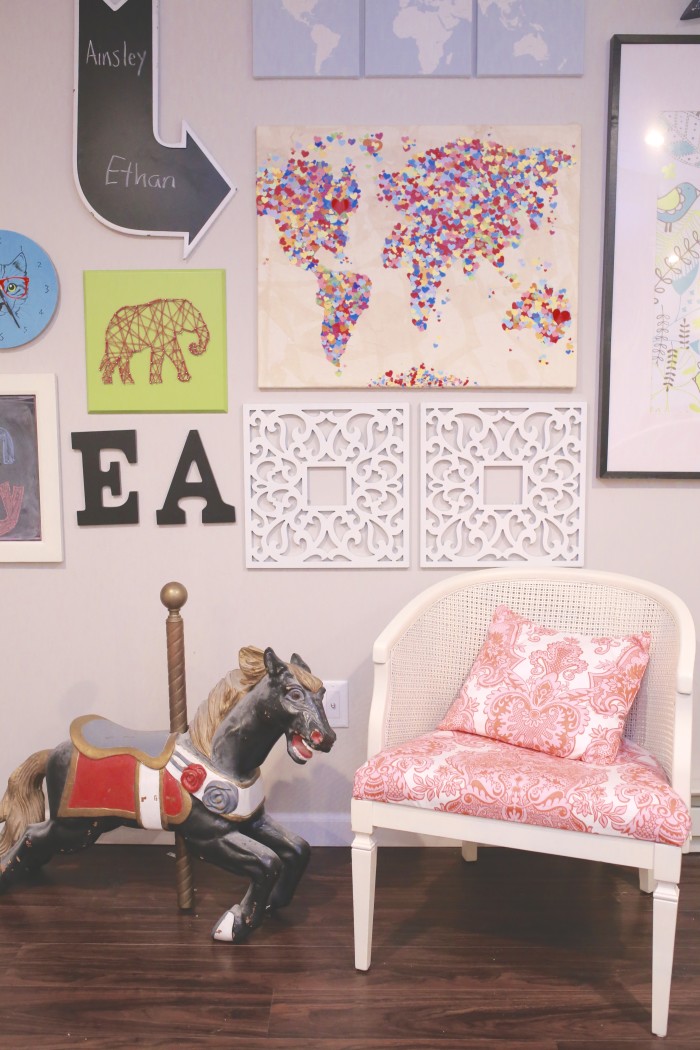
These are some of my favorite pieces. I had each kid paint their own artwork at a year old and we framed it. So cute and easy.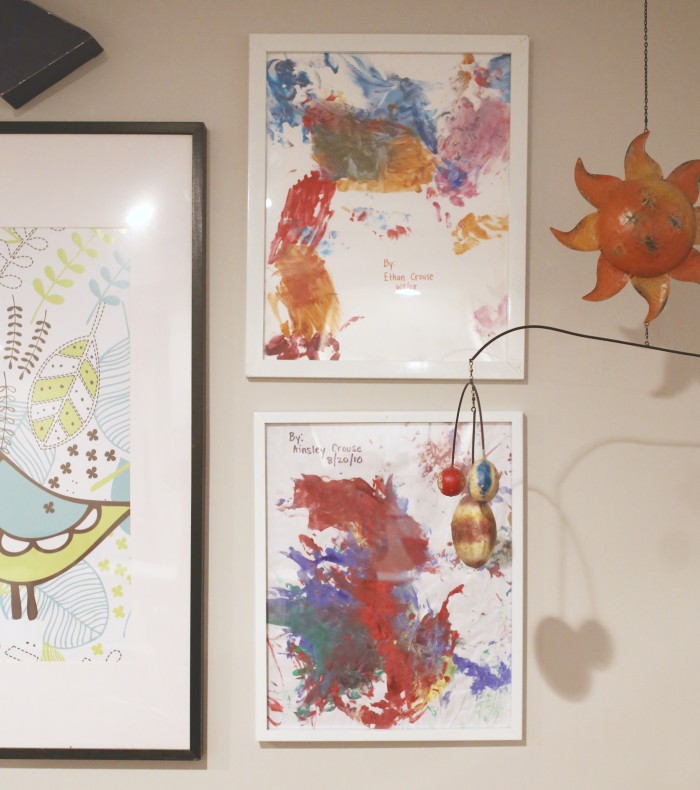
Ainsley loves her little kitchen area.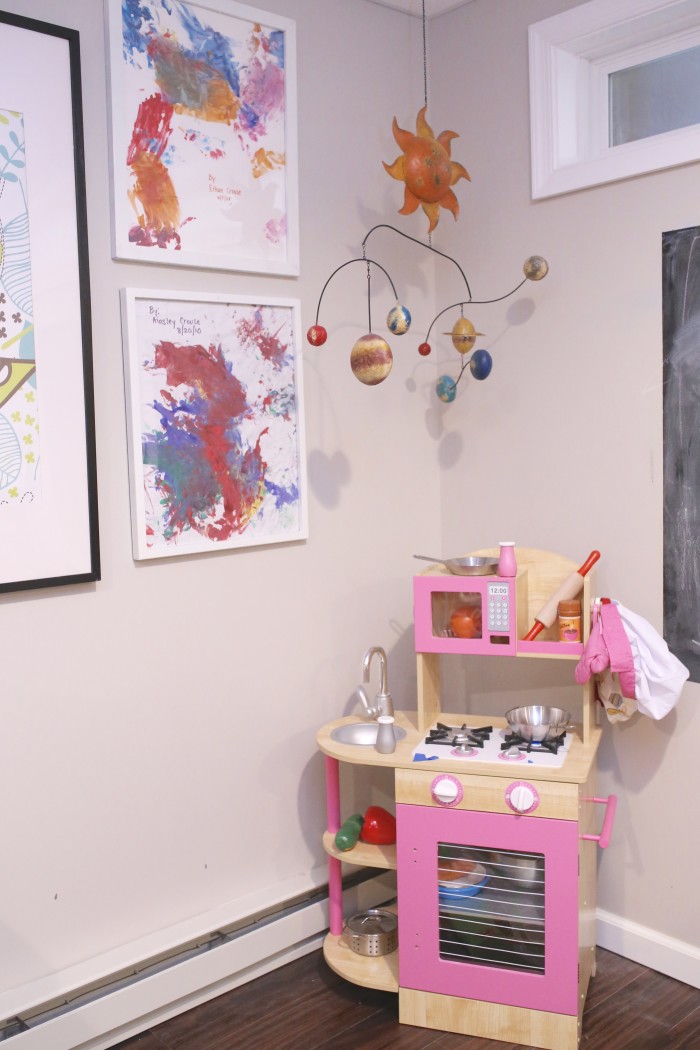
This coloring wall is one of the things that will be removed when the air hockey table takes over, but it had some good use. I covered the back of the storage cases with the coloring fabric from Ikea. It is a canvas type of fabric and perfect for this. This was also a good divider for the space.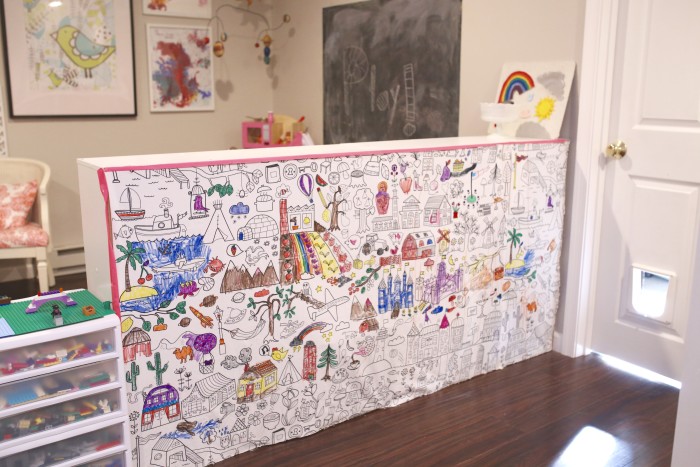
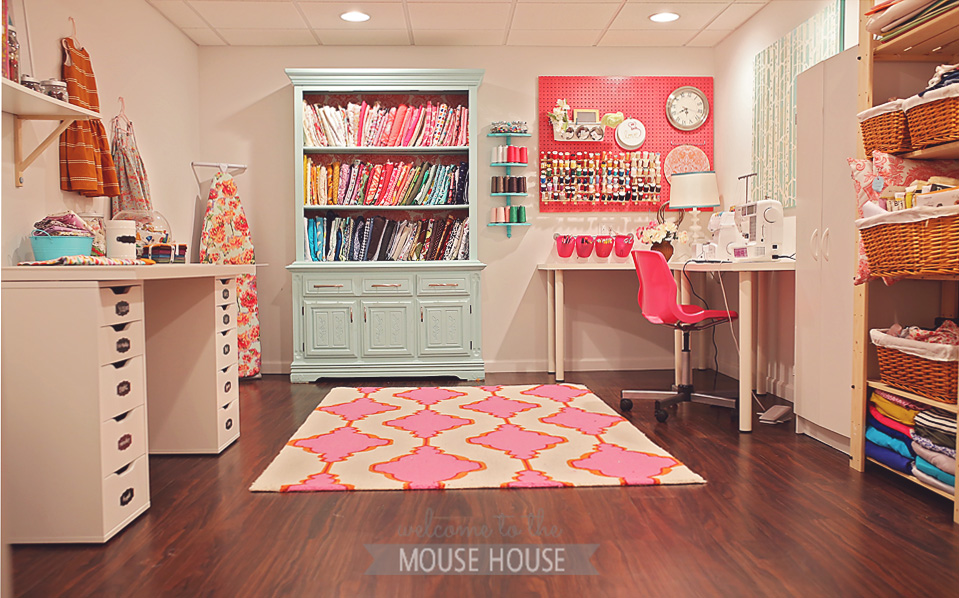
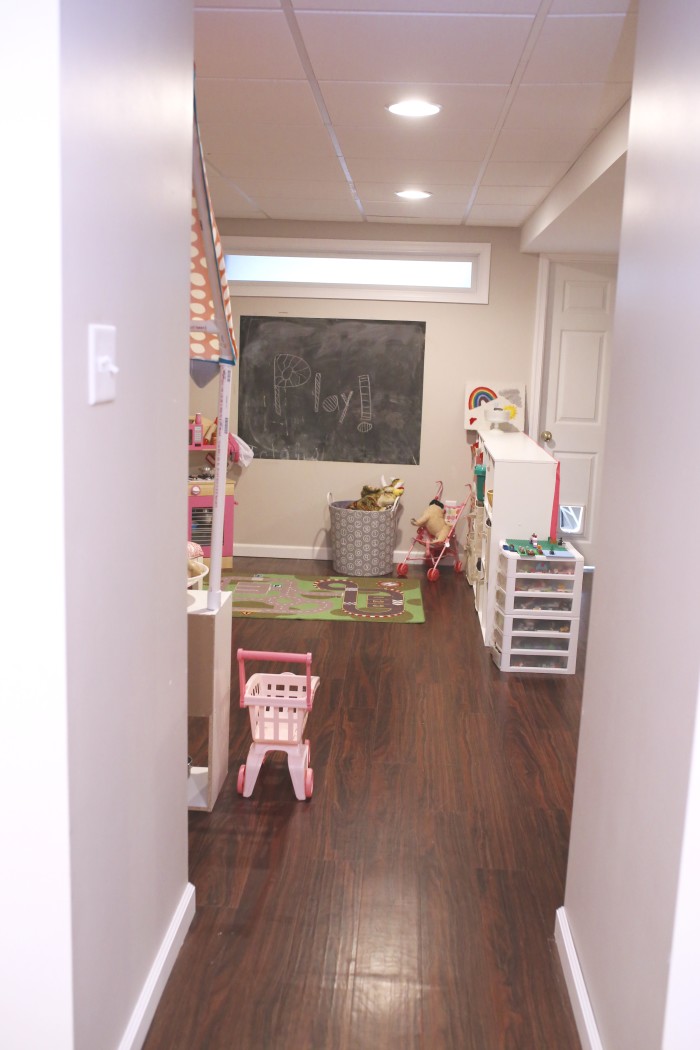
View from my studio into the playroom. Because it is a basement and we couldn’t add windows, we added a transom window in order to allow some natural light come in from the large storage room we have behind that door.
Underneath the staircase was an area that could have been a closet, but I asked the builder to leave the doors off, so that we could use it as a little hidden play area. We still haven’t used it to its full advantage, but right now, it serves as a puppet theater. I made the puppet theater curtain several years back. Read HERE. Read HERE for a tutorial on making your own sock puppets.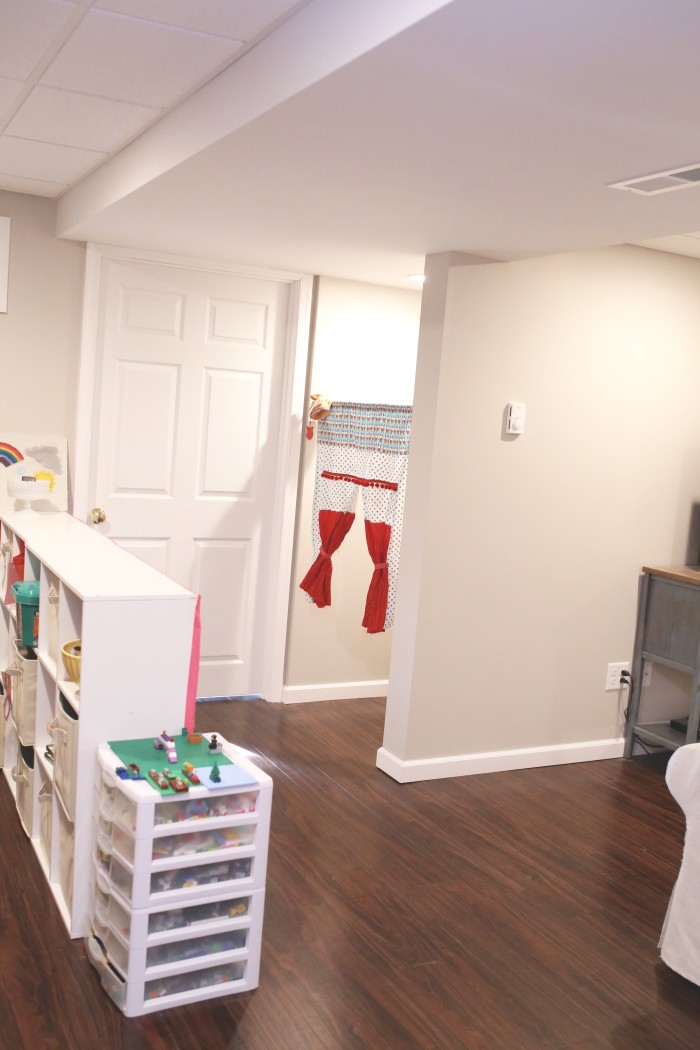
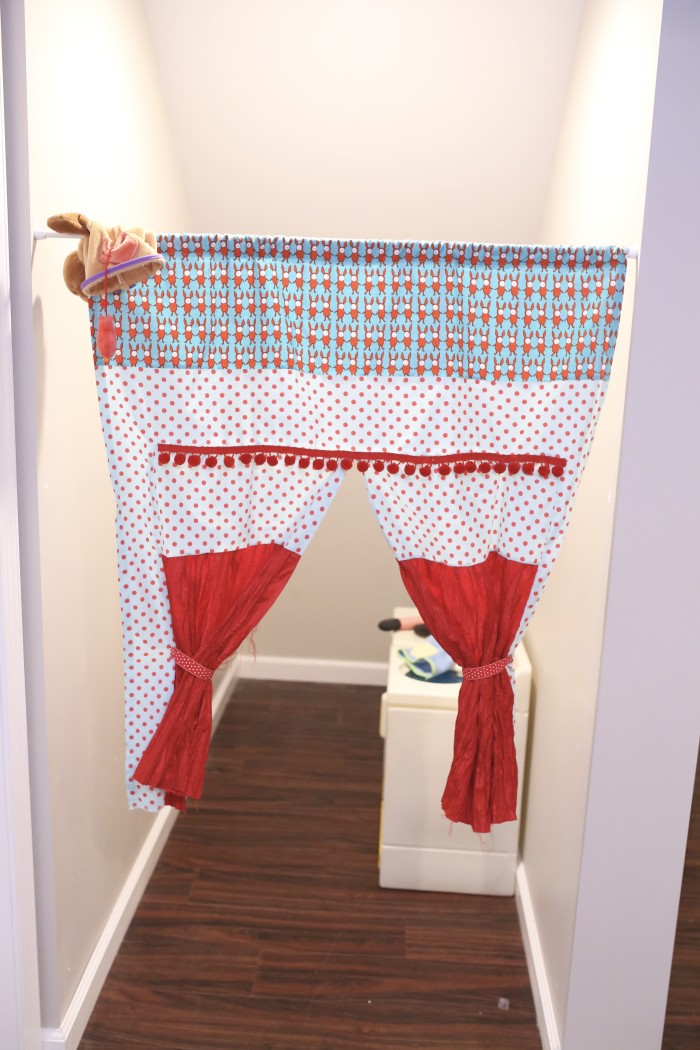
Inside currently stores the play washer and dryer. I am considering turning this into a quiet book reading cubby.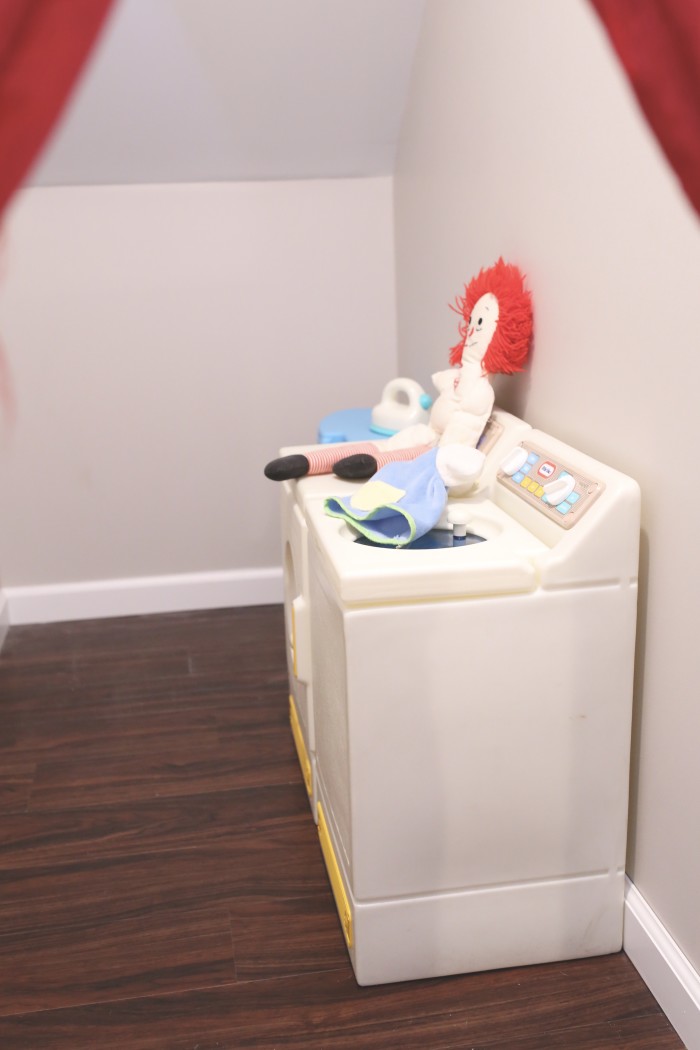
Here is the view of the storage cases from the other side. 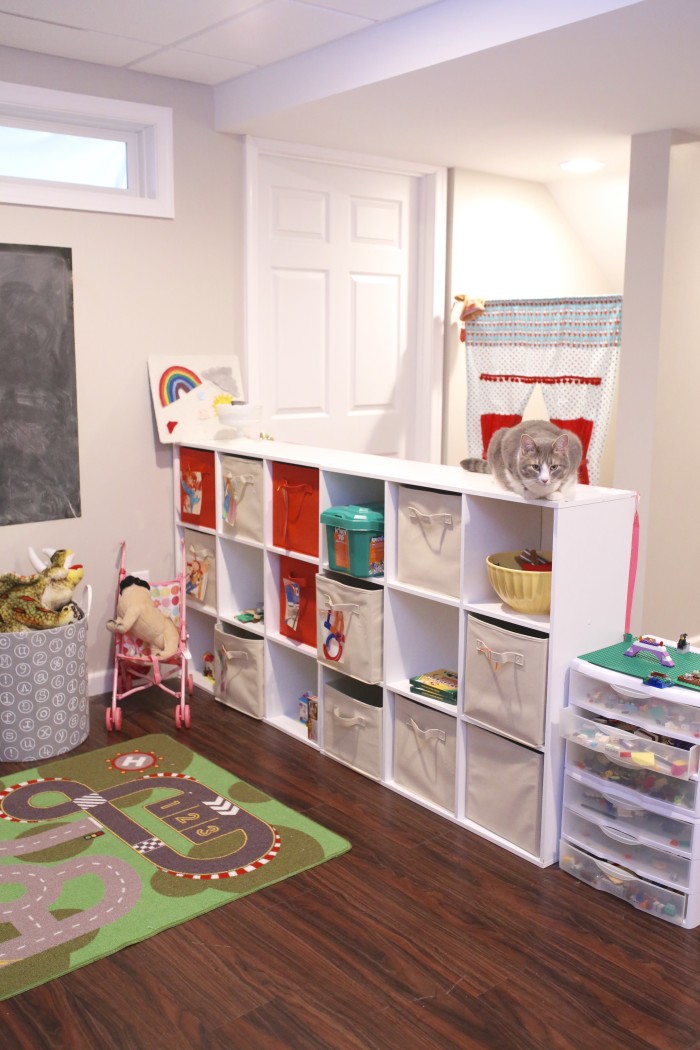
On top of the case is a small remnant of what used to be a giant felt board that I made the kids when they were little. Read HERE, HERE, and HERE to find out how to make your own, complete with templates for the felt pieces.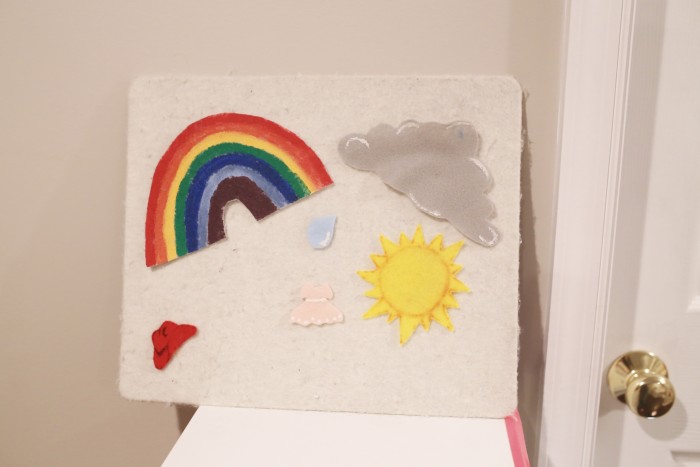
And the cats love sitting on the dividers, too.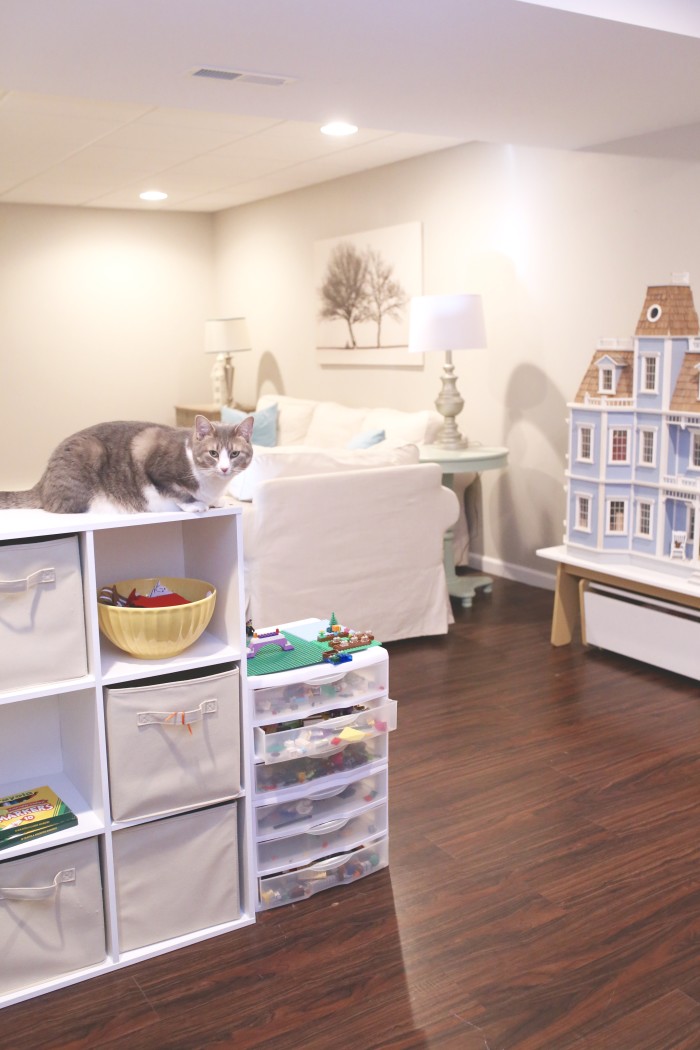
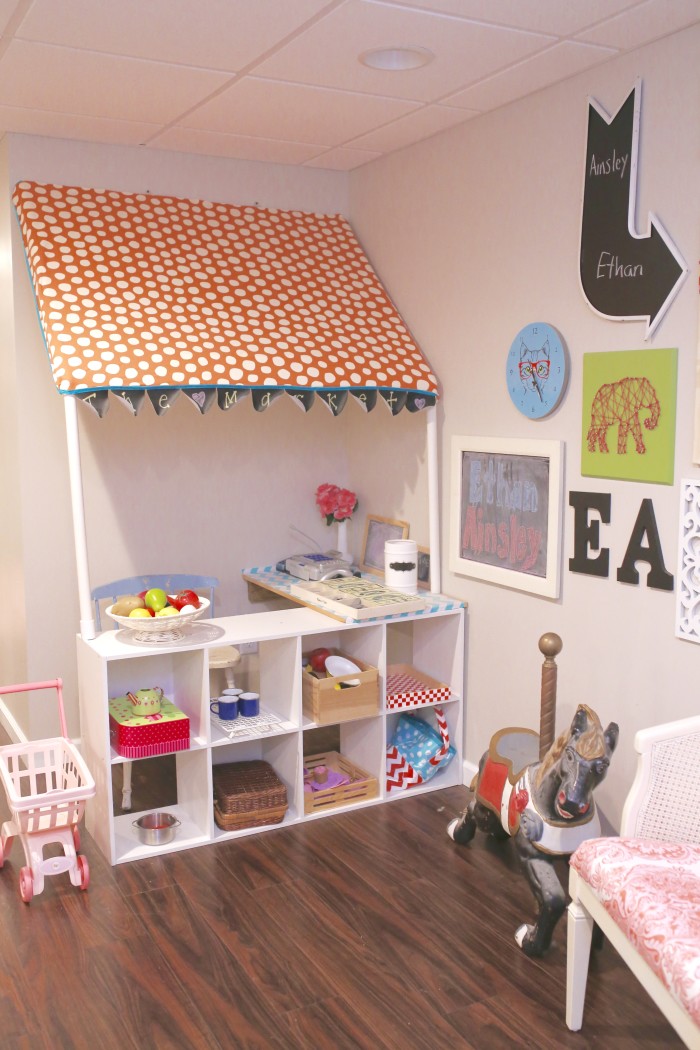
Remember this grocery store/market that I built? Read more about it HERE. It is my most pinned item! As much as the kids love it, they are starting to play with it less and less as they get older, so it may sadly have to go soon. (You can see that my Studio is open to the playroom, which comes in handy while I work.)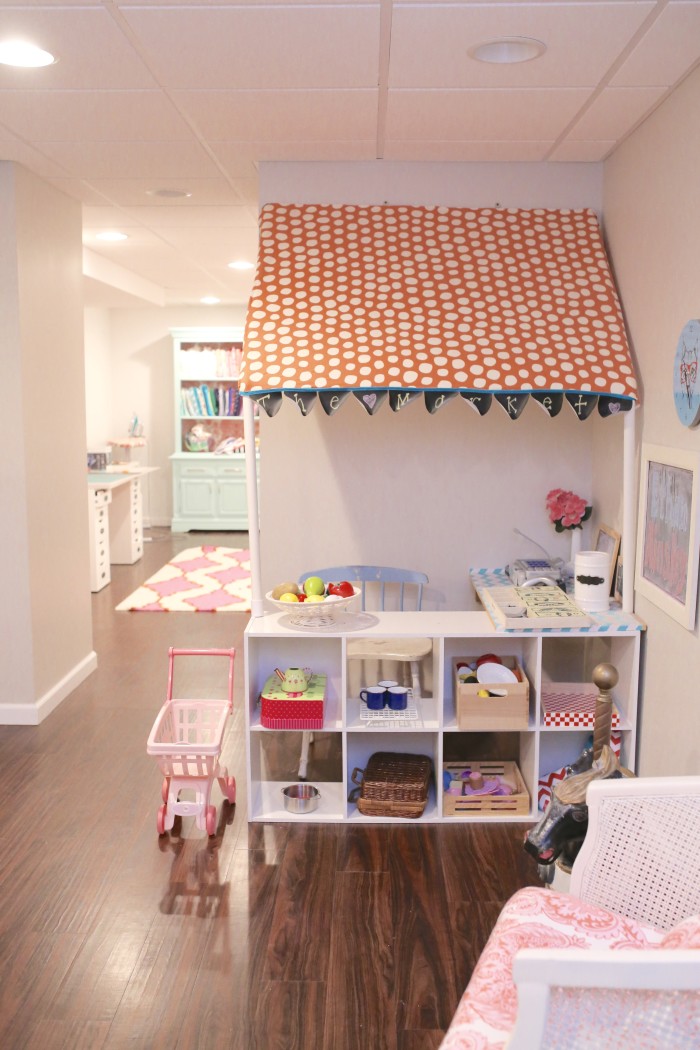
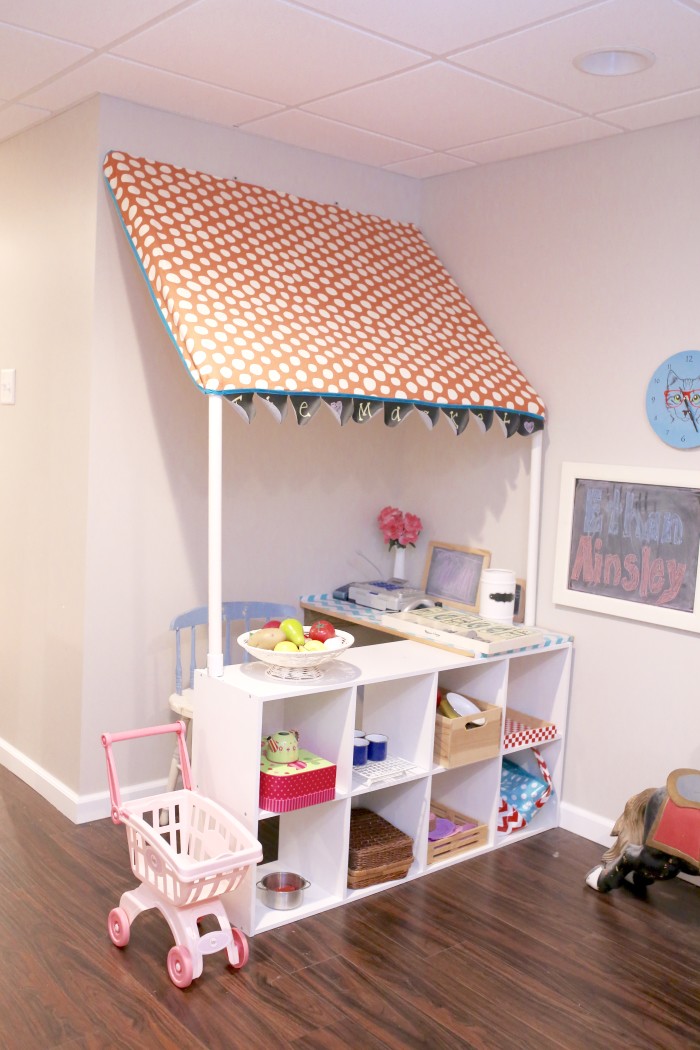
The chalkboard wall gets used quite a bit. I simply taped off the area and painted a few coats of chalkboard paint.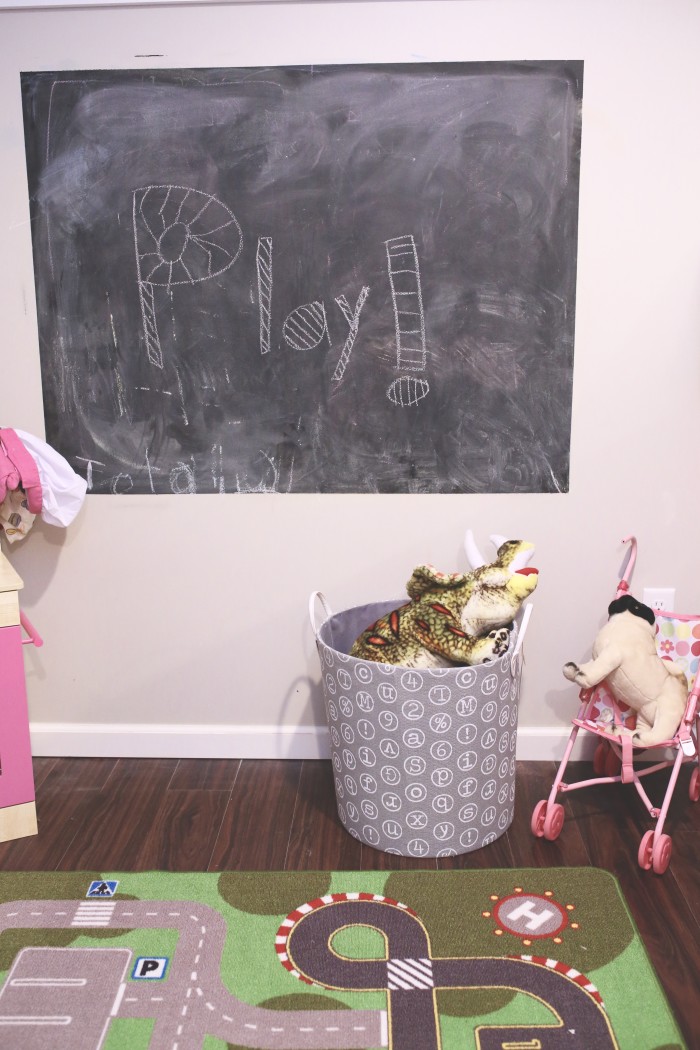
I built this dollhouse back in college and I recently gave it to Ainsley. It sits on top of a table that is intended for Legos, but it is the perfect height and movable so that she can get to all sides of the house easily. Underneath, is a drawer that is filled with all sorts of dollhouse furniture.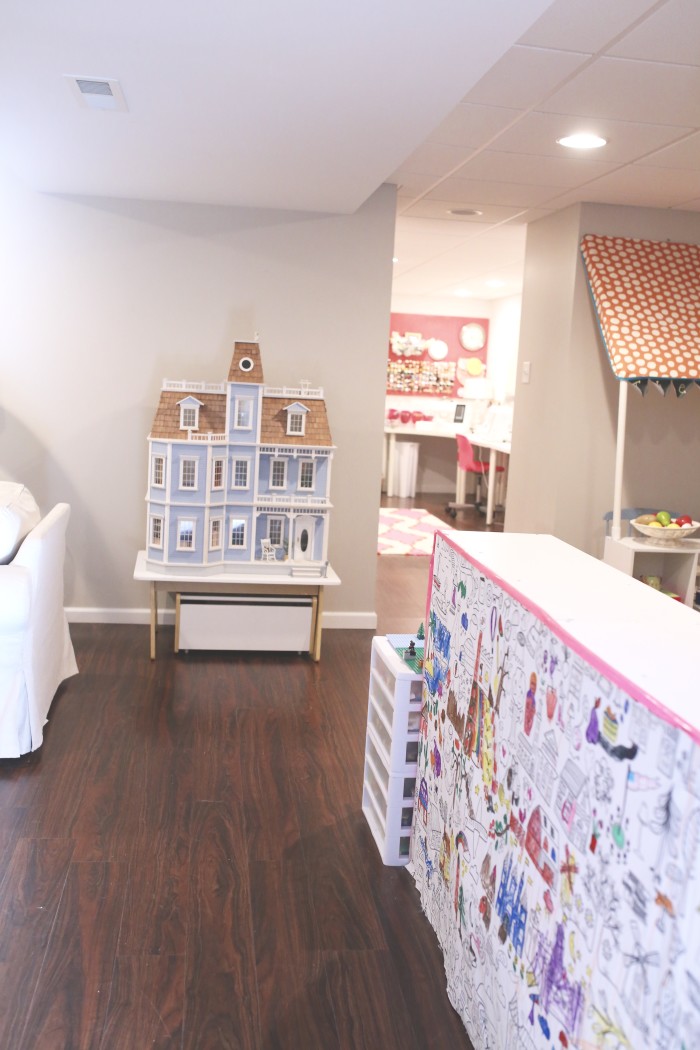
One of these days, I will share the inside of this!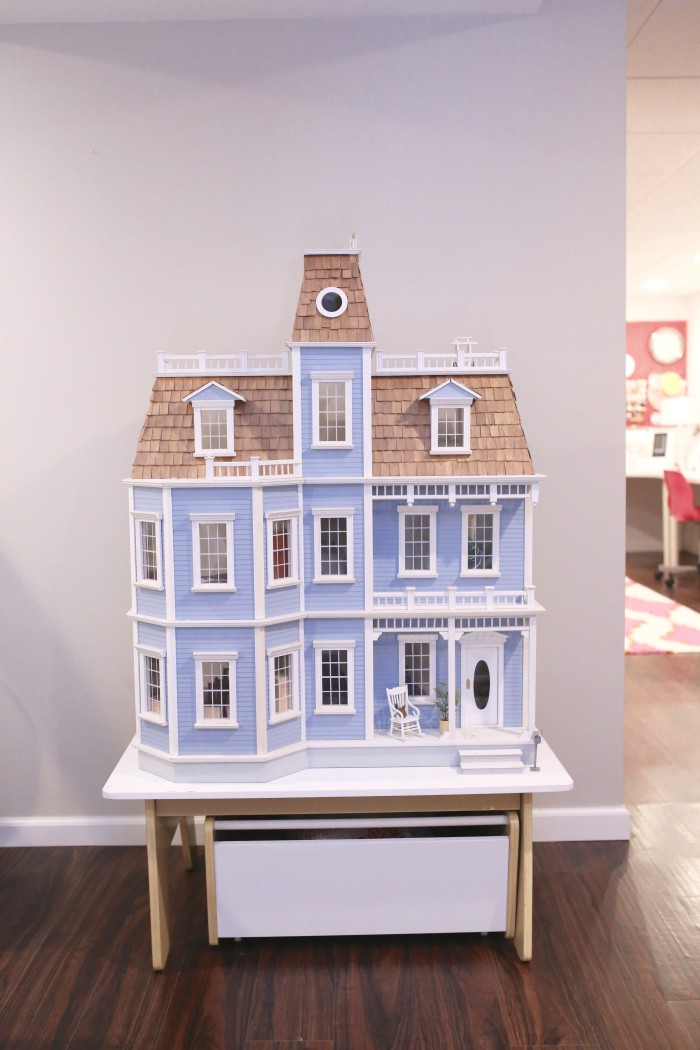
So, there is our playroom! Let me know what you think of it! 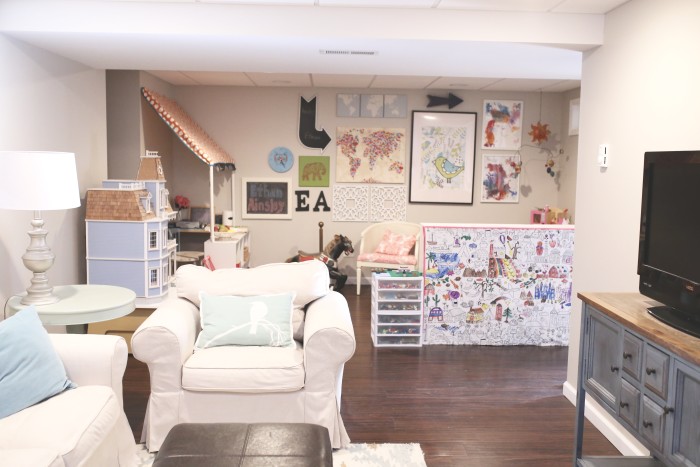
Hayley
Latest posts by Hayley (see all)
- Music Room: Home Tour - January 11, 2019
- The Ace Cardigan - July 30, 2018
- Susie Halter Top and Shorts: Project Run and Play - July 18, 2018



I love it!! So much cuteness in it. I love the puppet area. I think that is one of the few things you had made I have not seen.
Yes pretty please do a post on the dolls house you made. It looks amazing.
Super cute! I see lots of Ikea touches 😉 what is the paint color on your walls? I haven’t been too impressed with the color we picked and wanting to repaint!
Thank you, Emily. It’s Martha Stewart’s sharkey gray reduced by 50%.
Its like you learn my mind! You appear to know a lot about this, like you wrote the guide in it or something. I believe that you just can do with some p.c. to drive the message home a bit, however instead of that, this is fantastic blog. A great read. I’ll definitely be back.