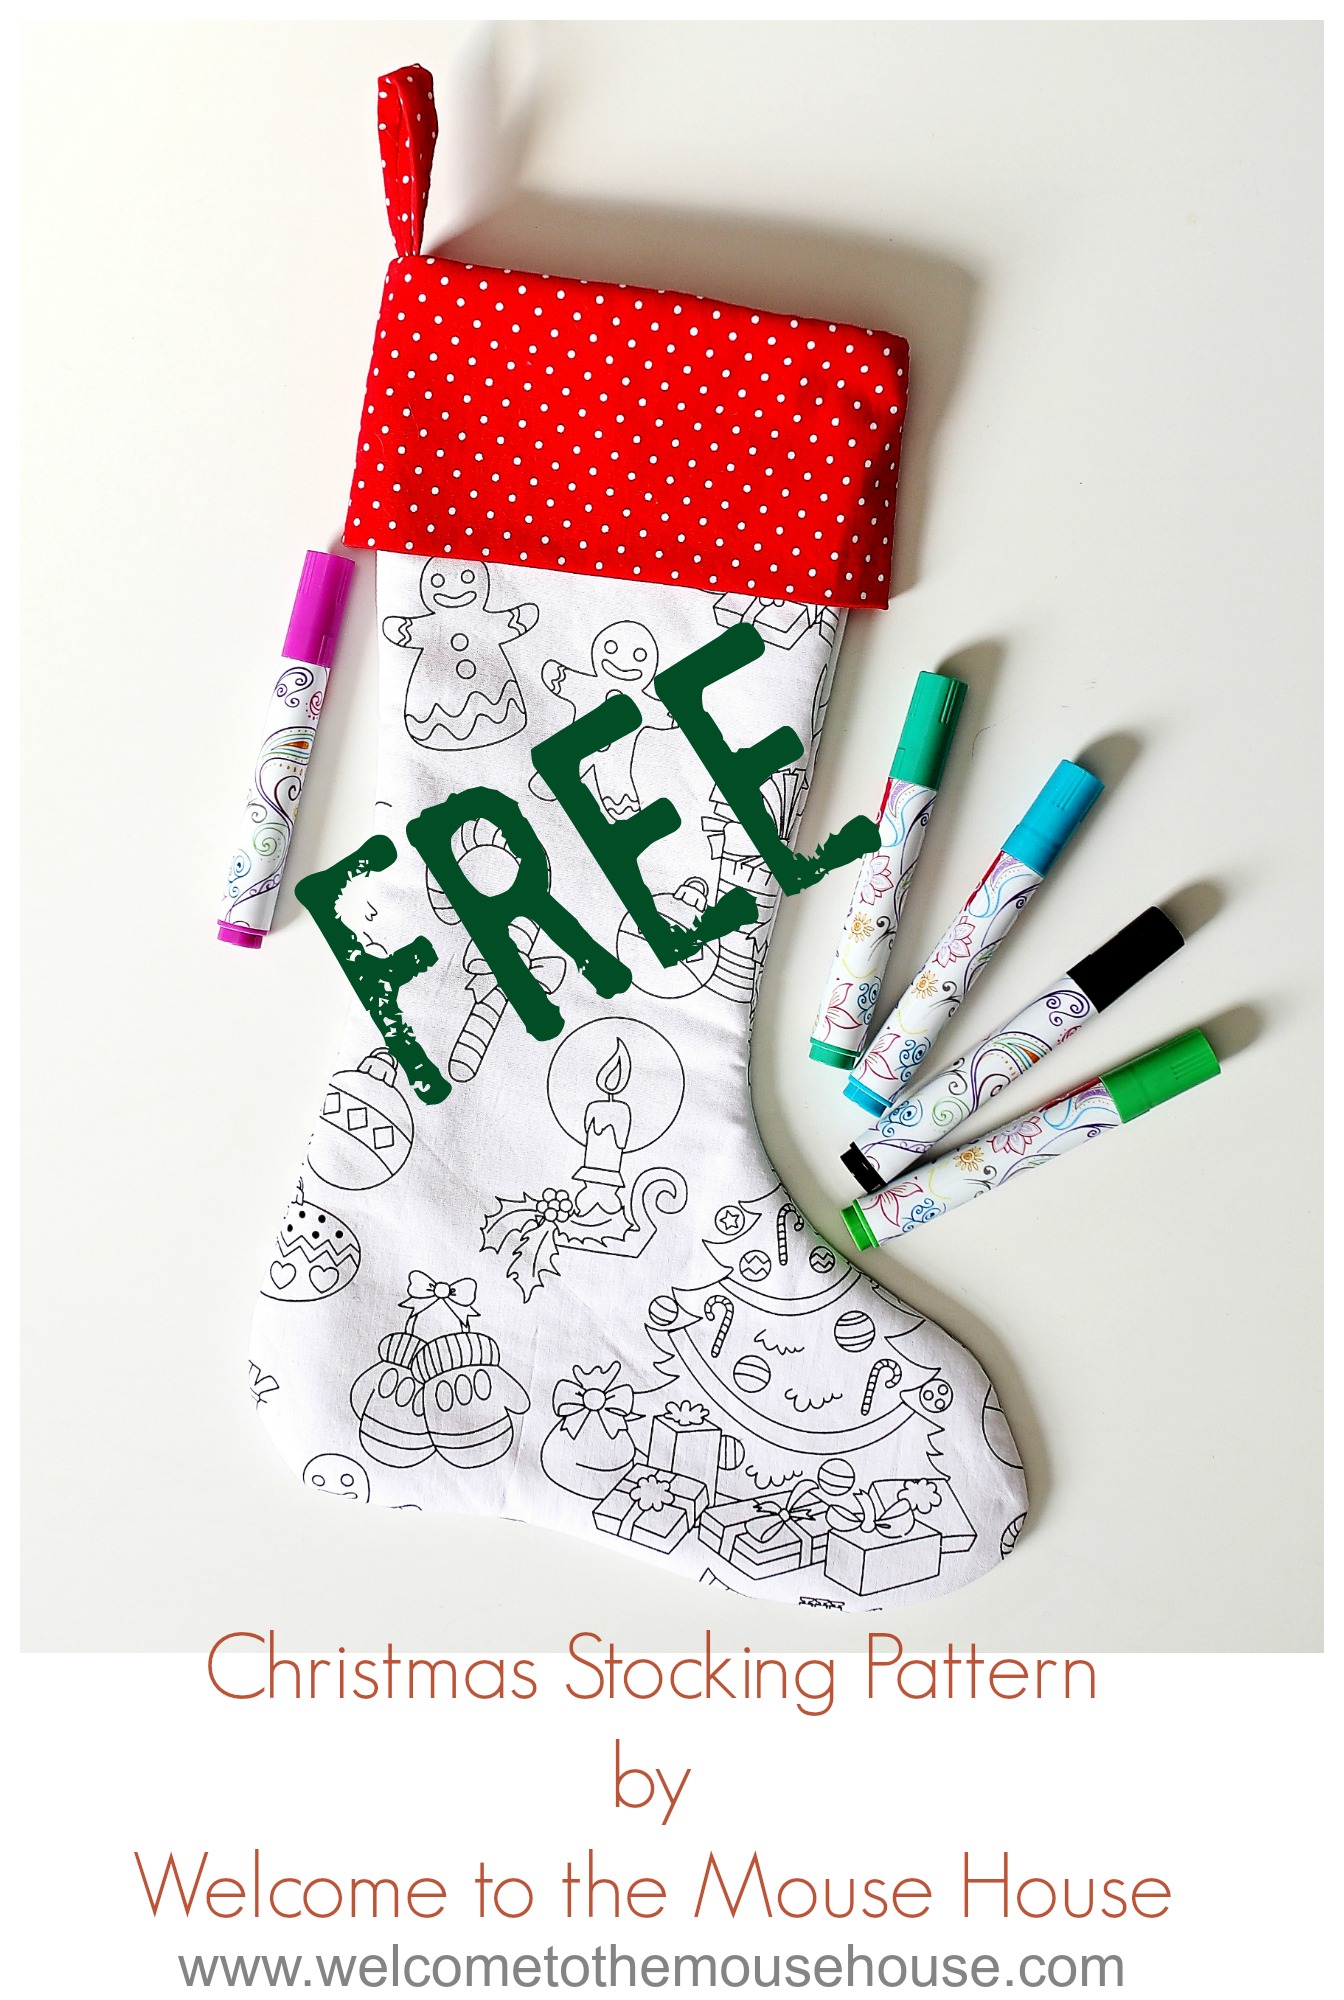
I thought it would be fun to create a Color Me Christmas stocking to display at the International Quilt Market next week. The best part is that I have a FREE Christmas stocking pattern and tutorial for you, so that you can use your Christmas Color Me fabrics! Simply download the pattern HERE. It is easy enough for beginners and children (Ainsley helped sew the one in the photos) Read further for the instructions. If you make one, I would love for you to tag me on Instagram and use the hashtag #colormestocking so that I can easily find it!
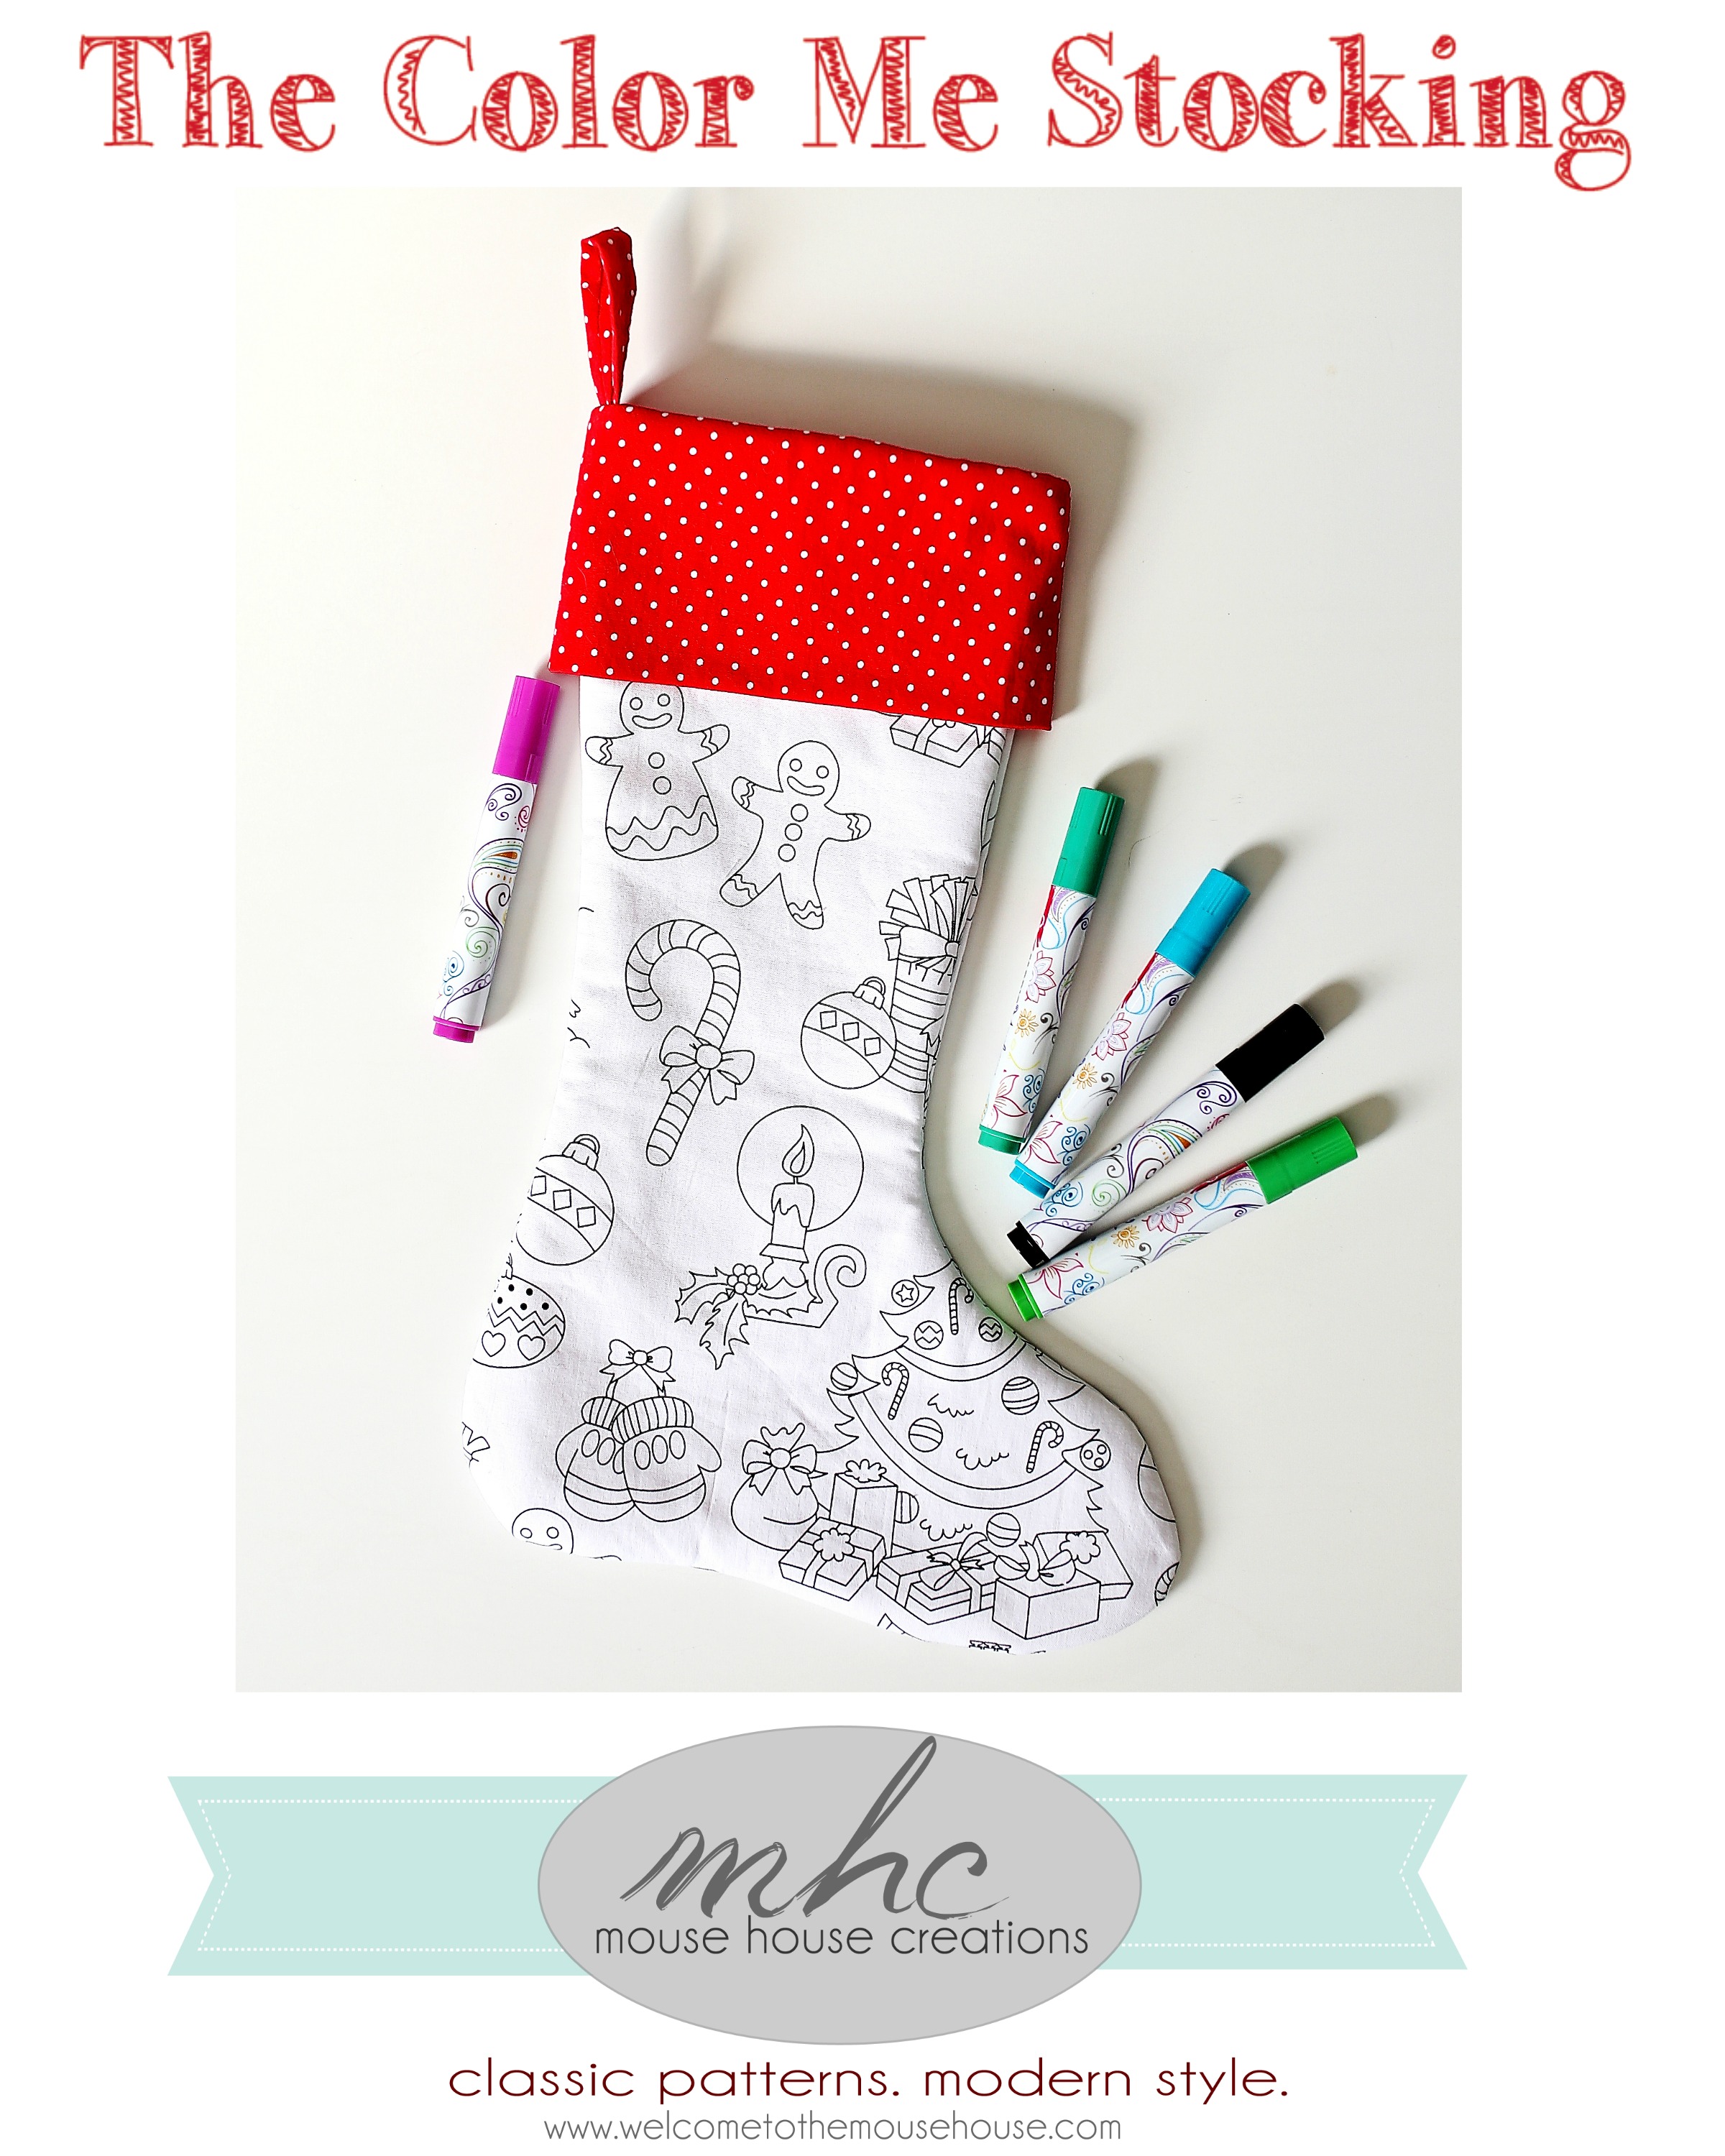
This was so easy that my 6 year old Ainsley helped me sew it. It isn’t perfect, but that is what makes it even more special. Plus, she had a blast coloring it! A fun idea would be to use a solid cuff fabric so that you can label them with names.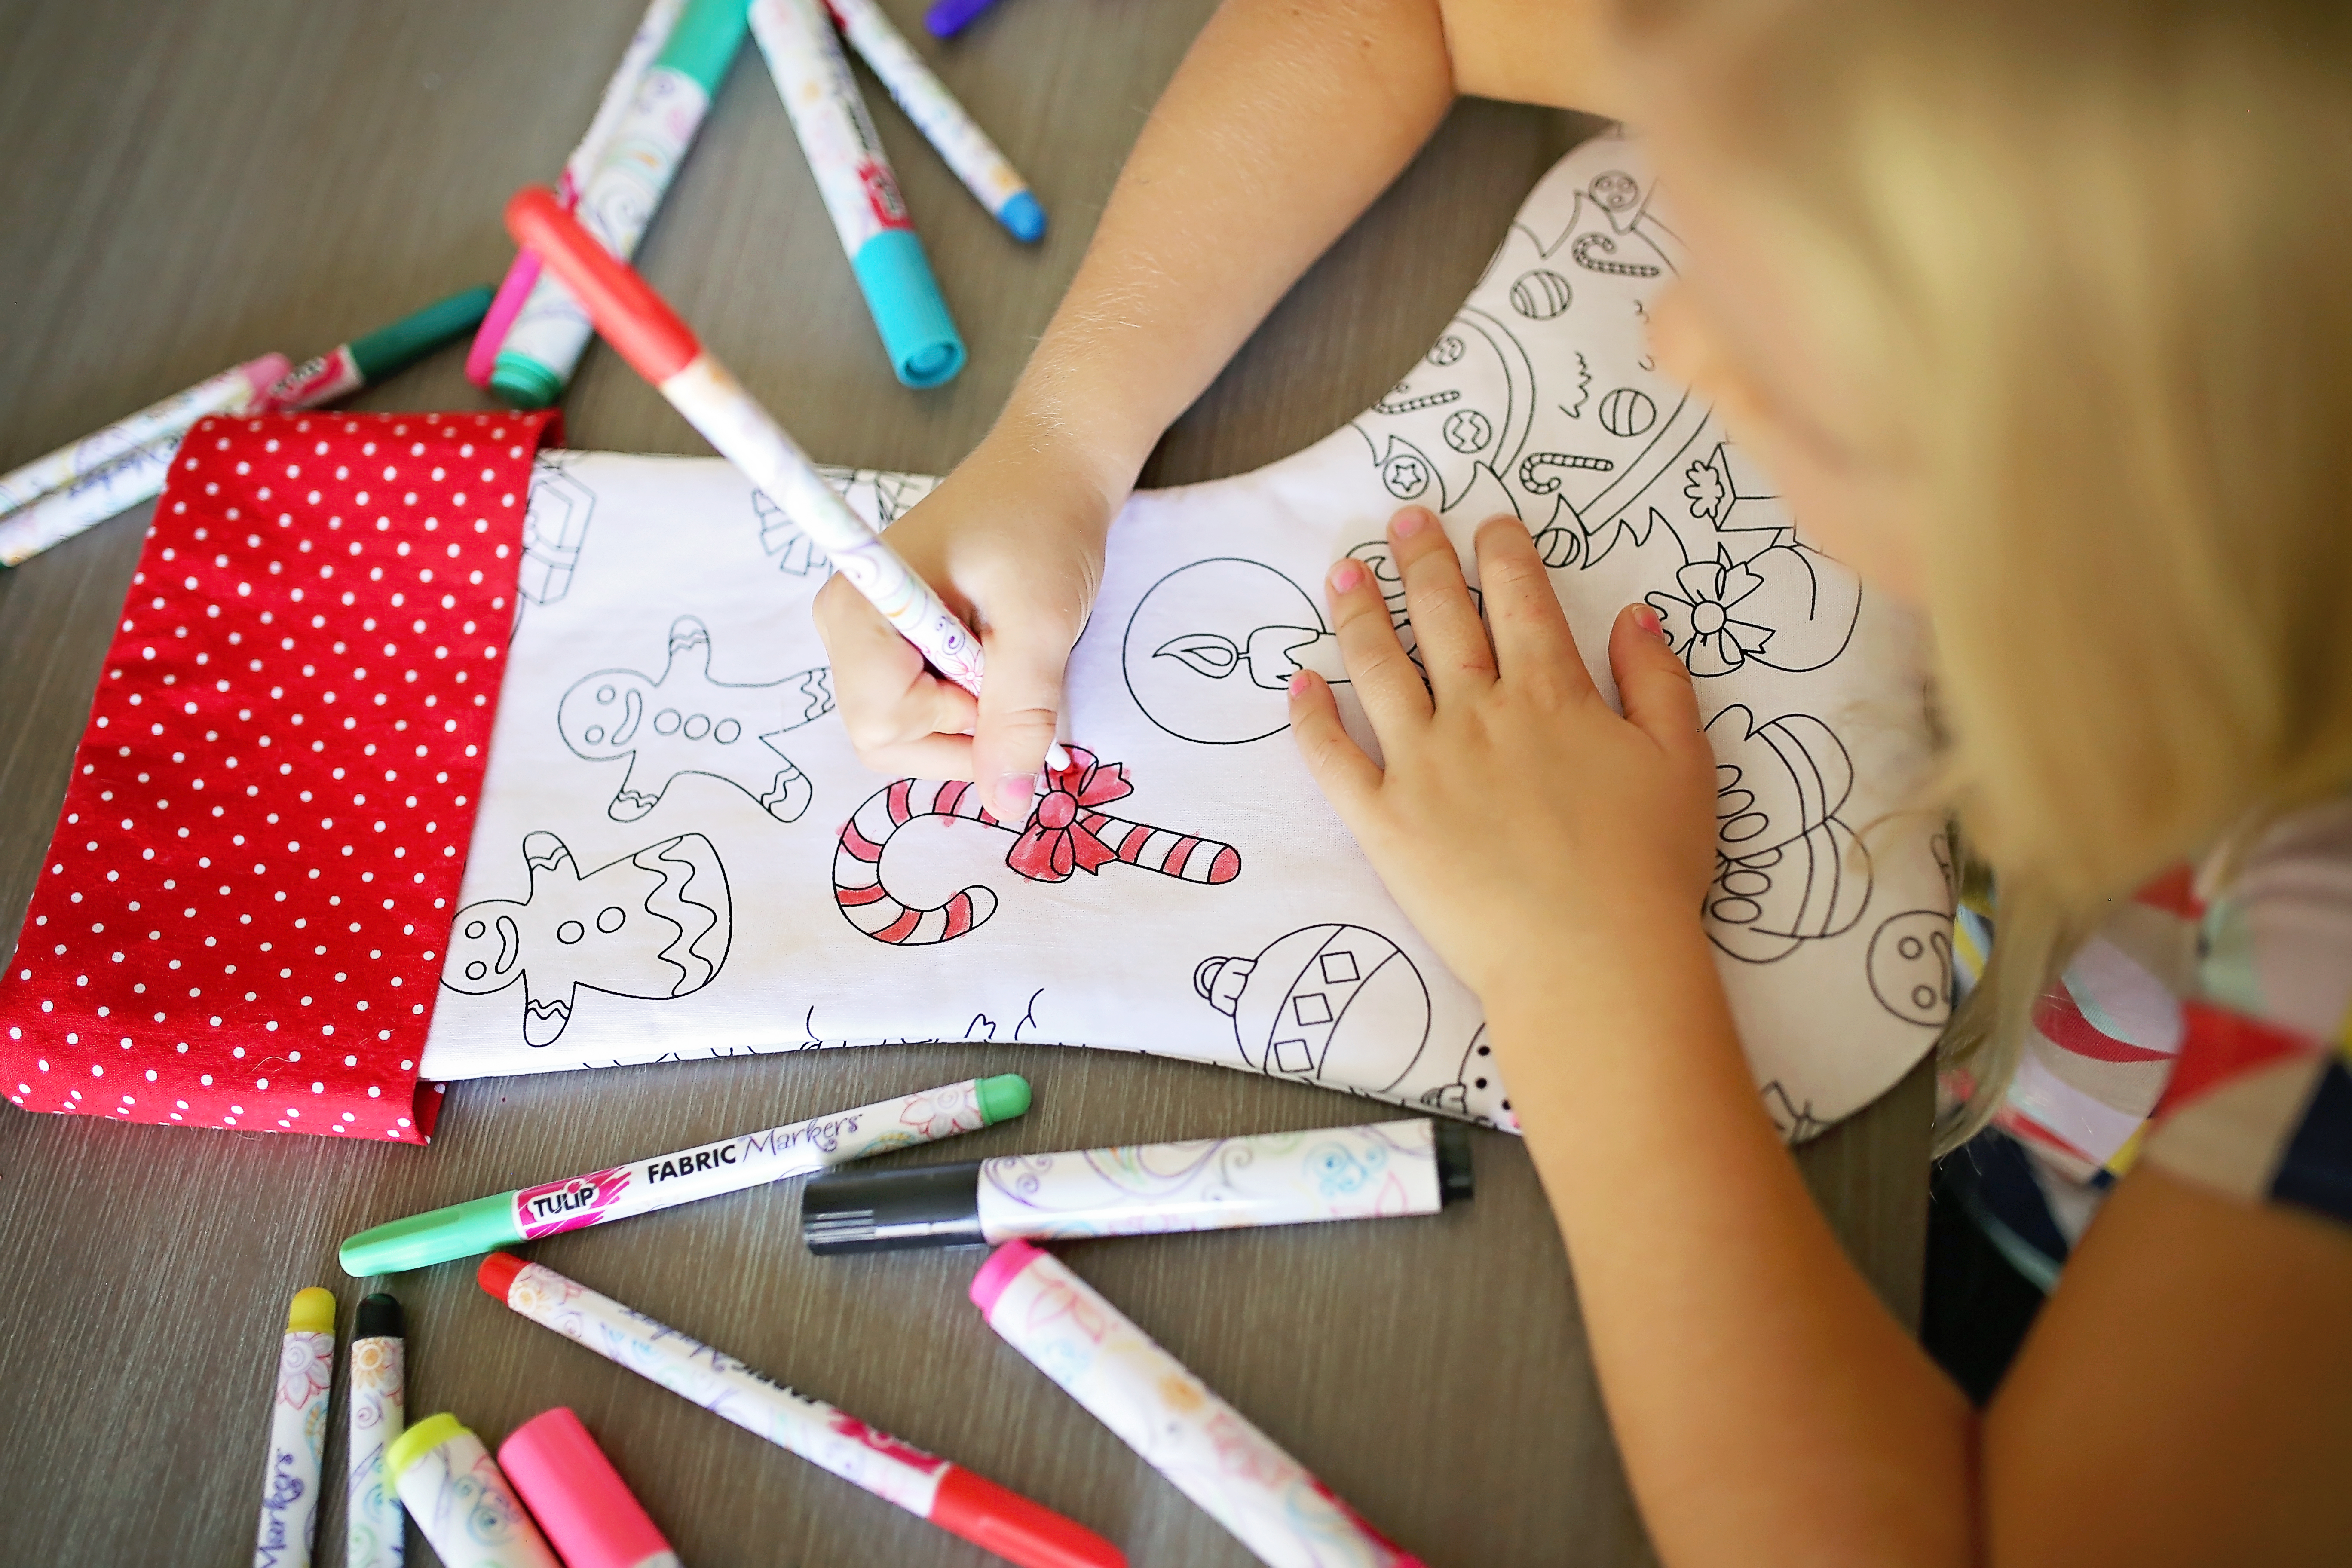
Check out my marker information HERE.
Enjoy the pattern and tutorial and, as always, please email me at mousehousecreations@gmail.com if you have any questions.
For more information on my previous Color Me fabric lines, read HERE. I will post more about the new lines very soon!
Instructions
Download the FREE stocking pattern HERE.
Tape the pattern pages together, as you would with any PDF pattern. Cut out appropriate pieces.
Fabric requirements: 1/3 yard each of Color Me, lining and cuff
*Interfacing is optional. *
Fusible fleece interfacing gives it a “store bought” stocking feel.
Iron it onto the wrong sides of the main stocking fabric before sewing together.
Step One:
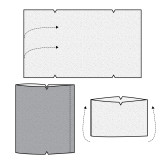
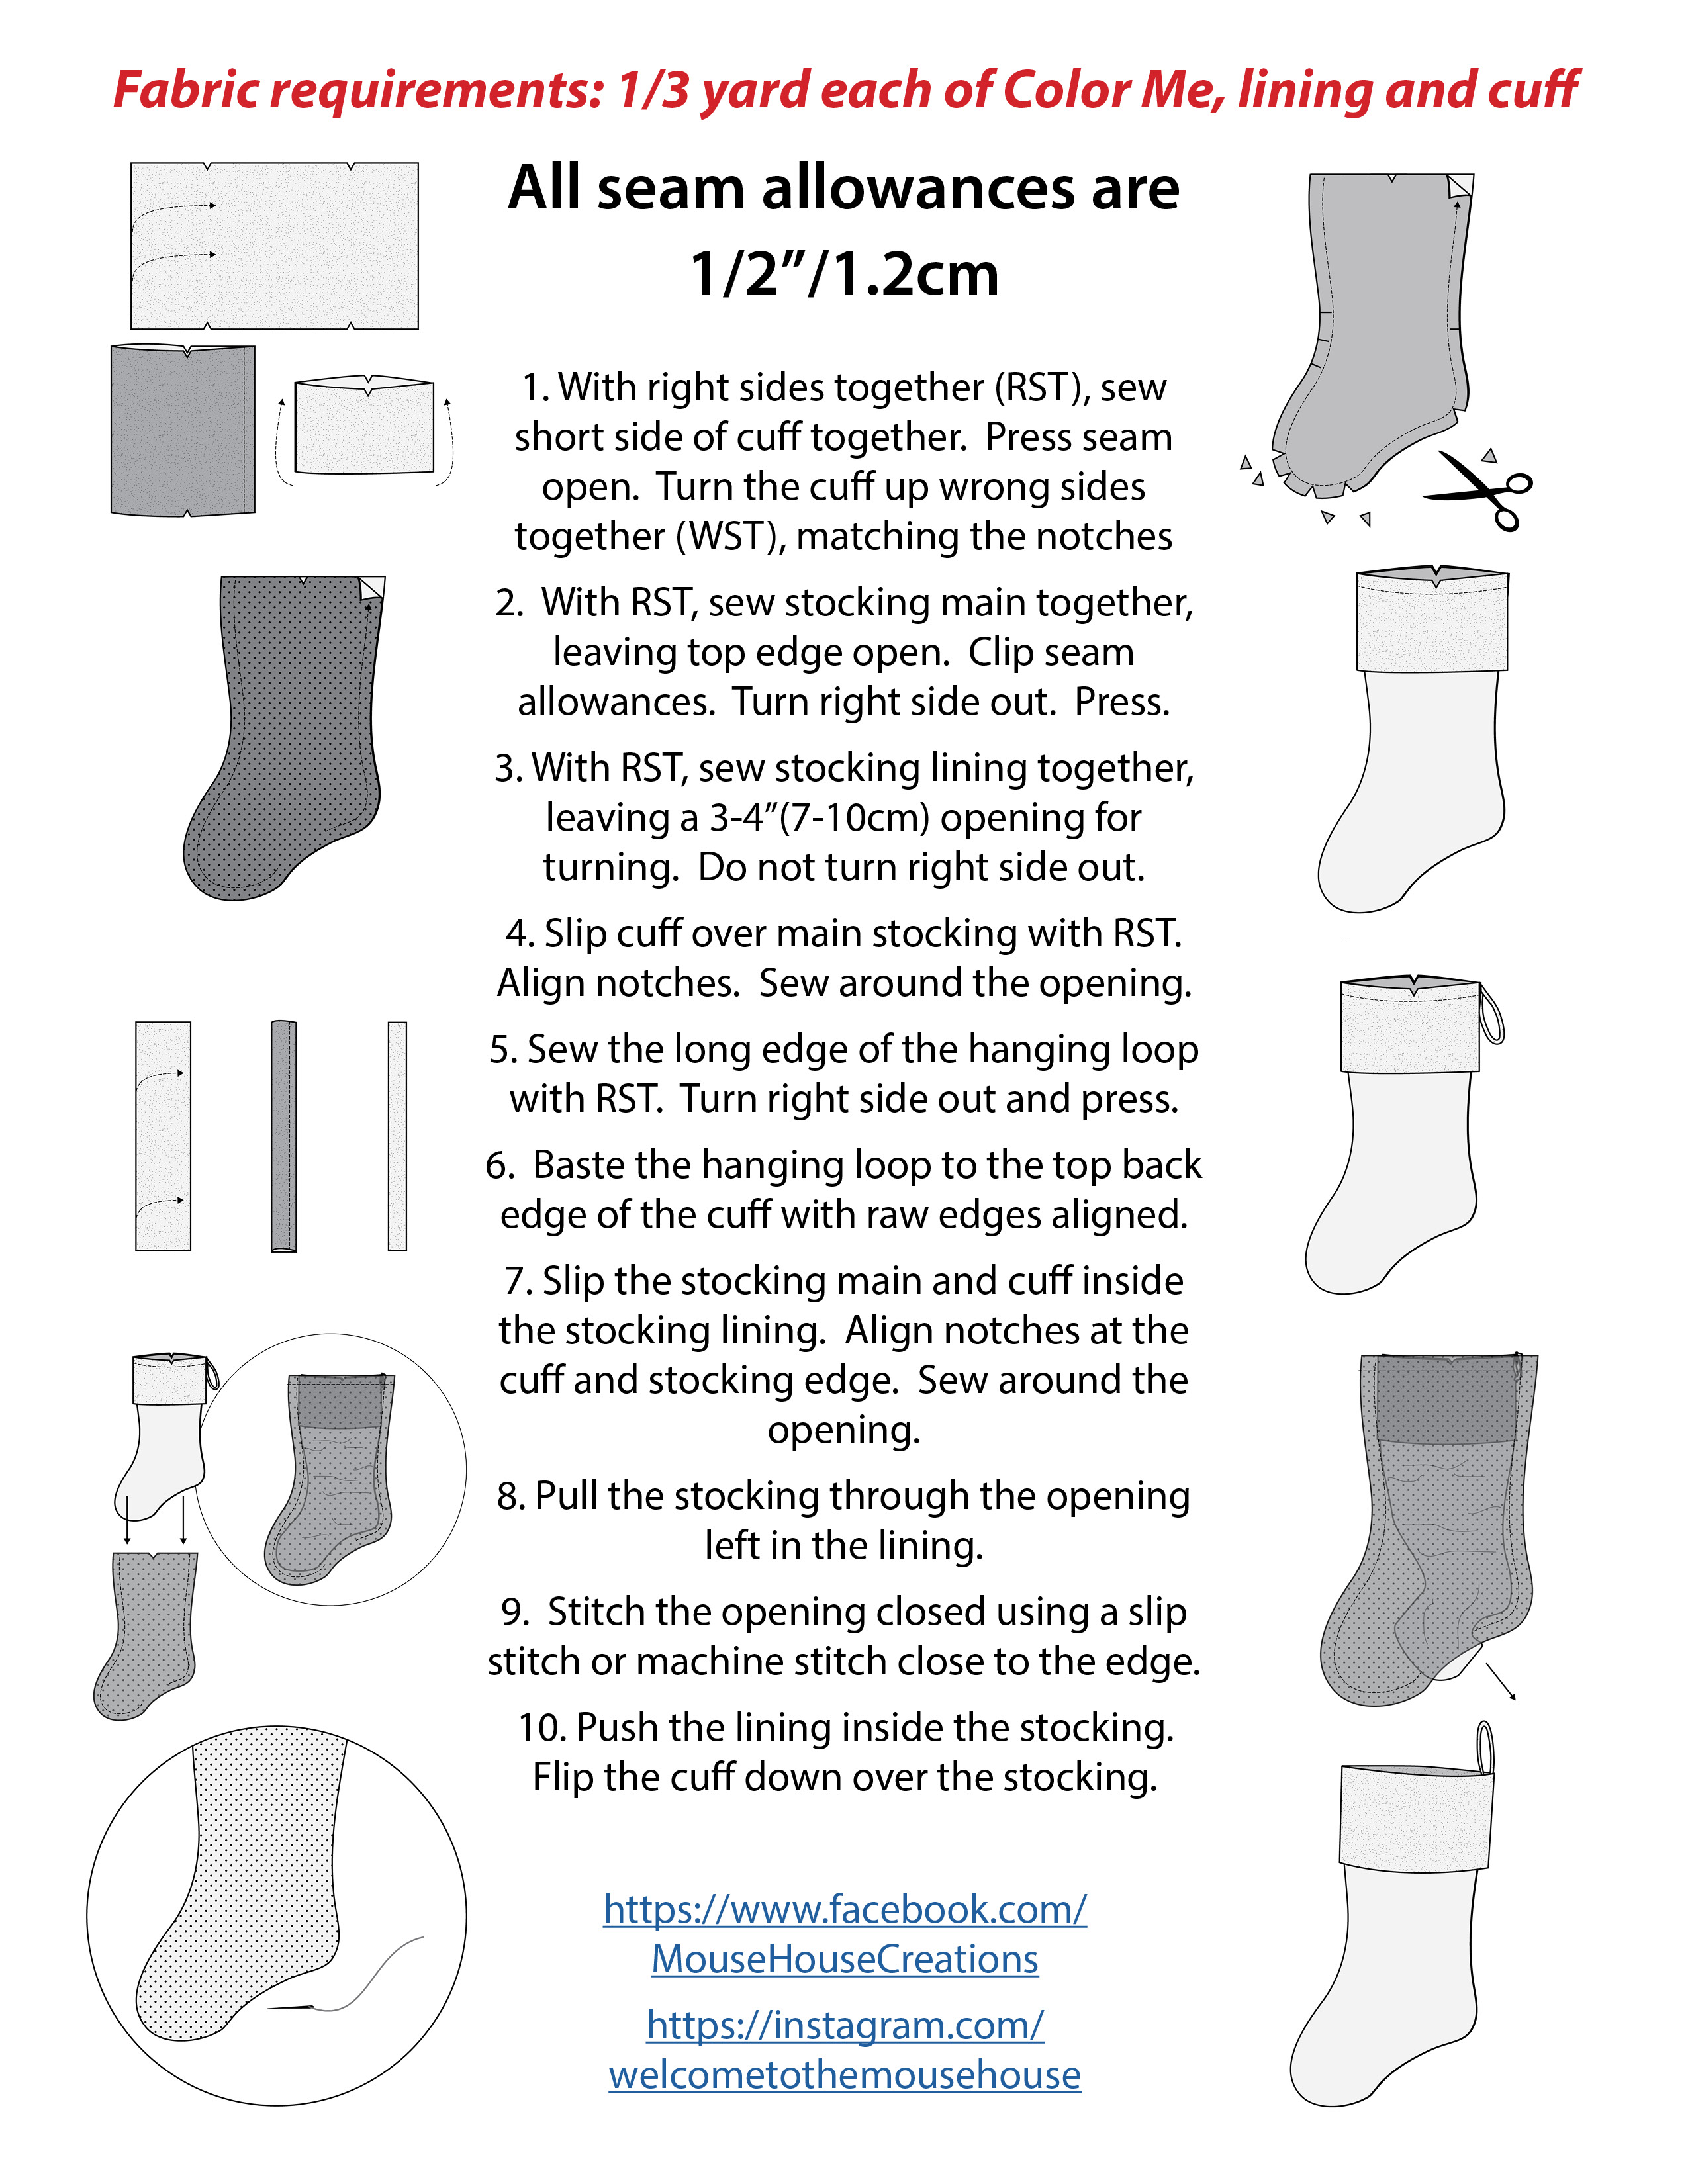
With the right sides of fabric together, sew the short sides of the cuff together with 1/2 inch seam allowance. Press the seam open. Turn the cuff up with wrong sides together, making sure the notches line up.
Step Two:
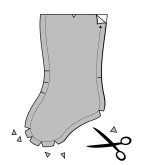
With the right sides of the fabric together, sew the main fabric of the stocking together, as shown, leaving the top edge of the stocking open. Clip the seam allowance. Turn right sides out and press.
Step Three:
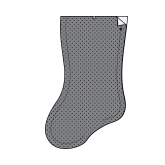
With right sides together, sew the lining fabric together leaving the top edge open, as well as a 3″-4″ inch opening at the bottom, which will be for turning the stocking inside out later.. Clip seam allowances. Keep the lining wrong sides out for now.
Step Four:
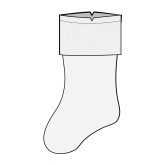
With right sides together, slip the cuff piece onto the main stocking fabric. Bring up the other raw edge of the cuff, making sure to align notches. Sew around the opening with the 1/2 inch seam allowance.
Step Five:
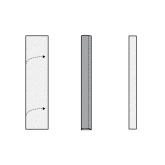
Create the hanging loop by folding the loop piece in half lengthwise with right sides together. Sew along the long edge. Trim seam allowance. Turn right sides out and press.
Step Six:
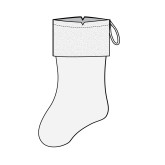
Fold the loop piece in half. Baste the hanging loop to the top back edge of the cuff with raw edges aligned.
Step Seven:
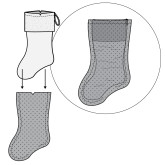
Slip the main stocking and cuff inside the stocking lining with right sides together. With all of the 4 raw edges lined up, sew around the opening. Trim seam allowance.
Step Eight:
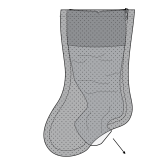
Pull the stocking through the opening left in the lining.
Step Nine:
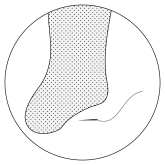
Hand stitch or machine stitch the opening that was left in the lining fabric.
Step Ten:

Stuff the lining into the main stocking and pull the cuff and loop out. Press well.
All finished!
Enjoy and color in!!
Here is an abbreviated version that you can print for reference, if needed. Simply right click, save, and print.

Hayley
Latest posts by Hayley (see all)
- Music Room: Home Tour - January 11, 2019
- The Ace Cardigan - July 30, 2018
- Susie Halter Top and Shorts: Project Run and Play - July 18, 2018


[…] Color Me Christmas Stocking: FREE Stocking Pattern, by Welcome to the Mouse House […]