(Coming soon! A new Sydney with larger size range and many options!)
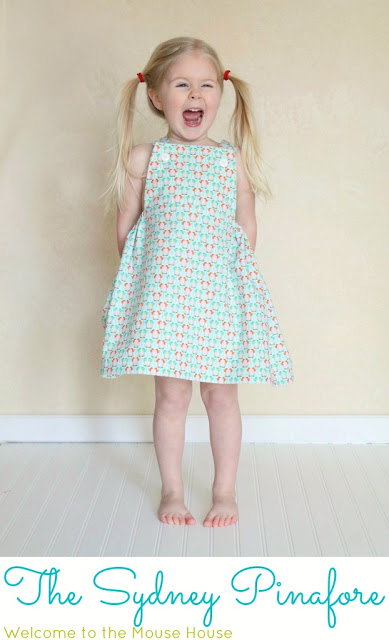
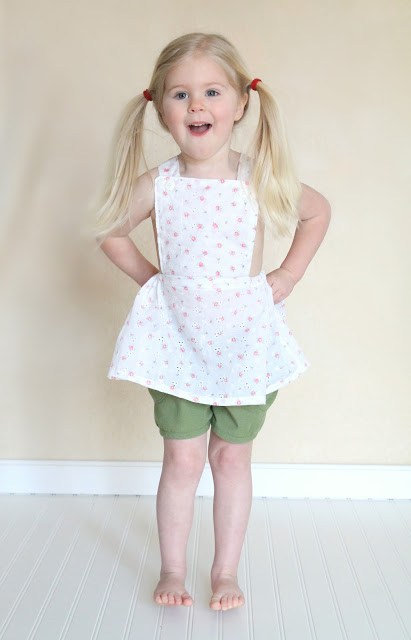
Introducing the Sydney Pinafore. I am originally from Australia and it was very common to see little girls running around in loose fitting pinafores (also referred to as a pinny) during the hot weather. Even though I am now in The States, I still dress my daughter in this style!
Enjoy!
The Sydney Pinafore
by Welcome to the Mouse House
fabric (approximately 1 yard)
2 buttons
1/2 inch elastic
Print out pattern page found HERE and double check that your inch square measures correctly.
Cut your fabric and elastic according to the measurements on the pattern page.
Seam allowances are 1/2 inch.
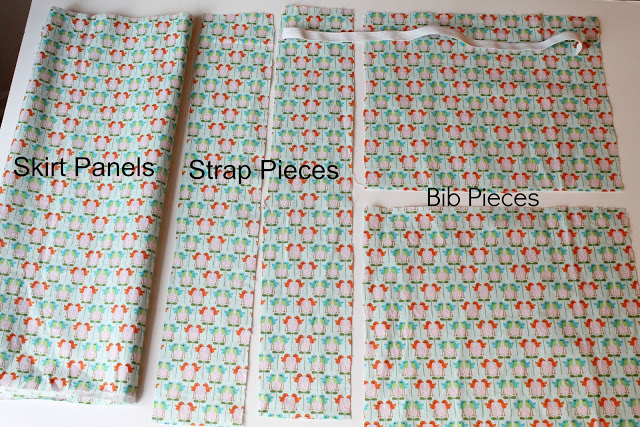
These will be the pieces you should have:
Prepping all the pieces:
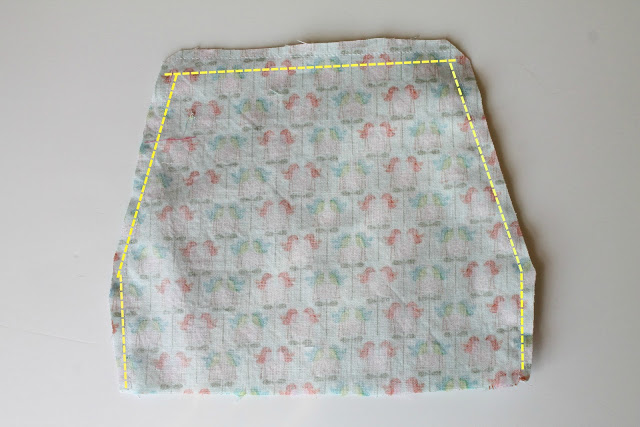
With right sides together, sew your bib pieces on the 3 sides, leaving the bottom open. Clip corners.
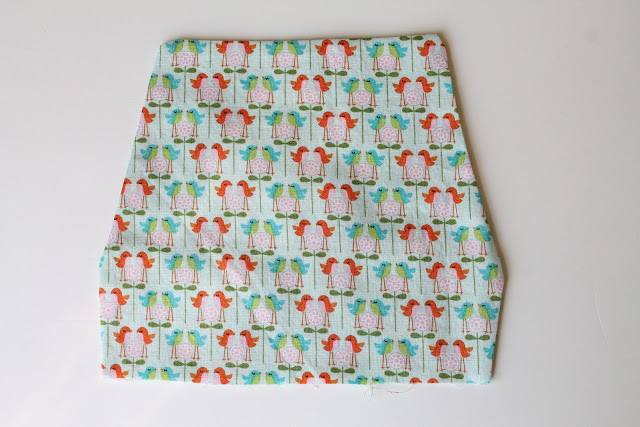
Turn right side out, press with iron and top stitch if desired.
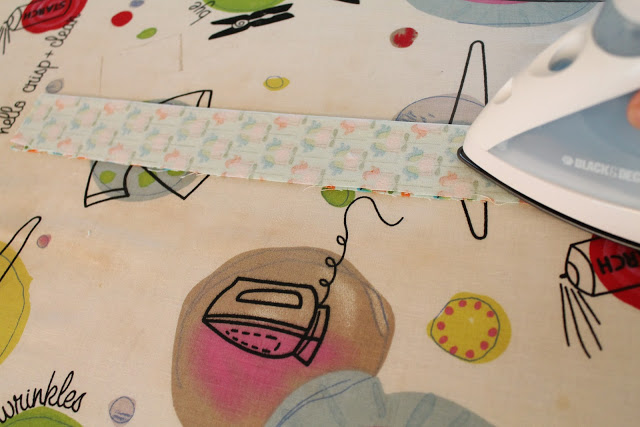
Fold and iron both strap pieces in half length ways, right sides together.
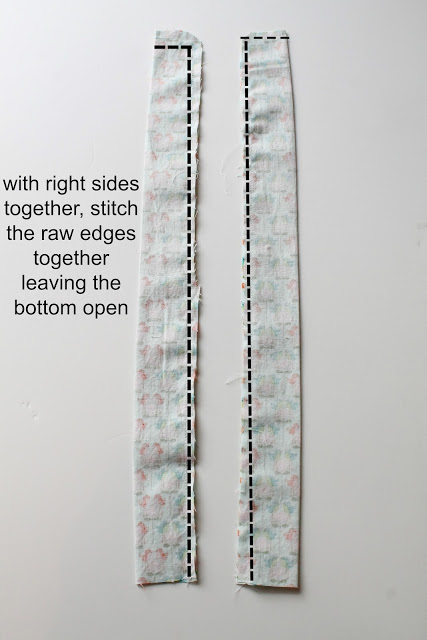
With right sides together, stitch the raw edges together, leaving the bottom open.
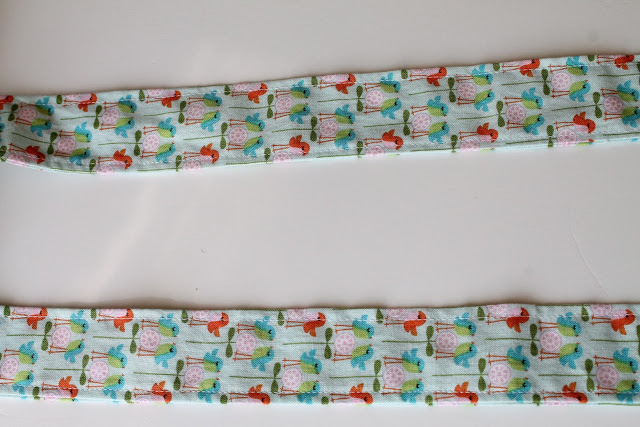
Turn both straps right side out and top stitch.
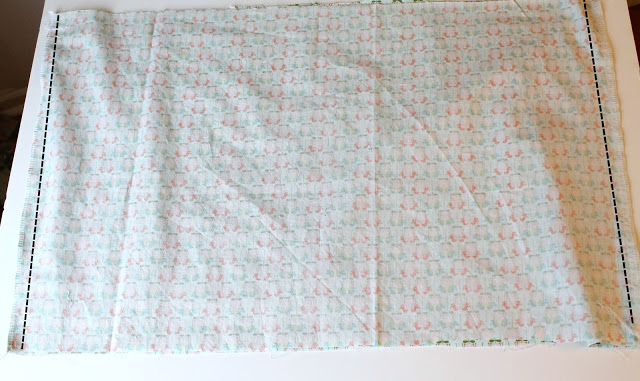
With right sides together, sew the skirt panels together on the shorter sides. Serge or use a zig zag stitch to finish off.
Assembly:
Flip the skirt so the right side is facing outwards.
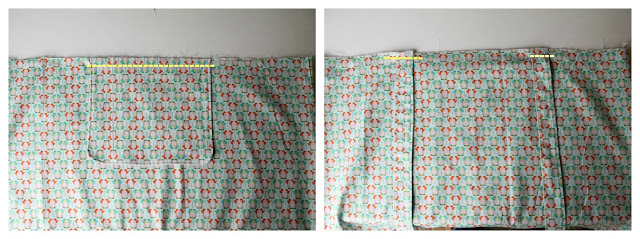
Find the center of the front skirt panel and attach the bib using a basting stitch. The raw edge of the bib will line up with the raw edge of the skirt panel.
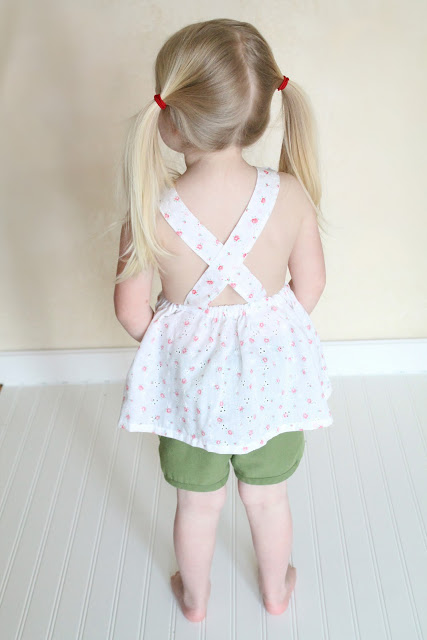
Now, flip your skirt over to the back skirt panel. Using the bib width as your guide, place your straps that far apart on the back panel. Secure with a basting stitch.
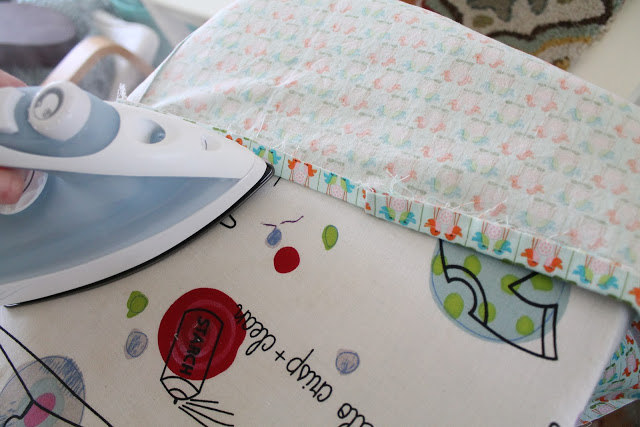
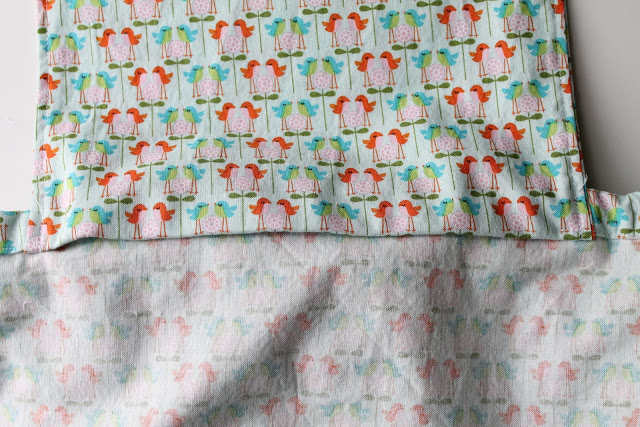
Now, it is time to create the elastic casing. At the top of your skirt, fold down 1/2 inch and iron.
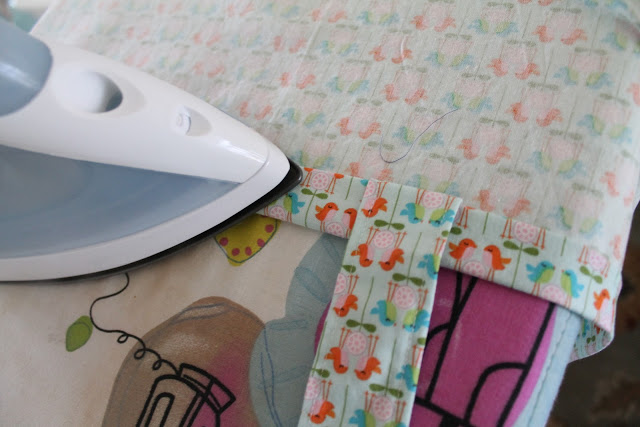
Fold down another 3/4 inch and press.
You will see that your straps and bib have the raw edges tucked under now!
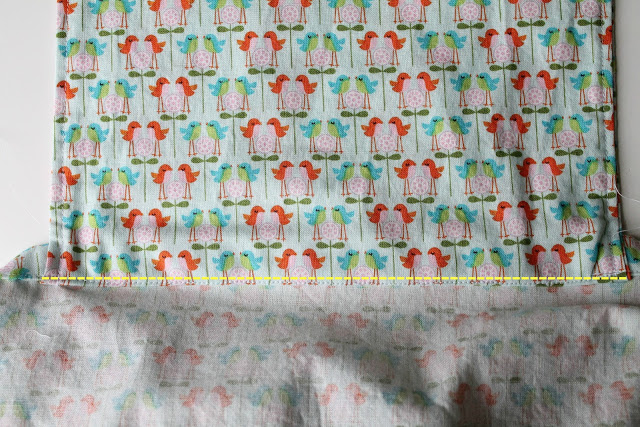
Now, sew your casing closed except for the bib area. Do not sew the bottom of the bib shut. Leave that open for now.
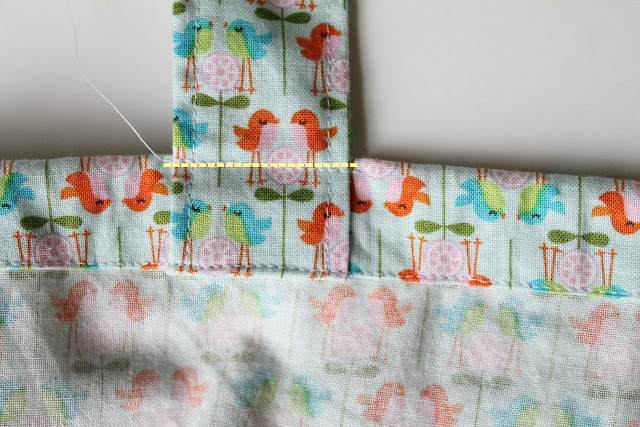
At this point, you need to top stitch both straps towards the top of the casing to ensure that the straps will not flop down. Do this before inserting the elastic.
Inserting the Elastic:
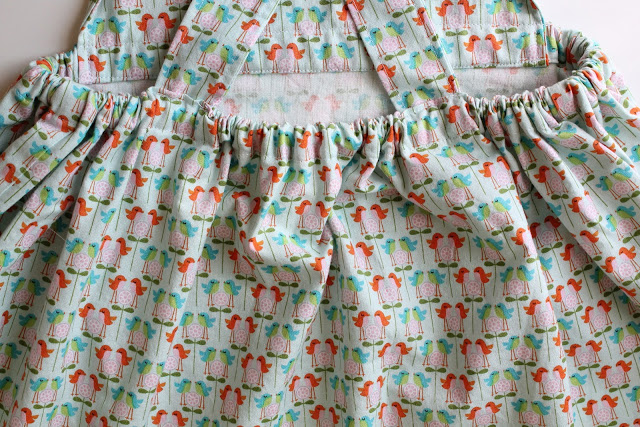
The design of this pinafore is such that the elastic only goes around the sides and the back, not the front. This creates the flat front and flared back, which is why we haven’t sewed the casing on the bib yet.
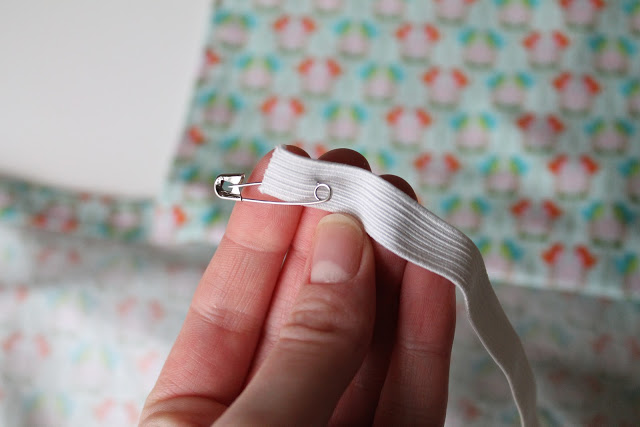
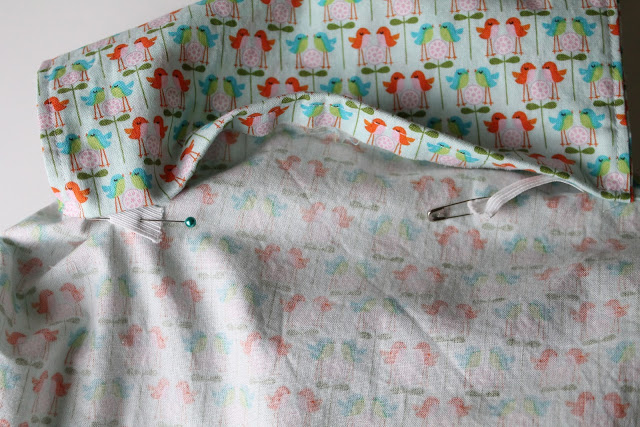
The easiest way to insert elastic is to attach the one end with a safety pin, which helps feed it through your casing.
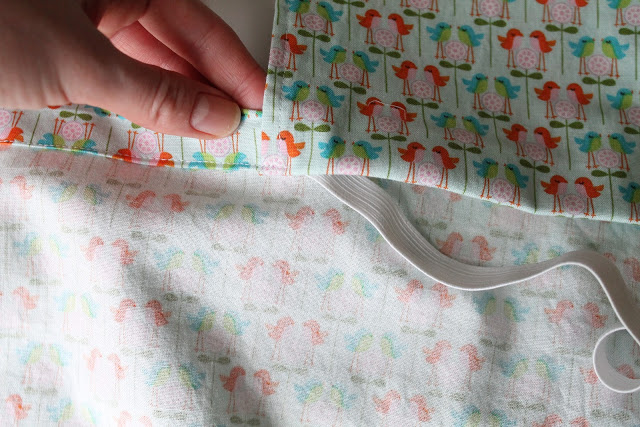
Start feeding your elastic through.
Feed your elastic all the way until you get to the other side.
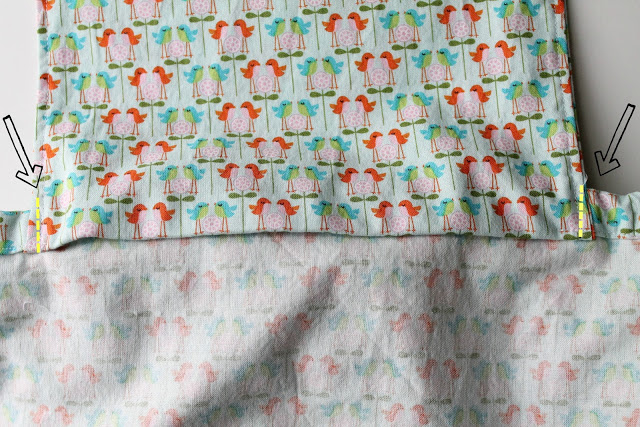
Secure your elastic on each side with a straight stitch.
Once your elastic has been secured, NOW you can close up the interior side of the bib.
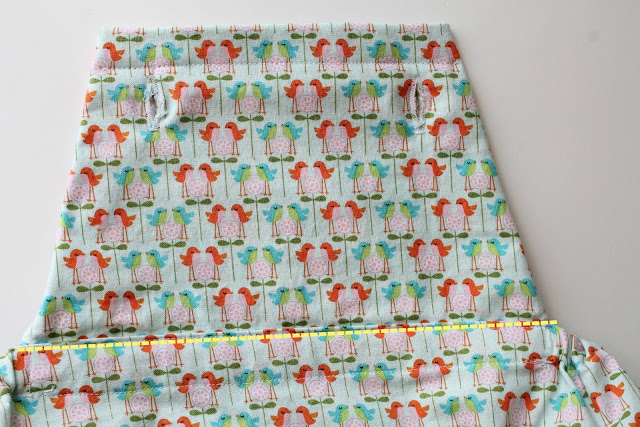
Turn the bib right side out and top stitch the upper part of the casing on the bib.
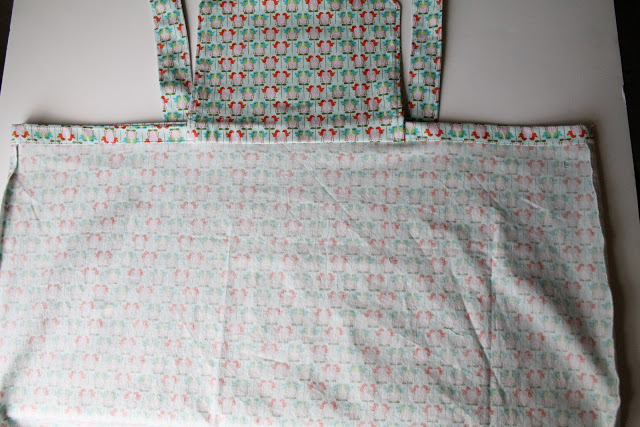
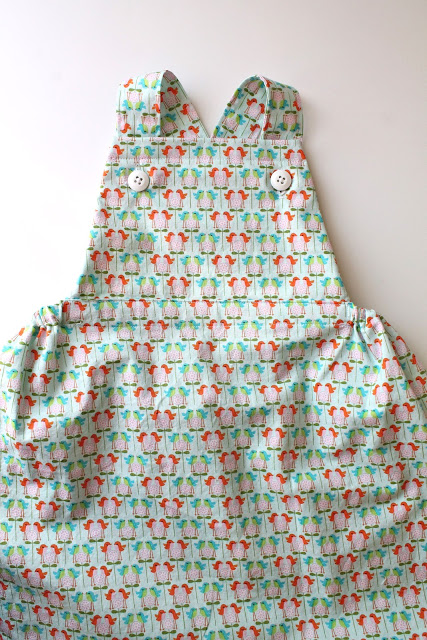
This is what you should have so far
Stitch your buttons onto the straps and create button holes on your bib. The button holes should be 1 inch from the sides and about 1/2 inch from the top.
Hem the dress, as desired. I folded up 1/2 inch and then another 1/2 inch for the 4t, but it always helps to measure your specific child before hemming.
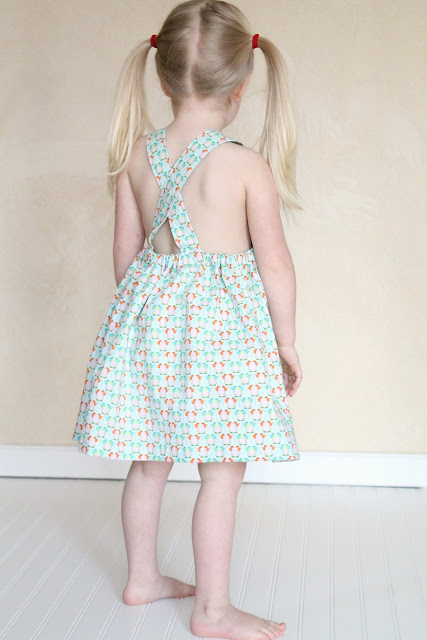
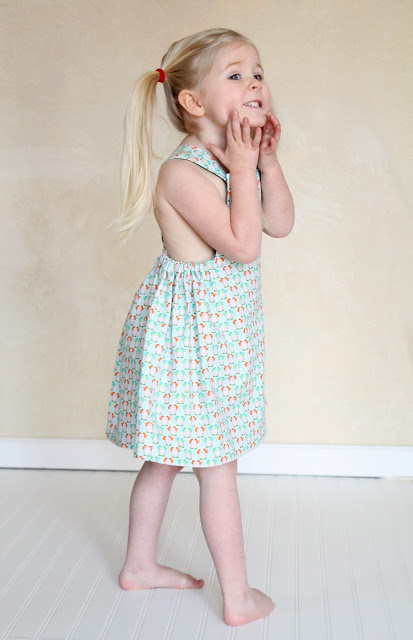
Pinafore is Finished!
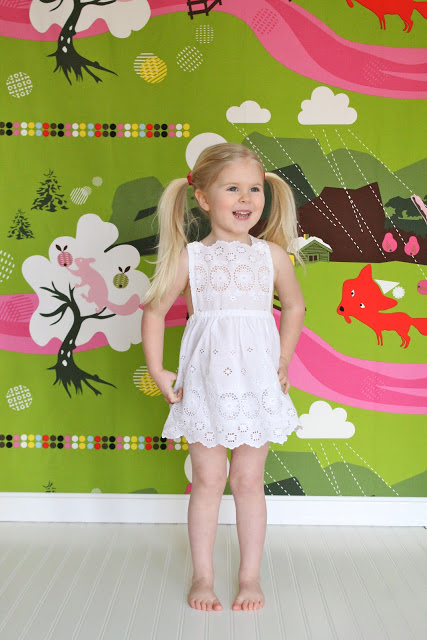
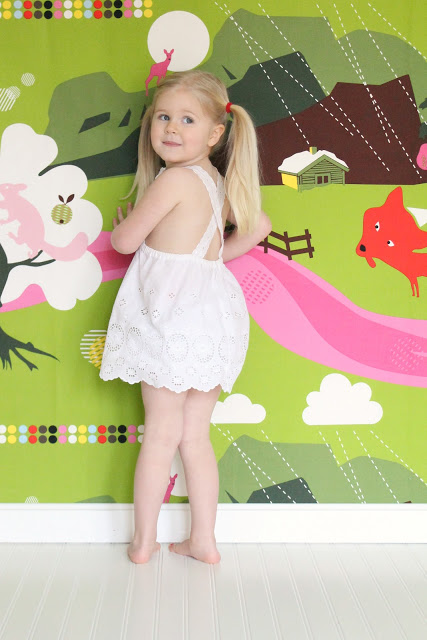
Using different fabrics and different length skirts can create whole new looks!
I have included the tutorial and a pdf pattern for sizes 12-24 months, 2t, 3t, 4t. Please keep in mind that you should measure your own child before starting to get the best fit.
Hayley
Hayley Crouse is a wife, mother and multifaceted designer. Her love of sewing, crafting, cooking and interior design infuses her daily life and naturally spills over into her online presence. She pushes the envelope of her creativity and hopes that others will be inspired to do the same. She currently authors the Welcome to the Mouse House Blog, is the pattern designer behind Mouse House Creations and is a collaborative designer with Willow & Co. Patterns.
Latest posts by Hayley (see all)
- Music Room: Home Tour - January 11, 2019
- The Ace Cardigan - July 30, 2018
- Susie Halter Top and Shorts: Project Run and Play - July 18, 2018




I have just made The Sydney pinafore for my 22mo granddaughter. It was so easy to make. Thank you so much for this lovely pattern.
How do I get the little girls pattern to printing new at and to make cute little dresses for granddaughter m
At the top, under the place where it says “what you will need” it says “click here for pattern” and you click the here, print the pdf, then cut and sew!
Hi there, I love the pinafore dress…
How do u sew the skirt together? Just straight down the middle?
You sew the (2) skirt panels down the sides to make the skirt. Or you can use (1) long piece of fabric (instead of 21” wide, use 42” wide – for example) and sew the raw edges together.
Thank you for the tutorial! Just made my 2 year old a last minute outfit for the pumpkin patch!