I can’t believe there are only 3 more days left of The Handcrafted Holidays! Today, I have my friend Caila from CailaMade, where she blogs about sewing, crafts, and her beautiful children. Thanks so much for stopping by Caila!
*************************************
Hey everyone, and welcome to the holiday-sewing season! It’s so great to meet you all here. My name is Caila and I blog over at CailaMade about sewing, kids clothing, crafts, and all the stuff that comes with being mamma to my three littles. It’s a bright, happy place to find creative inspiration and I’d love to see you over there sometime. Thank you so much for having me here today, Hayley!
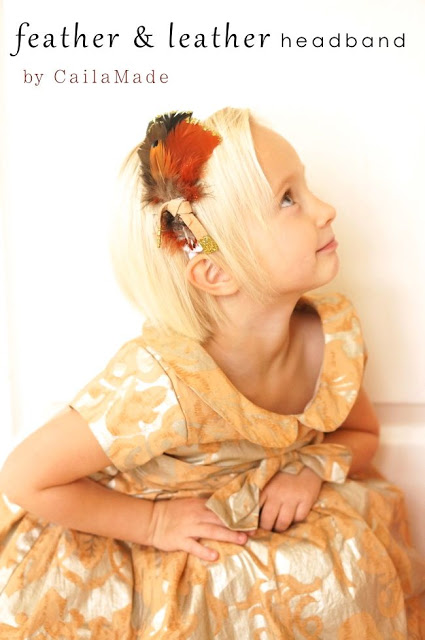
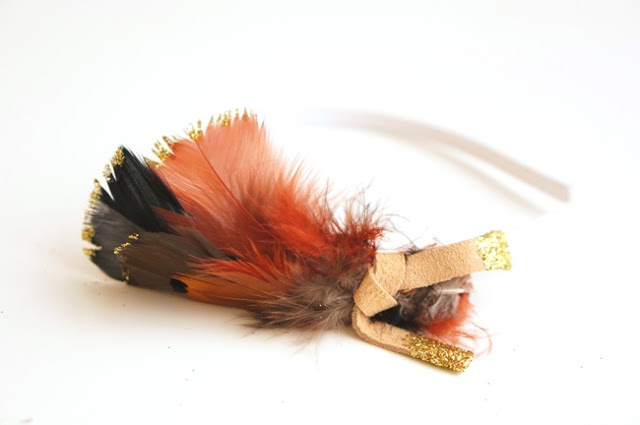
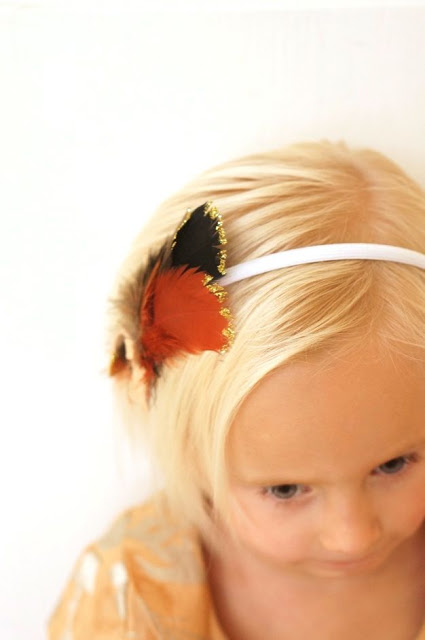
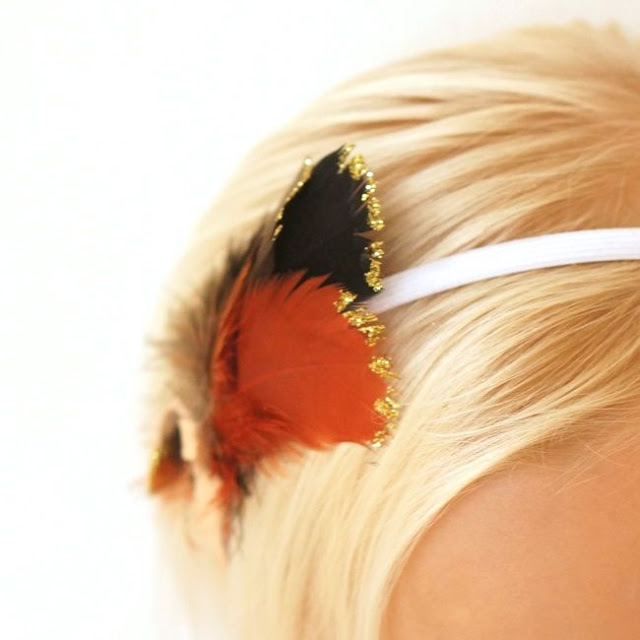
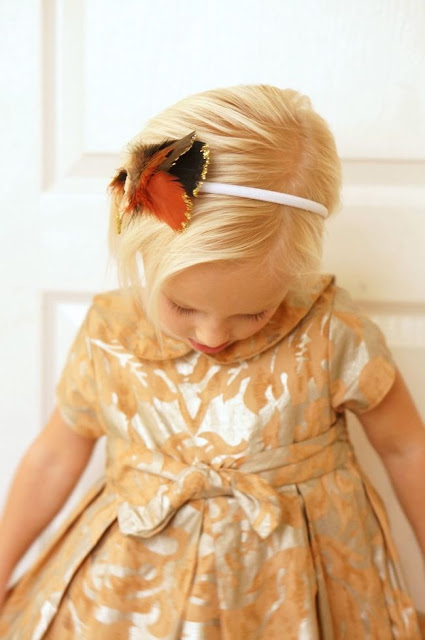
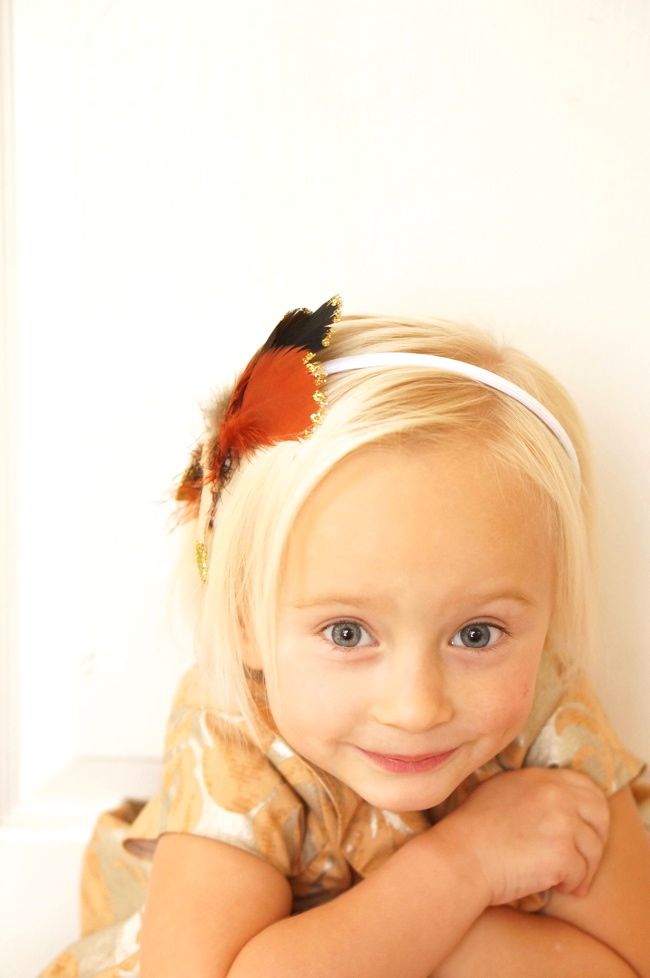
I already have a lot of clothes for my kids (non-stop sewing = overflowing wardrobes), so I’m working on making special accessories for the coming holidays rather than outfits. We spend Thanksgiving with as many family members as we can muster, and I thought Abby would have a lot of fun greeting her second cousins with a turkey feather headdress this year. I’m calling it her Feather & Leather Headband, because that’s what it is! I used Turkey feathers (and one guinea fowl feather) paired with leather to create a stylish yet Turkey-themed headband for my girl this year. I’m almost giddy with excitement because she loves it so much!
Feathers + Leather + Glitter = SO PERFECT.
SUPPLIES
To make your own Feathers & Leather headband, you’ll need the following supplies:
- One headband
- Tacky glue
- A small piece of felt to match the headband
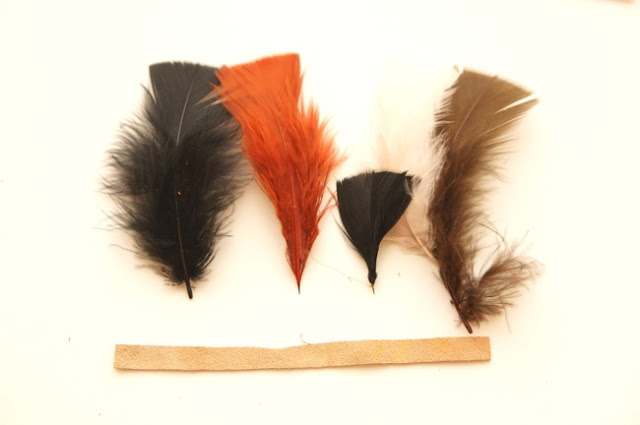
- 4 feathers of your choice (these are similar to the ones I purchased from my local Jo-Ann’s store)
- One 5″ strip of suede leather
- Glitter
STEP ONE: Glitter-fy your leather.
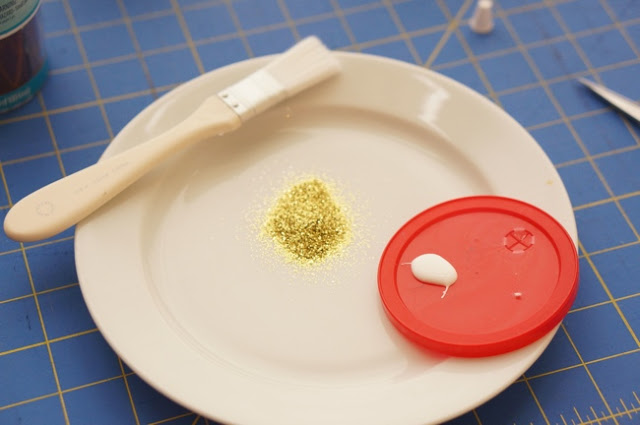
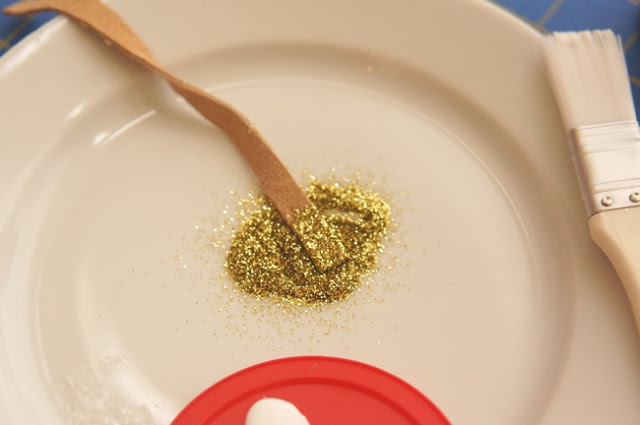
Dip each end of your leather strip in tacky glue and use the brush to evenly distribute the glue if necessary.
Then dip the ends in glitter and watch them start to sparkle! Set the leather aside for about 15 minutes to let the glue set. It might still be a little tacky when you apply the leather to your headband, but it will be dry enough to make a knot without losing all the glitter.
STEP TWO: Prepare the felt.
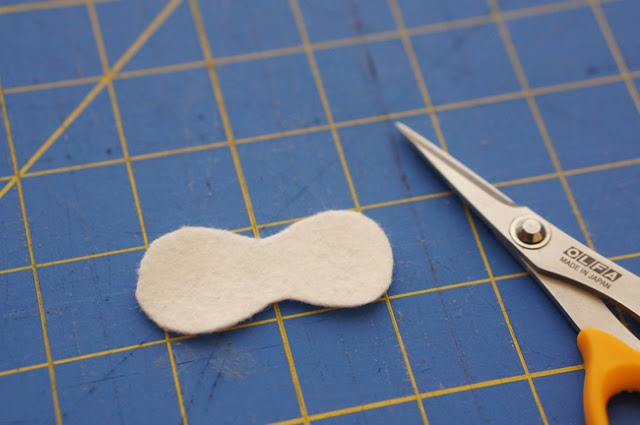
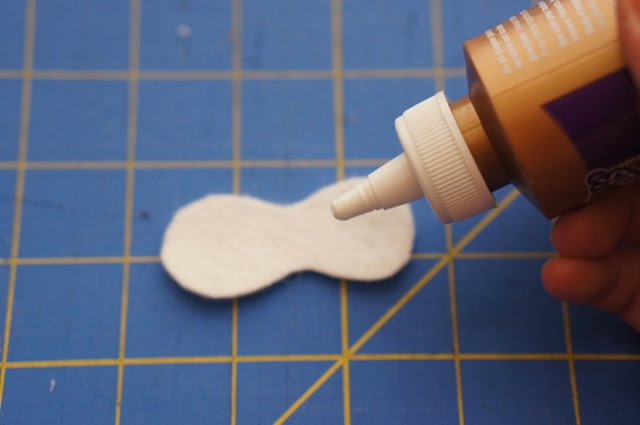
Cut out a small piece of felt approximately 2″ by 1″. You will be gluing the feathers to this piece of felt, so it only has to be large enough to hold the feathers. If you cut a piece that ends up being too large, you can always trim it down later.
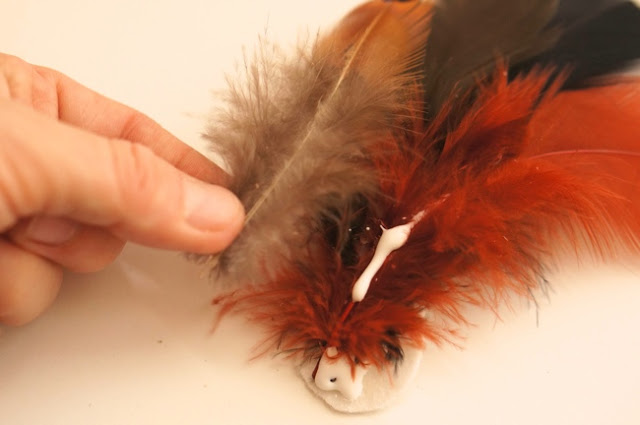
Apply a liberal amount of Tacky Glue in a line down the center of the felt.
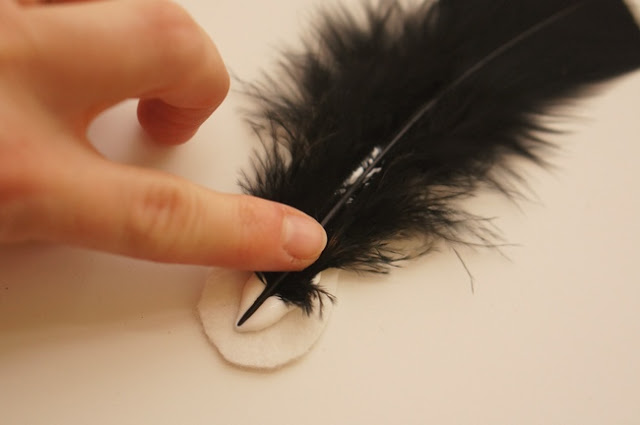
Push a feather into the glue and hold for a moment while the glue begins to set.
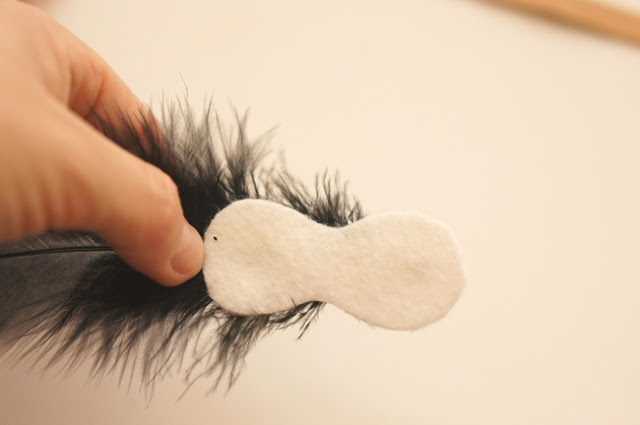
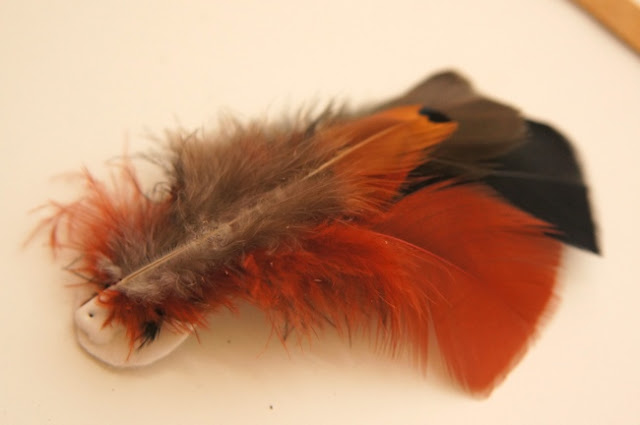
This is what the back will look like:
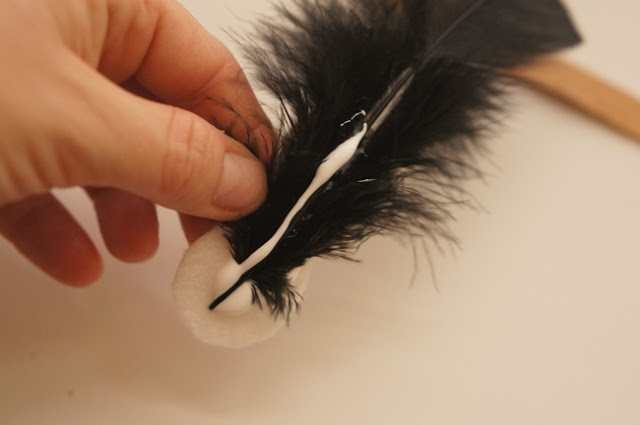
Now add a strip of glue onto that feather and attached another feather. Continue doing this until the last feather is attached. (Note: you might be surprised at how fast this glue will set your feathers.)
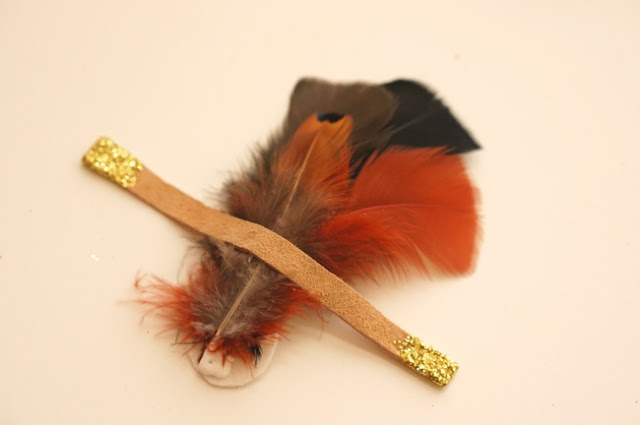
Once all your feathers are glued to the felt and each other, remove any extra glue and get ready to tie on the leather!
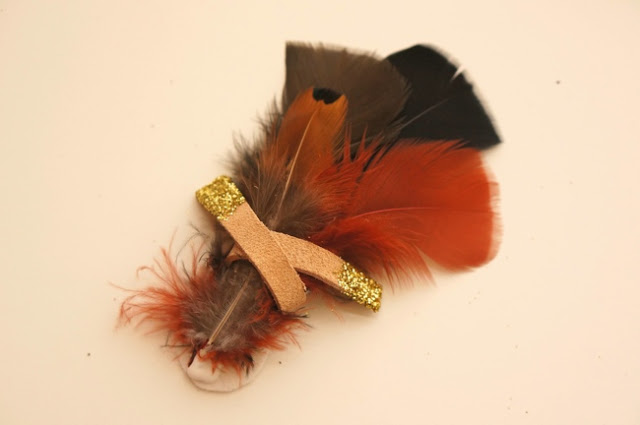
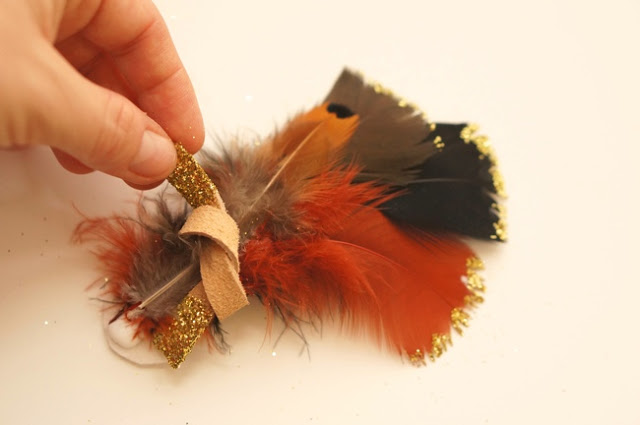
Wrap the leather around the feathers and felt from behind and then tie in the front.
Some feathers might get caught in the knot as you pull it tight. Go slowly, and pull out any wispy feathers as you go.
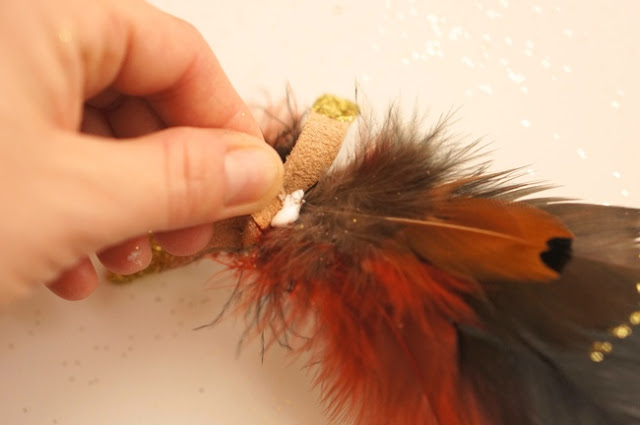
Add a dot of glue under the knot and press it down onto the feathers for a moment to let it set.
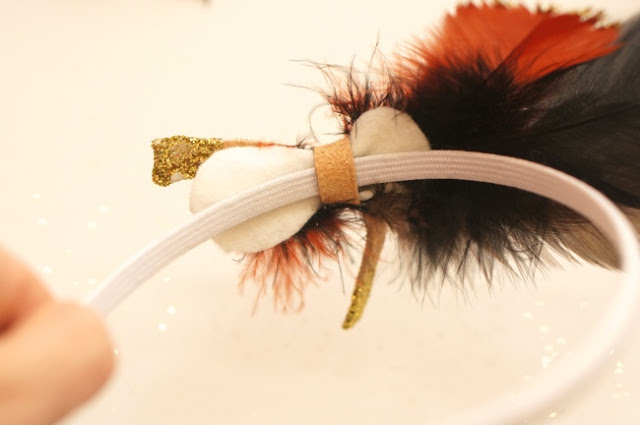
Put the headpiece aside for 15 minutes to let the glue dry. Once it’s dry (or dry enough, if you’re anything like me!) slip a headband into the leather at the back of the felt. The headband should go between the leather and the felt. I didn’t glue mine in place, because I like to change play around with different arrangements. However, you can add a dot of Tacky Glue or hot glue to keep your feathers in place on the headband.
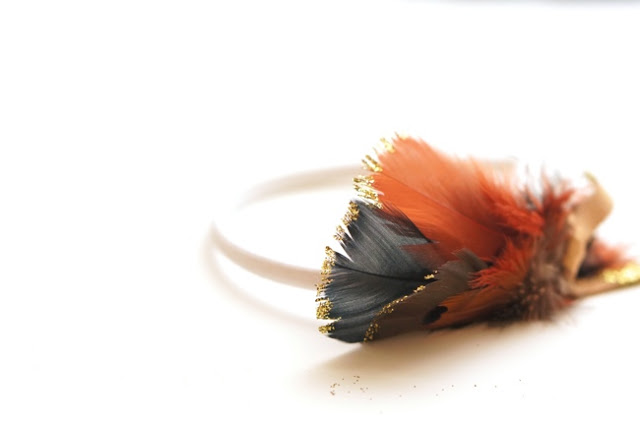
You’re done!
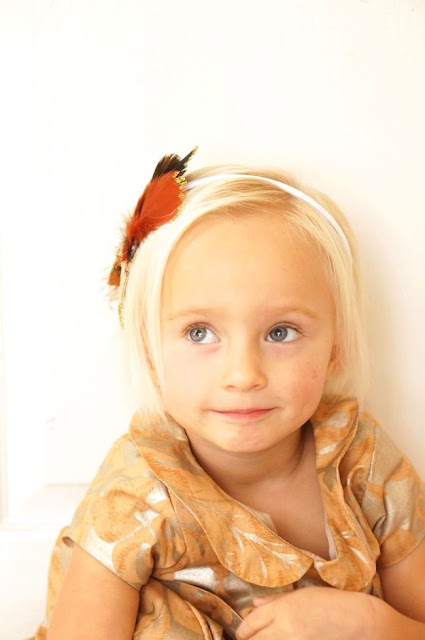
Now, go admire it on your sweet little girl! Awww, isn’t she cute?? I think what I love most about this headband is how easily it can be customized for Christmas. Use only white feathers dipped in gold glitter for daytime glamor, or even all black feathers for a more formal appeal. There are so many possibilities!
Thank you so much for reading! I wish you all a Happy Thanksgiving (almost) and a wonderful Christmas season. Happy crafting!
If you’d like to see what else I’ve been making, please head over to CailaMade. For more behind-the-scenes fun, like my Facebook page for updates. I’d love to become friends!
Hayley
Hayley Crouse is a wife, mother and multifaceted designer. Her love of sewing, crafting, cooking and interior design infuses her daily life and naturally spills over into her online presence. She pushes the envelope of her creativity and hopes that others will be inspired to do the same. She currently authors the Welcome to the Mouse House Blog, is the pattern designer behind Mouse House Creations and is a collaborative designer with Willow & Co. Patterns.
Latest posts by Hayley (see all)
- Music Room: Home Tour - January 11, 2019
- The Ace Cardigan - July 30, 2018
- Susie Halter Top and Shorts: Project Run and Play - July 18, 2018




So ptetty Caila!
Thank you, Justine!
Thank you so much for having me today, Hayley! This is such a great series! 🙂
you are AWESOME Caila!
Adorable!!
Thank you, Amy!
Wow beautiful! Such a great idea with feathers, leathers. I just love this, and it is something I could make – which helps in this season of Gifts!
Thank you so much, Scone lady! I hope you do make some! 🙂
Love this SO much Caila!
Thank you so much Hayley!!
This is adorable! I love the glitter dipped ends.