I have one of my awesome friends posting today! Suzanne from Winter Wonderings… is one of the nicest bloggers and when I say that she is so sweet, I truly mean it. She has been such a big supporter of many people and I am so happy to call her my friend.
********************************************
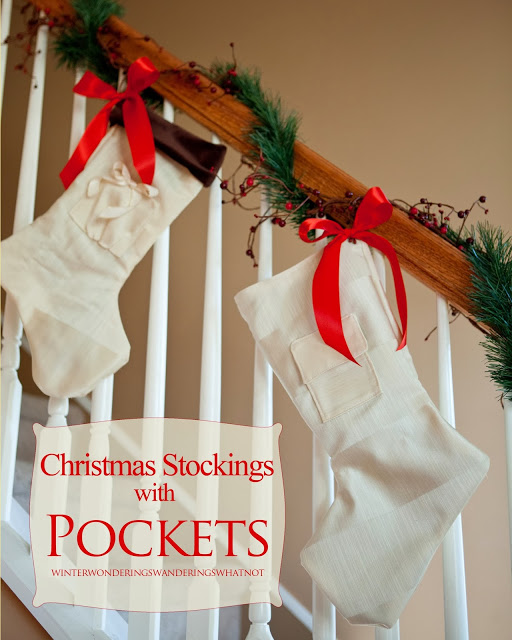
Christmas is right around the corner and while I may not have a mantle to decorate, I still love Christmas Stockings!
Growing up we saved Stockings for LAST. We waited until after breakfast, after the Christmas Story, after all the presents were open, after all the hugs and thank-yous; and then – just when you thought everything was over, my mom would say ‘now it’s time for STOCKINGS!!!’. And we would all smile. Now our stockings were traditionally filled with candy, toothpaste, some socks, etc…. But every year there would also be a special gift saved and tucked inside the stocking. One year it was tickets to a touring Broadway play, another year it was special gold earrings; we were taught young that the best things come in small packages.
So I had grand plans to make stockings for my whole family last year… and it never happened. So this year was the year, and the invitation to this series was the perfect incentive,but I wanted something to make these extra special, and it made me think that all of these special ‘small’ gifts deserved a place of honor in a stocking.
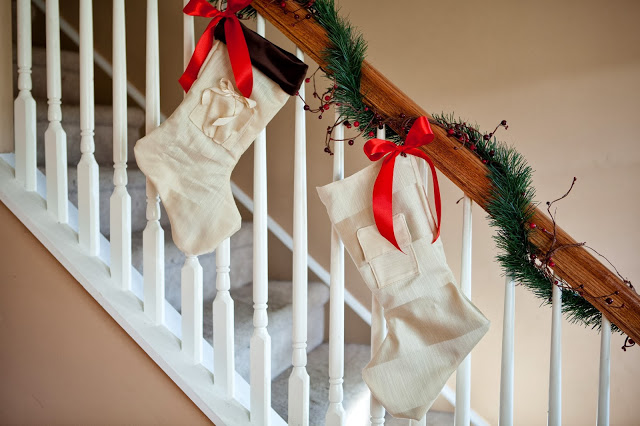
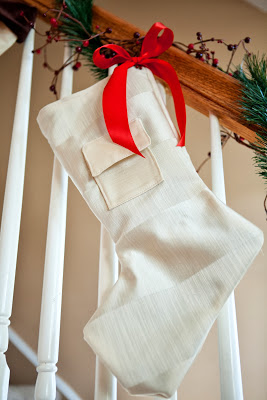
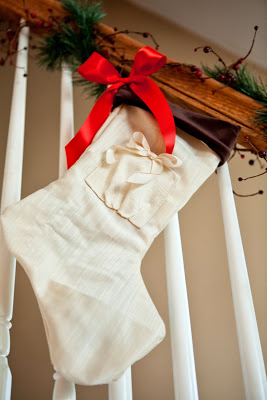
So, today I am offering you two pockets that you can add to any Stocking Pattern, the perfect hiding place for the perfect extra special little something. (Grab the FREE Socking Pattern from Pattern Revolution HERE!!!!)The first is a Flap Pocket (or flap-less it can be a simple rectangular pocket) and the second is a Gathered Pocket. Both of these are quick and easy, so here we go!
Start by downloading your pattern pieces HERE.
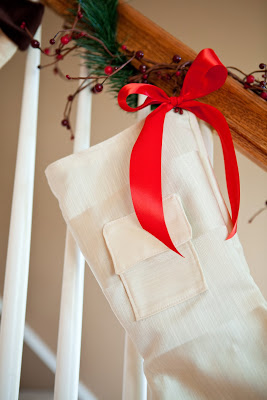
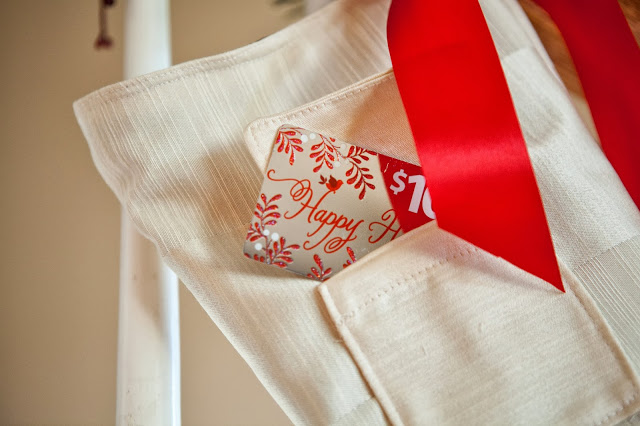
I’ll go over the Flap Pocket first. The flap pocket is perfect for gift cards, tickets, a special note…etc.
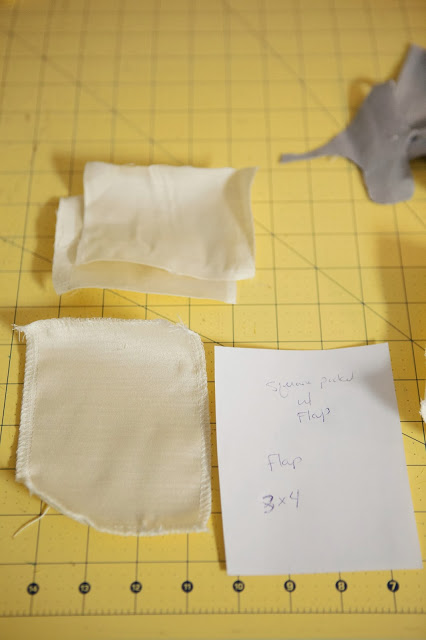
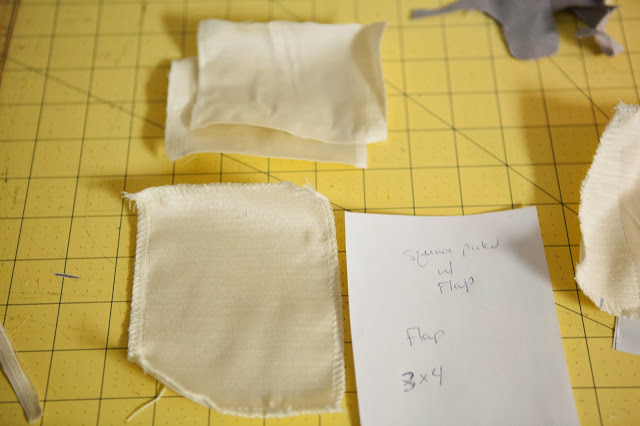
You need to cut ONE main pattern piece, and TWO flap pieces 3inches high x 4inches wide.
go ahead and serge or finish the edges of your main Pocket piece.
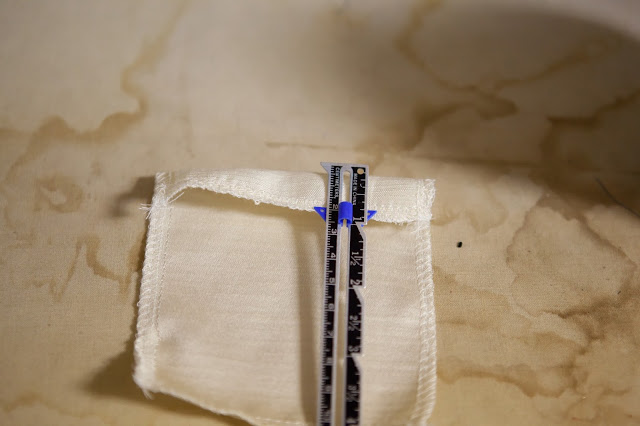
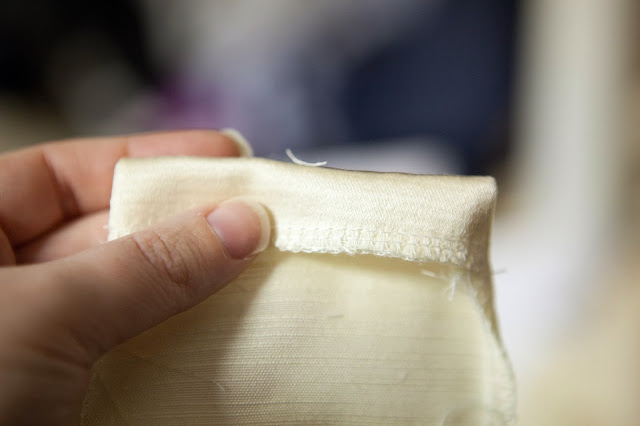
Fold the top of the pocket down 3/4inch to the RIGHT side and press well.
Fold the bottom edge up 1/4inch to the WRONG side and press
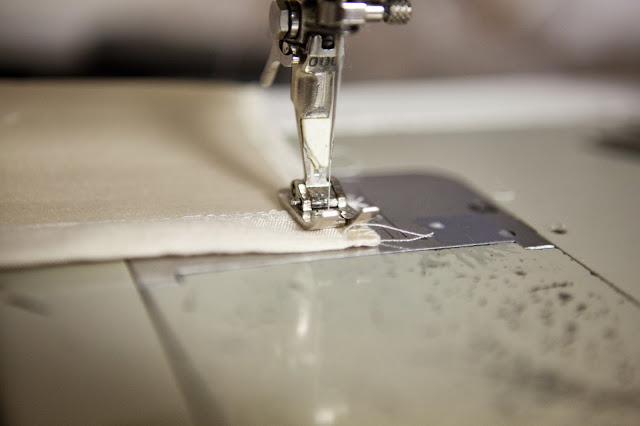
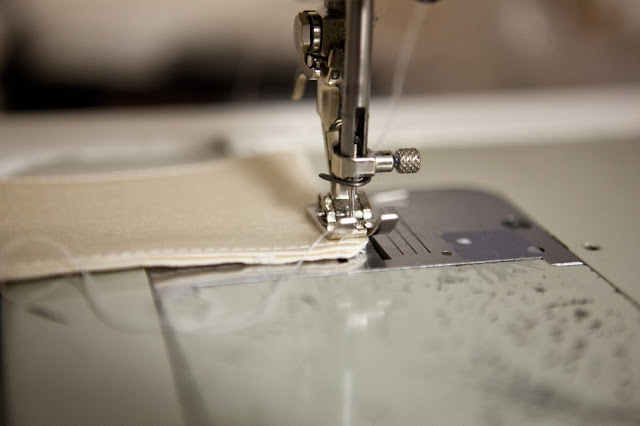
Stitch your top fold along the side from the finished edge to the fold using a 1/4 SA.
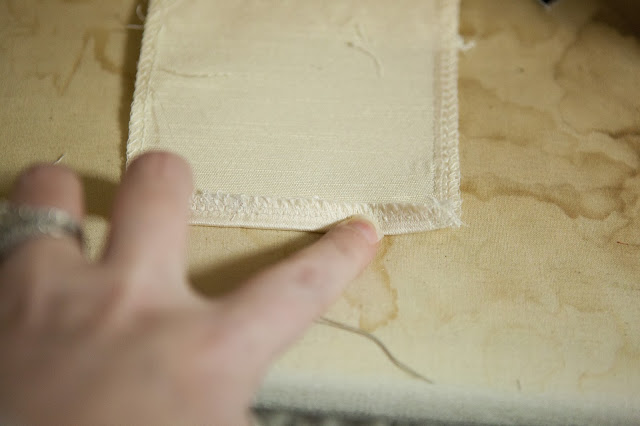
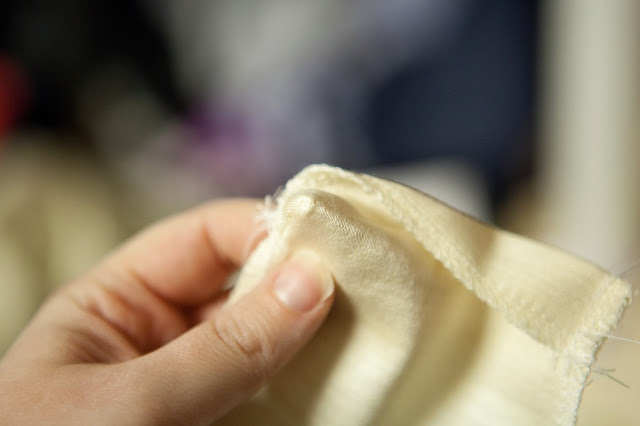
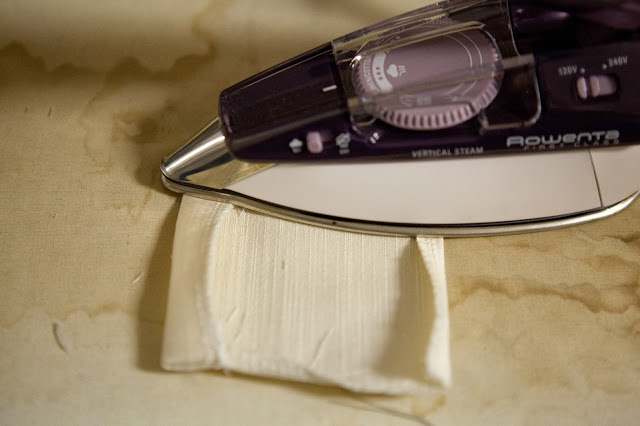
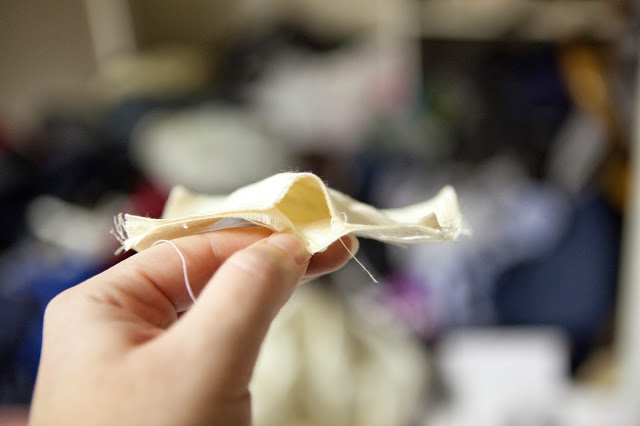
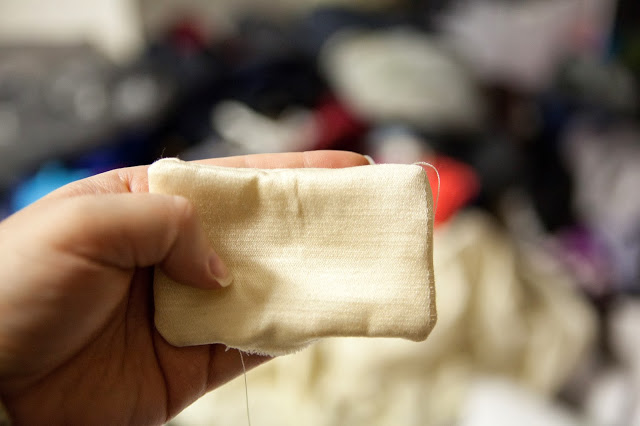
Turn your fold Right side out and press out the corners
*This will make the sides turn in 1/4, as well
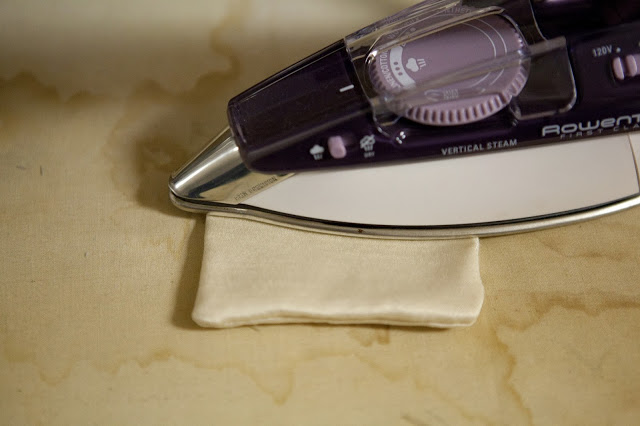
Press Well
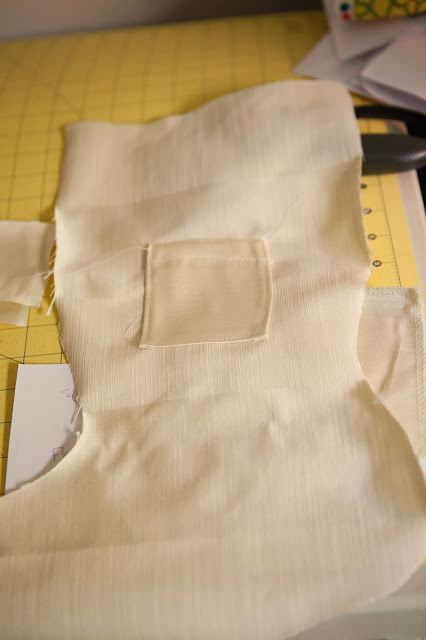
Top Stitch the top fold along the edge, then place on your Stocking and top stitch around the sides and bottom.
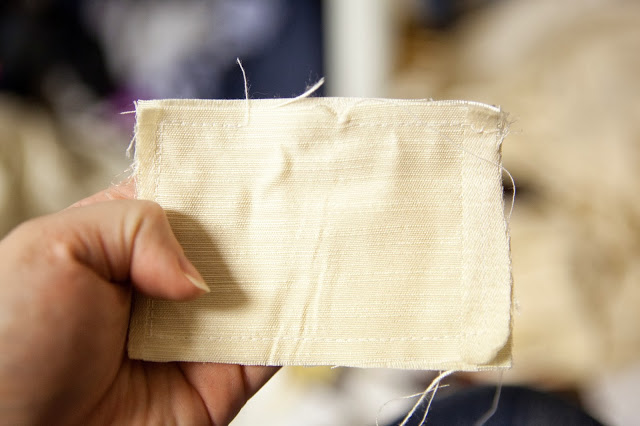
To make the flap, place your two flap pieces RIGHT sides together. Stitch around the edge using a 1/4 SA leaving a 1.5inch opeing along one of the long sides (this will allow for turning)
Turn your Flap RIGHT side out
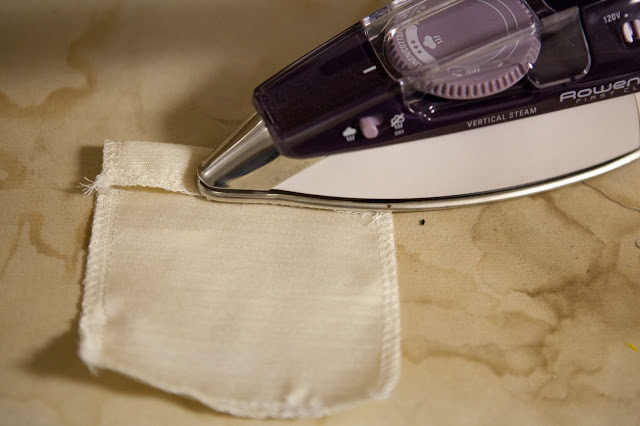
Press well, make sure that your the edges of your opening are tucked in and get pressed into place.
Top stitch around all the edges of your flap (about 1/8 from the edge)
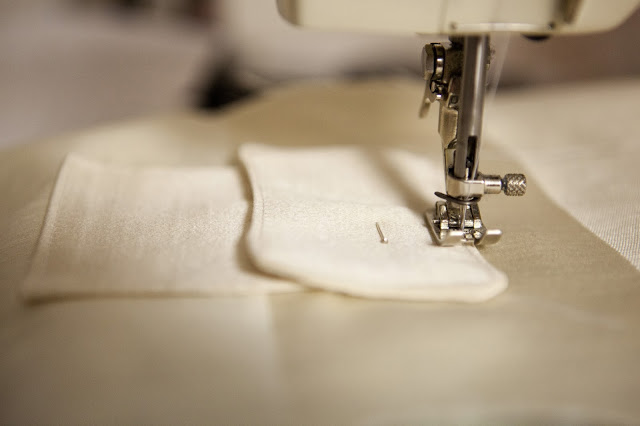
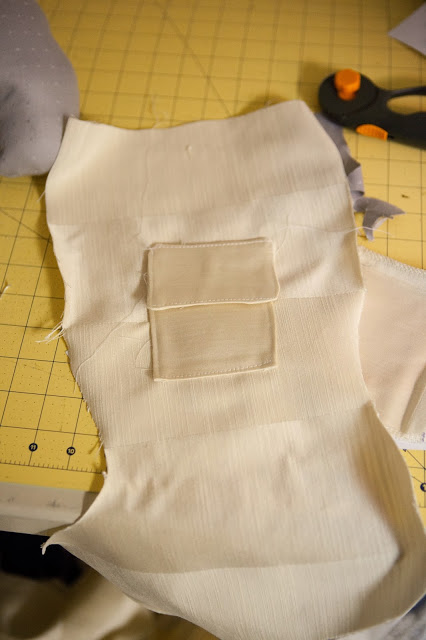
Attach your Flap by lining up the flap 3/4inch above the pocket. Pin in Place. Stitch the flap onto the Stocking by stitching directly on top of your top stitching.
Voila, cute Flap Pocket – now assemble the rest of the stocking as usual.
Gathered Pocket:
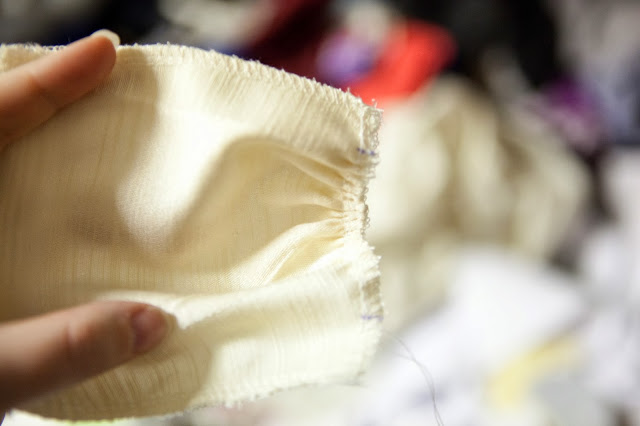
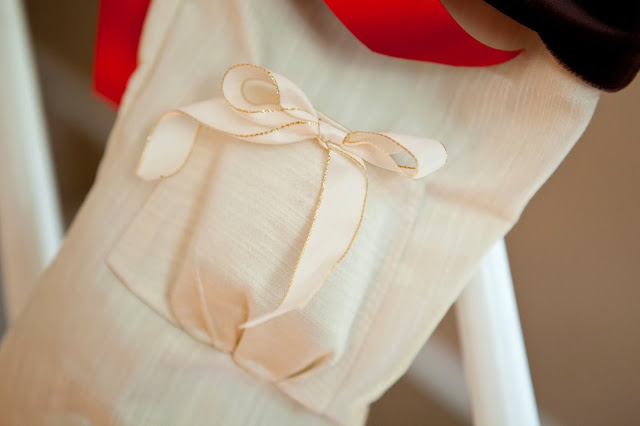
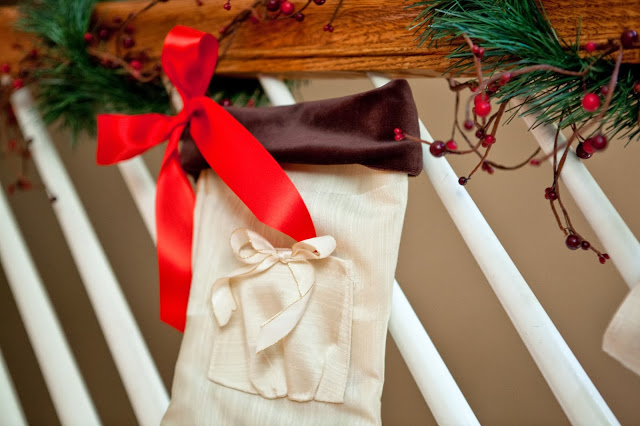
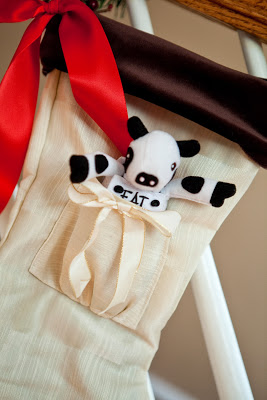
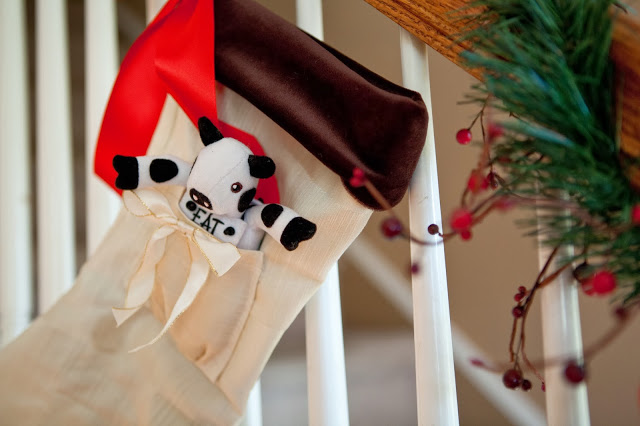
This one is easier – and a little girlier, the gathered bottom gives the space for this pocket to hold stuffies or 3D items.
You only need one piece for this pocket – cut it out and finish your raw edges.
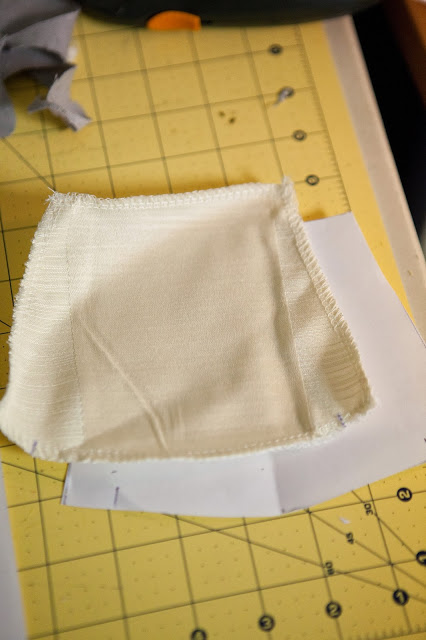
Transfer the marks from you Pattern to your fabric.
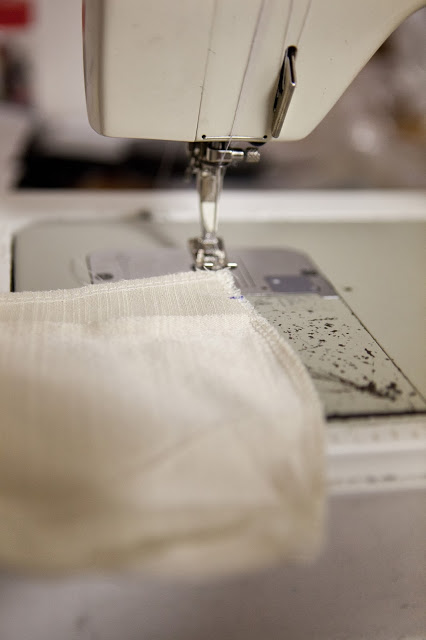
Sew a Gathering Stitch from one mark to the other along the bottom edge
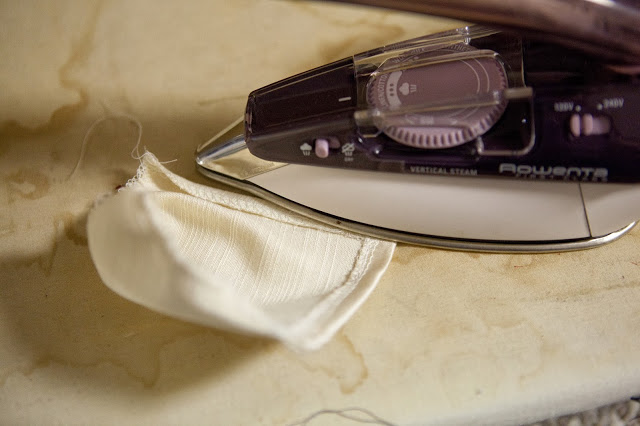
Press all your seams towards the wrong side 1/4 inch
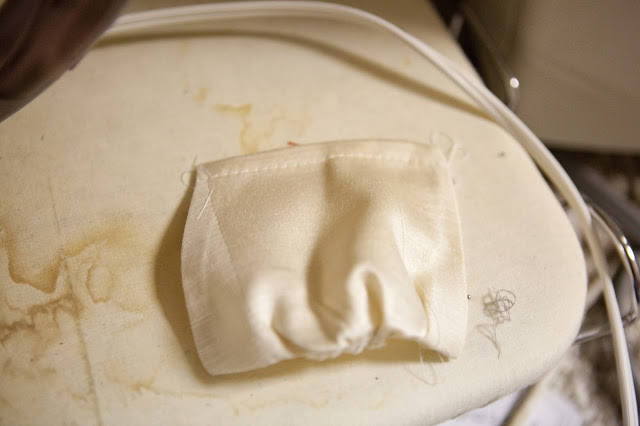
Top Stitch along the edge of the top fold
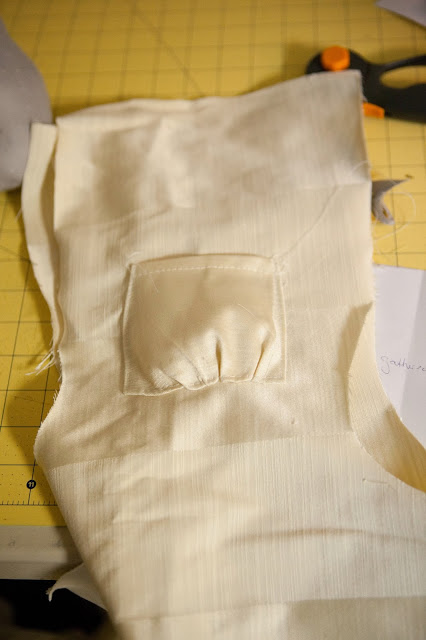
Place your Pocket on the Stocking and pin in place. Top stitch along the side and bottom edges (1/8 from the edge.)
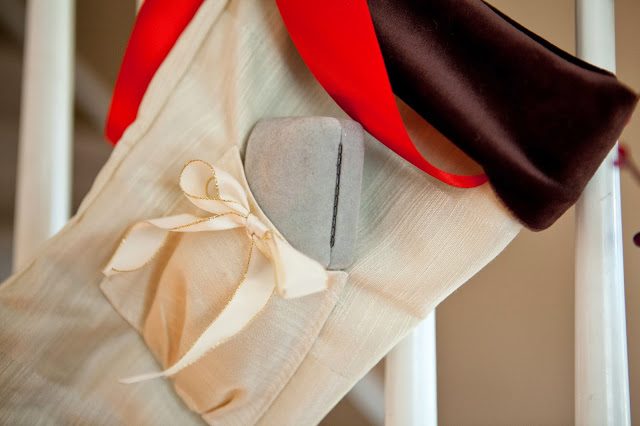
If you want you can garnish with a little bow, a decorative button would be cute too! I just tied a bow and hand tacked it onto the pocket.
Now you have Stockings with pockets! Perfect for a gift card, a little stuffed animal, or even a little hinged box ;o)
Have fun making your own!
Hayley
Hayley Crouse is a wife, mother and multifaceted designer. Her love of sewing, crafting, cooking and interior design infuses her daily life and naturally spills over into her online presence. She pushes the envelope of her creativity and hopes that others will be inspired to do the same. She currently authors the Welcome to the Mouse House Blog, is the pattern designer behind Mouse House Creations and is a collaborative designer with Willow & Co. Patterns.
Latest posts by Hayley (see all)
- Music Room: Home Tour - January 11, 2019
- The Ace Cardigan - July 30, 2018
- Susie Halter Top and Shorts: Project Run and Play - July 18, 2018


Your stockings are beautiful! And I love the idea of adding a small pocket! I’ve linked to your tutorial on Craft Gossip:
http://sewing.craftgossip.com/tutorial-christmas-stocking-pockets/2013/11/19/
–Anne
thanks Anne!!! Such a simple addition with so many practical uses ;o)
Adorable! What a cute idea!
Qué buena idea!! Gracias!!
Thank you SO much Suzanne! What an awesome post with beautiful photos