Today, we have Rebecca from Rock the Stitch sharing an awesomely awesome tutorial for an Origami Fan Skirt. This is really fabulous and I definitely plan to make one!
Thanks Rebecca!
**************************************************
Hi, I am Rebecca from Rock the Stitch. I’m ecstatic to be here guesting at the Mouse House. Thank you so much Hayley for letting me come and play! Today I would like to share my origami fan skirt tutorial.
I shared my first origami skirt creation during Skirt Week this year.
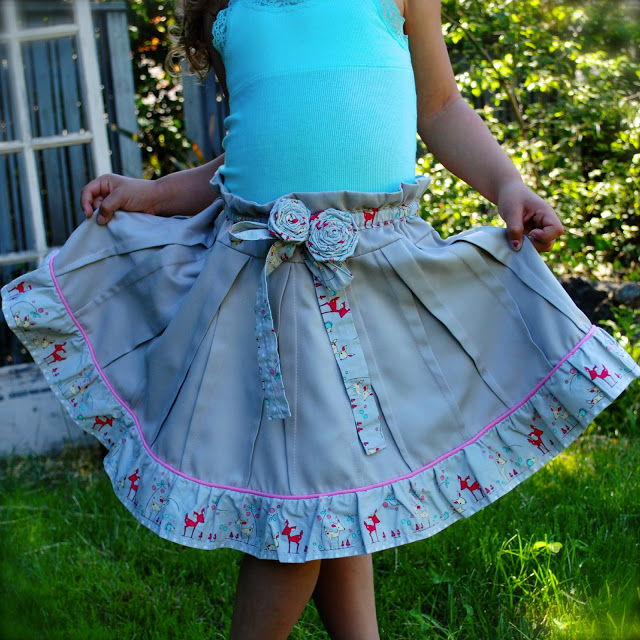
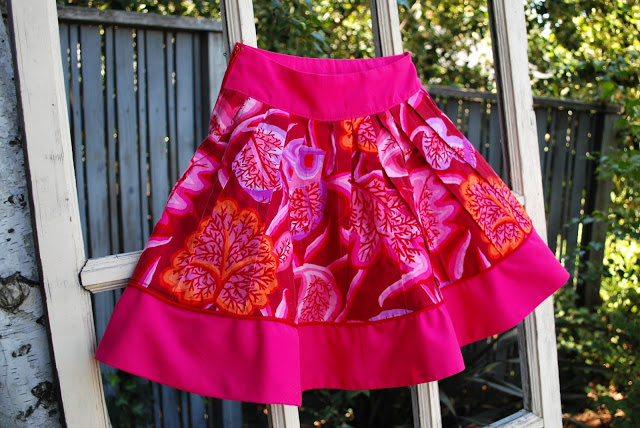
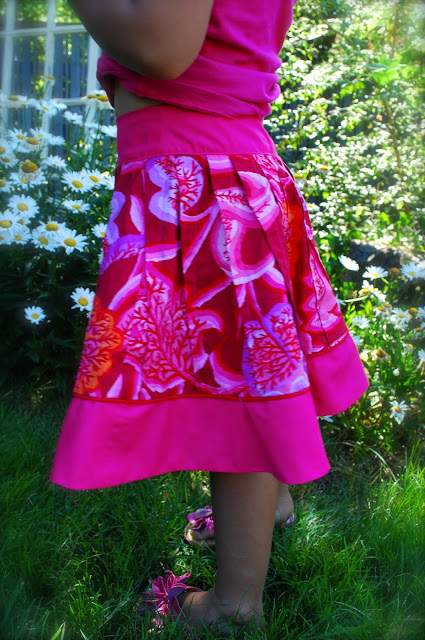
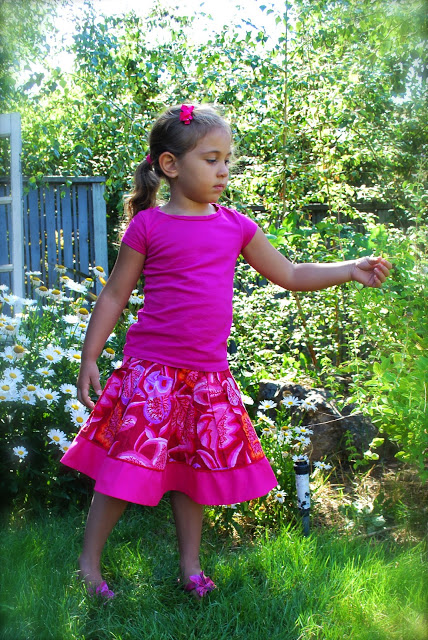
Now I have redone the skirt with a flat, zippered waistband and a contoured bottom band. The best part of all is you don’t need a pattern! I am going to show you how you can make one too.
This skirt was named the origami fan skirt due to the construction technique. Basically, you take a rectangle and fold it until it resembles a fan shape.
The method used to make this skirt should work for any size person; child or adult.
You will need a zipper and two to three coordinating fabrics. Piping is optional. The fabric requirements vary quite a bit depending on the size you make so I would suggest doing the math below first.
*All seam allowances are 1/2″ unless otherwise indicated.*
First off you will need the low waist/high hip measurement of the person you are making this skirt for.
Take that measurement and divide in two. (example: 22″ waist divided by 2 = 11″)
Then multiply your half waist measurement by 3. (example: 11″ x 3 = 33″)
Now add one inch for seam allowances. (example 33″ + 1″ SA = 34″) You will cut two panels at this width.
You can make this skirt any length you choose. I chose to make mine knee length. I was a little generous to give some growing room. My finished skirt is 14″ long (including waistband and bottom band) and hits right at the bottom of the knee.
Approximate main skirt panel lengths for children for a knee length skirt:
6-12 mo: 7″
12-18 mo: 7.5″
18-24 mo: 8″
2t: 8.5″
3t: 9″
4t: 9.5″
5: 10″
6: 10.5″
7: 11″
8: 11.5″
9/10: 12″
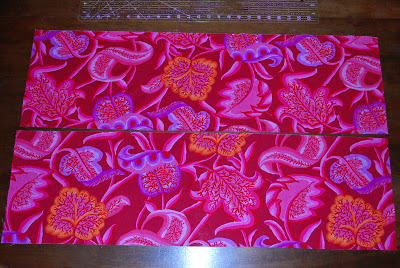
Since my girl is a size 5 with a 22″ waist I cut 2 panels that measure 34″x10″.
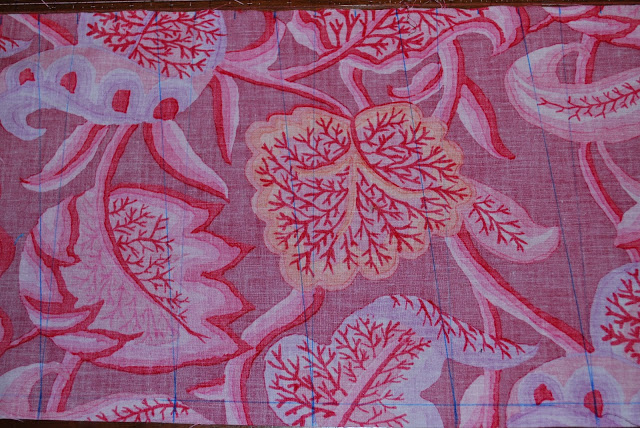
You will use a washable fabric marker or chalk to mark the right side of your fabric. The marks are demonstrated below on the wrong side of the fabric to make lines more visible in the pictures.
First, mark your 1/2 seam allowance across the bottom of the skirt panel.
Now mark the top edge of your panel every 1″, starting a 1/2″ from short end (this will leave a 1/2″ seam allowance). Continue across the entire width.
Then mark the bottom edge at 2″, starting at 1/2″ from short end, then mark every 3″ after that. Continue across the entire width.
Draw a line from the marks on the bottom to the corresponding mark directly above it. These will be your fold lines.
Then draw a line from the mark to the right of your fold line down to the 1/2 SA line. These will be your stitch lines.
Please excuse my caveman capabilities 🙂 I do not have software to make a fancy PDF. But you can download this to print as a reference when making your skirt. Find it here.
Mark your second skirt panel in the same manner.
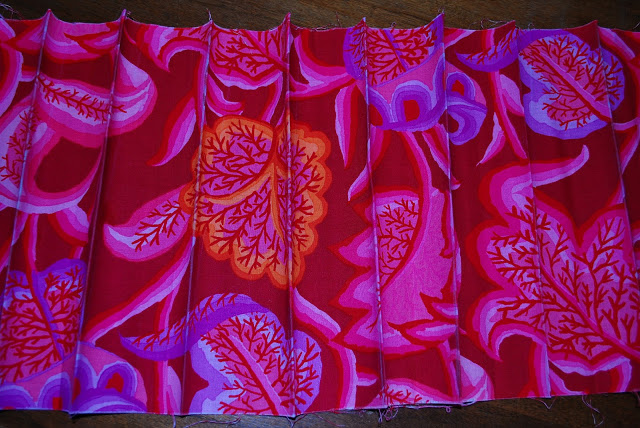
Press your folds with wrong sides together (these are the straight, perpendicular lines).
Now sew your folds in place along the diagonal stitch lines.
Continue down the skirt panel until all folds are sewn. Repeat for the second skirt panel.
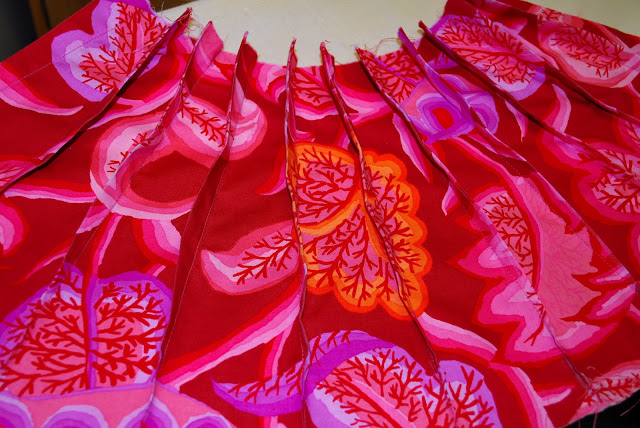
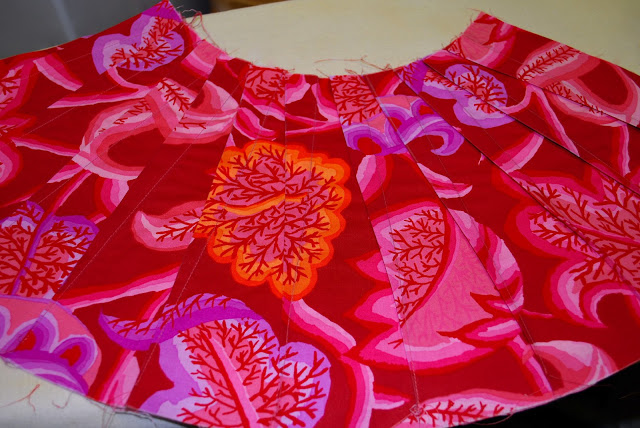
Press your folds in the desired direction. Pressing the folds in different directions will create unique looks.
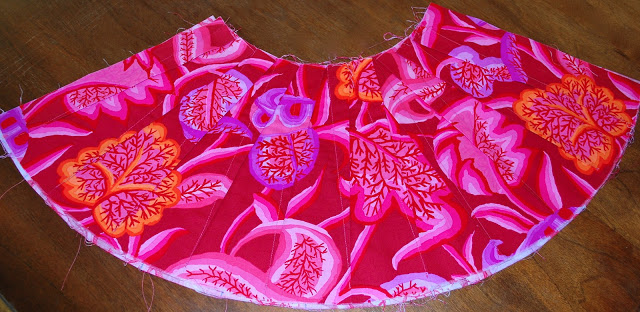
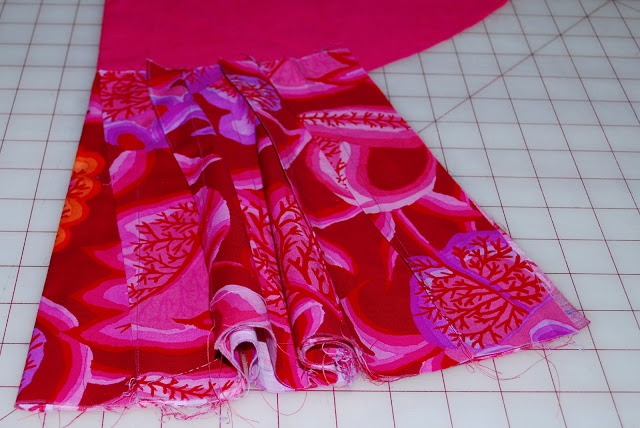
Here is what your panels look like. We started with two rectangles and now have two fan shapes 🙂
We will now use one of these skirt panels to create your waistband and bottom band pieces.
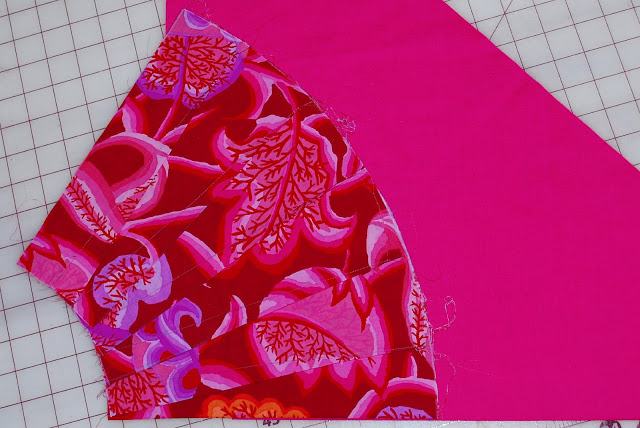
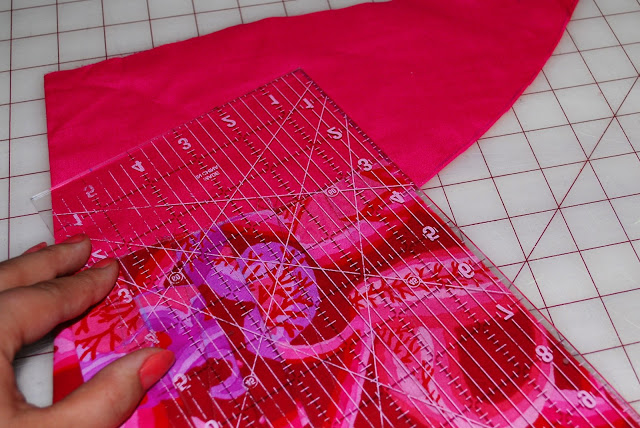
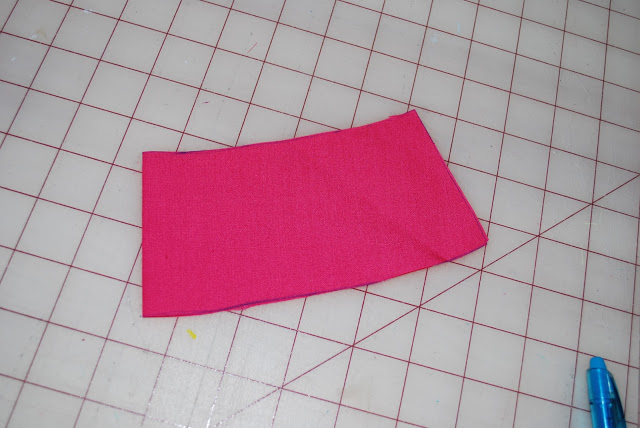
First fold one panel in half width-wise and align raw edges. Then lay your folded panel over your bottom band fabric and align the folded edges. (I am using a large fabric scrap and that is why it is an odd shape.)
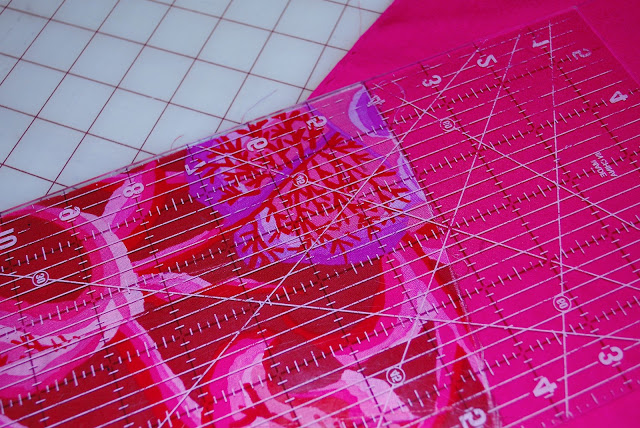
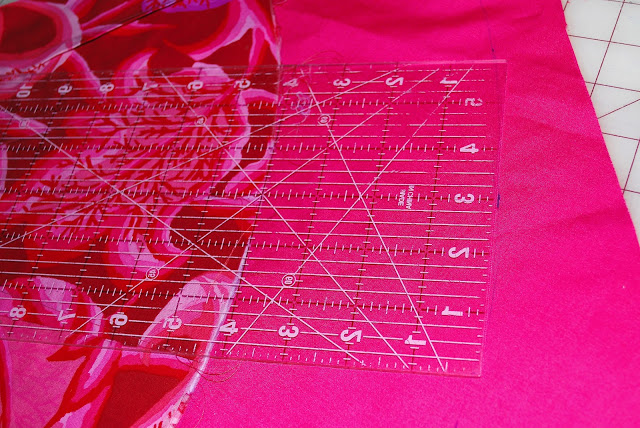
Align your ruler along the raw edge and mark your bottom band length. I chose a length of 4″. With a 1/2′ seam allowance on all sides this will give me a finished bottom band length of 3″.
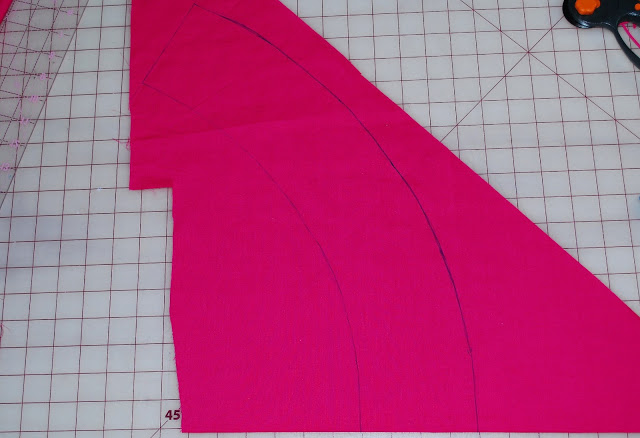
Then use your ruler to make small marks following the curve of the skirt panel. Mark every few inches.
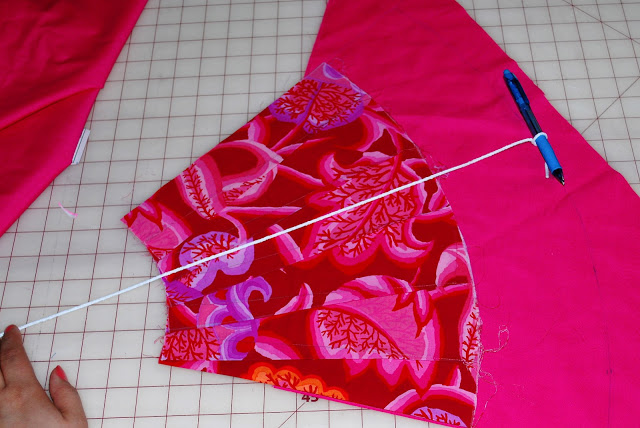
To make this into a nice curve use a string attached to your marking pen. (I am using a regular blue pen here to make it more visible in pictures.) Imagine following the lines of skirt to approximate where they would intersect. Hold your string here. Then use your marking pen, making sure to hold it perpendicular to the fabric surface, to mark the bottom curve of your band. The small marks you made will give you a guide for your line.
Follow the raw bottom edge of your skirt panel to mark the upper curve of your band. Your markings should resemble those in the picture below.
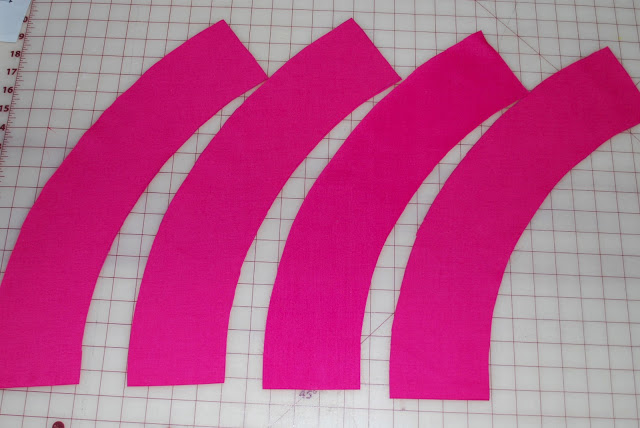
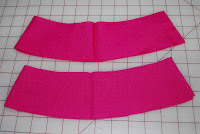
Cut out your bottom band along the marked lines. Use this piece to trace and cut 3 more bottom band pieces for a total of 4 pieces.
Time to make the waistband.
Lay your skirt panel, folded in half with raw edges aligned, over your waistband fabric and align the folds. Now push your raw edge side seam in towards the fold a little to straighten out the top curve of the skirt panel. You should now have just a slight curve.
Align your ruler along the raw edge of the side seam and mark your waistband length.
I made mine 3″ for a finished waistband length of 2″.
Trace the top edge of the skirt panel to mark the bottom of the waistband. Follow the curve to make small marks a few inches apart as we did for bottom band. Because the curve is much less than that in the bottom band, I just freehanded the curve while following the small marks.
Cut out your waistband piece and use it to trace and cut 3 more pieces.
Now you have all your pieces it is time to assemble the skirt!
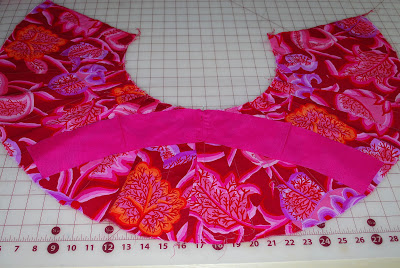
Finish raw seams on skirt sides using zig-zag stitch or serger. Sew together one side seam with right sides together (RST). Then take two waistband pieces place RST aligning all edges. Sew one side seam. Repeat for the other two waistband pieces. (No need to finish these seams because they will be enclosed.) You now have one inner and one outer waistband piece.
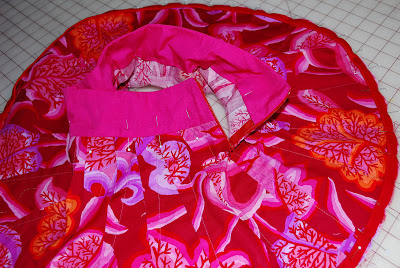
Take your outer waistband piece and lay on top of your skirt panels matching sewn side seams.
Start pinning in the center and pin all the way around the top of the skirt panel aligning with raw bottom edge of the waistband.
Sew together and press seam up towards waistband. Clip curves in seam allowance.
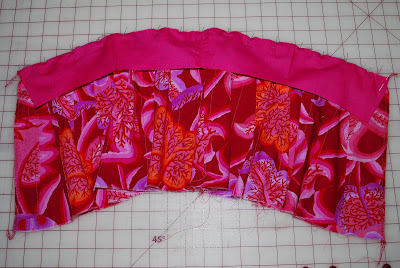
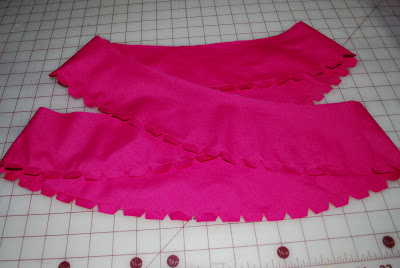
On your other waistband piece sew a baste line 1/2″ from bottom edge. Using this baste line as a guidance, press bottom edge up 1/2″ and clip seam allowance along curve. (I increased the contrast and definition in this photo to 100% to make the seam more visible. Sorry if it looks grungy). In this photo the waist band is flipped over; so the longer curve across the top is the bottom of the band.
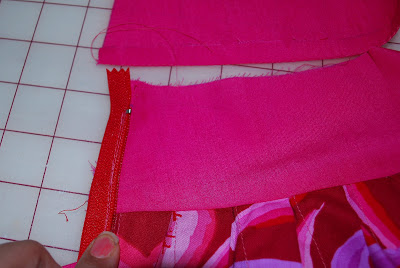
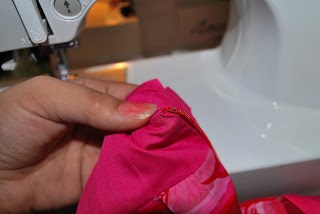
Align your zipper along the side seam. Remember to leave 1/2″ at the top for seam allowance. Mark the bottom of your zipper. Sew your side seams up to this mark with RST. Press seam open.
Sew in your zipper. Then un-zip your zipper and open up the seam allowance, turning you zipper teeth away from the seam.
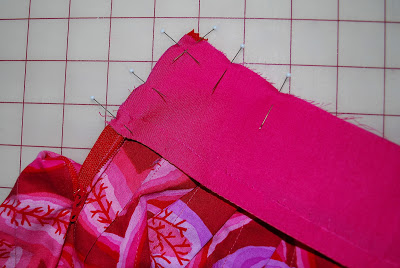
Place your unattached waistband piece over your sewn waistband RST and align raw edges. Note that your zipper is sandwiched between the waistband pieces with teeth pointed away from the seam. Pin and sew up one zipper seam, across the top edge of the waistband, and down the other zipper seam.
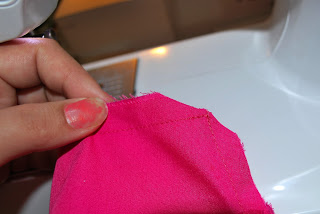
Clip your corners and flip the waistband right sides out.
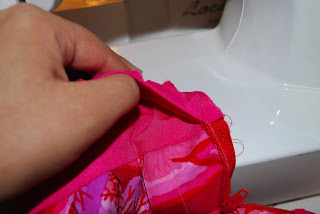
Pin your inner waistband down and edgestitch 1/8′ down one zipper, across the bottom of the waistband, and up the other zipper. This is also a good time to attach your piping if you would like. I have included a mini tutorial for joining your piping on my blog here.
Place one bottom band piece over another bottom band piece RST aligning raw edges. Sew short ends and press seams open. Repeat for your other two bottom band pieces.
Now place your two continuous bottom bands RST and slign side seams. Pin and sew along the bottom/outer edge. Clip curves.
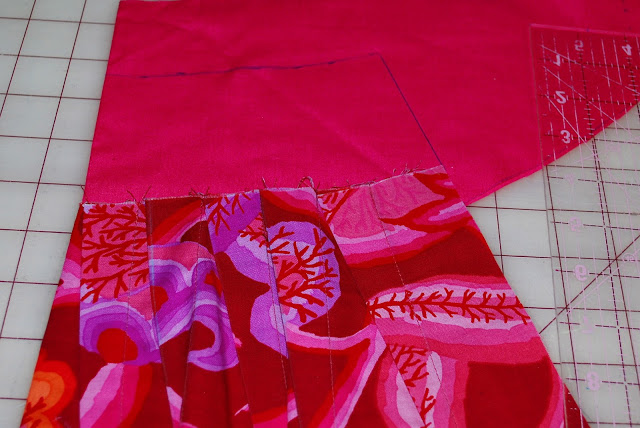
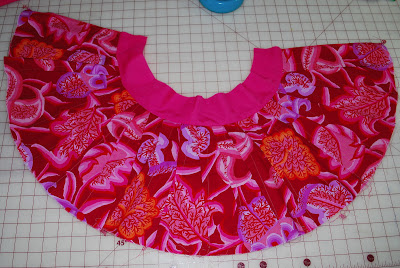
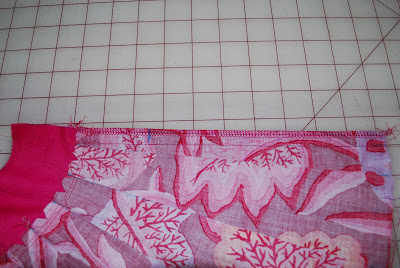
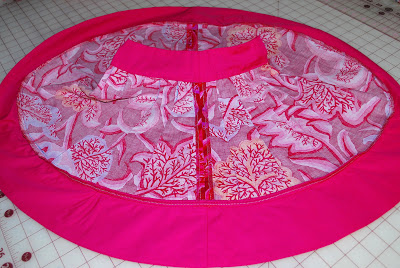
Align the top edge of your bottom band with the bottom edge of your skirt, matching up side seams. Pin in place and sew. If you have piping make sure to sew as close to the piping as you can to make it nice and tight. If you are using a sewing machine, finish the seam with a zig-zag stitch. And you are done!
The inside looks almost as nice as the outside 🙂
Hooray!!!
You may have noticed my…um..manicure? I’m rockin’ it courtesy of my 3 year old daughter. Don’t hate! 😉
If you enjoyed this tutorial please come visit me at Rock the Stitch.
Thanks again for letting me visit today!
Hayley
Hayley Crouse is a wife, mother and multifaceted designer. Her love of sewing, crafting, cooking and interior design infuses her daily life and naturally spills over into her online presence. She pushes the envelope of her creativity and hopes that others will be inspired to do the same. She currently authors the Welcome to the Mouse House Blog, is the pattern designer behind Mouse House Creations and is a collaborative designer with Willow & Co. Patterns.
Latest posts by Hayley (see all)
- Music Room: Home Tour - January 11, 2019
- The Ace Cardigan - July 30, 2018
- Susie Halter Top and Shorts: Project Run and Play - July 18, 2018






i NEED one in my size!
Fun!! Thank you for the awesome tutorial, Rebecca!
Such a pretty skirt. <3
Mae
What a fun skirt! Love it! Love the manicure too! 😉
you have a great blog ^ ^
you want to follow each other?
follow me and let me know with a comment
and follow you too :))
kisses
http://lemonchicbeautyfashion.blogspot.it/