********************************************************************************
Hi Mouse House Readers, my name is Suzanne and I blog over at Winter Wonderings…. When I am not chasing after my three toddlers, I roll up to my ancient bernina and get my sewing on ;o) I am so excited to be here with you today!!!
We all want the perfect gift… and finding the right gift can sometimes be hard – especially for children that you might not get to see all the time. Do they already have that toy? What size are they in? Is it their style??? Well I can thank my sister for cluing me in to the PERFECT gift for kids and toddlers.
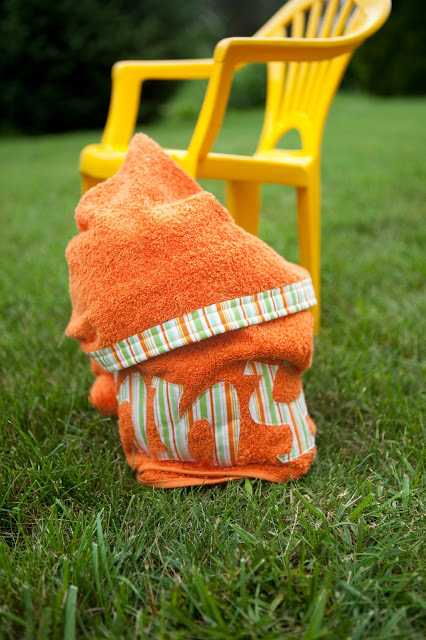
Ok, I know it isn’t exactly a new idea – but it is seriously the gift that can never go wrong. Hooded towels are of course great for the summer – the beach, the pool, and splashing around in the sprinklers. But, they are also wonderful year round to use as a bath towel.
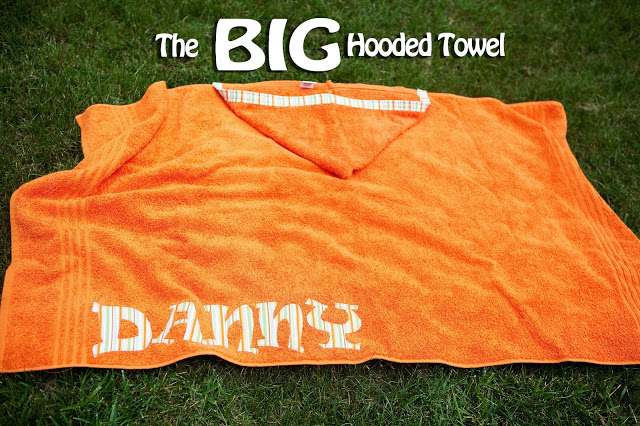
Personalize it with fun fabrics, their name, a super fun design – and voila, the perfect customize-able gift for any child.
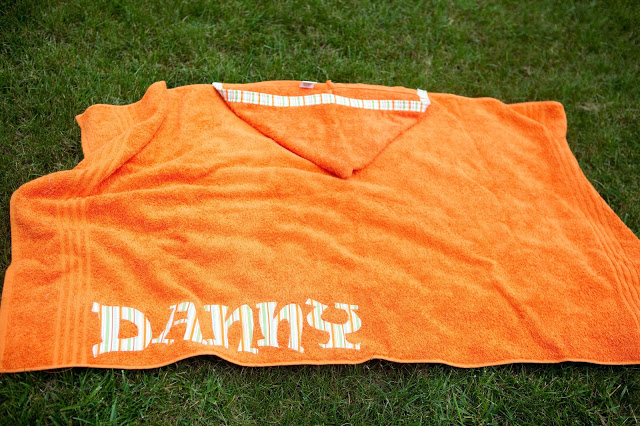
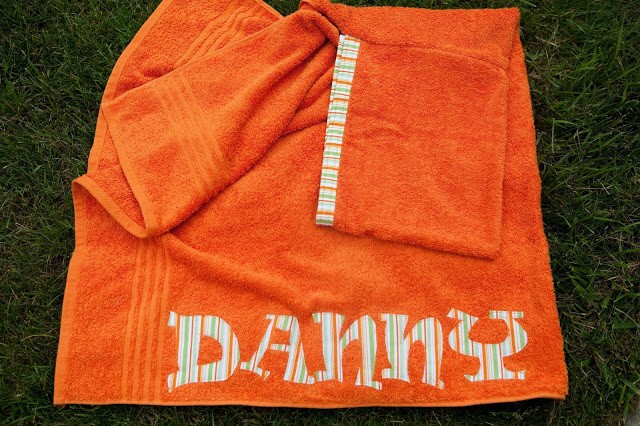
I will share with you how I made this full sized towel – It worked on my 2 year old nephew and also fits on my head, WOHOOOO, no more worrying about size or growing out of it by next year!
For this Project, you will need:
1 Large Bath Towel
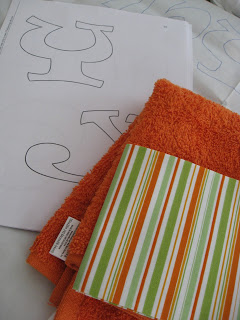
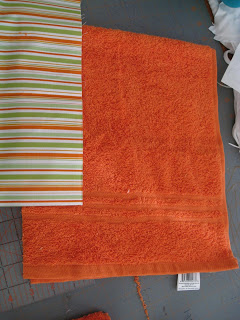
1 Hand Towel
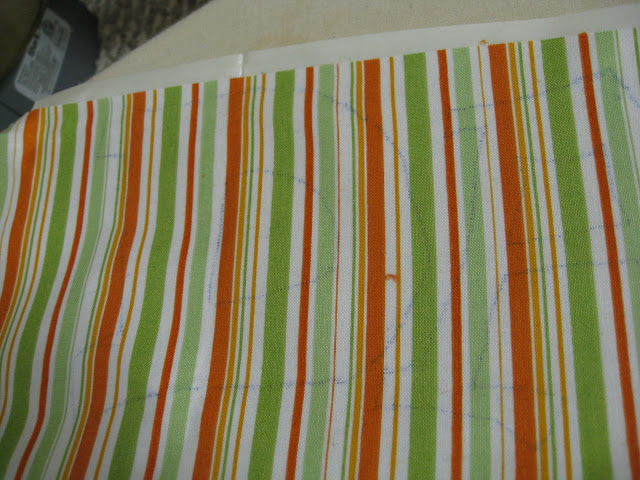
1 Fat quarter of coordinating fabric
Heat And Bond (or any two sided heat activated adherent)
Sharp Scissors
Hot Iron
*I also highly recommend the Alphabet included in the Personalized Towel and Tote Bag Pattern by The Sewing Loft – the pattern includes full pattern for an adorable tote and then a variety of designs and a full alphabet to applique to your hearts’ content. Th alphabet made this project so much easier and more professional looking than when I try to free hand.
Lets get started!
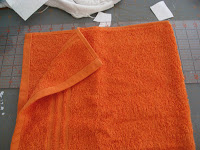
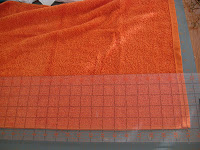
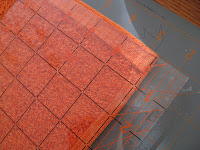
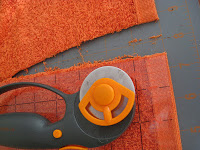
-Lay out your hand towel, cut 5 inches off the LONG side of the rectangle (discard the 5 inches)
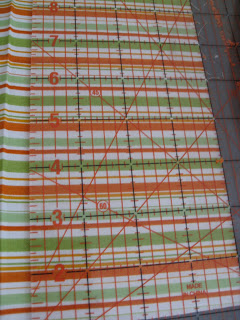
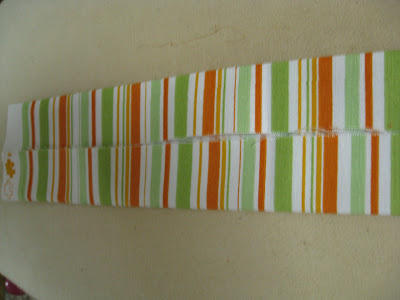
-Cut a 4 inch wide strip of your coordinating fabric 2 inches longer than the long side of your hand towel.
*I cut two strips from my fat quarter, sewed them together along the short end, and pressed the seam open
Making a Personalized Name:
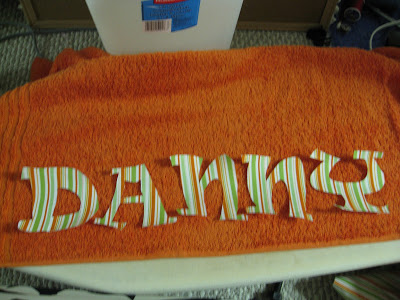
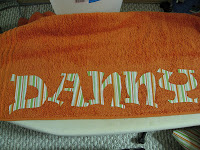
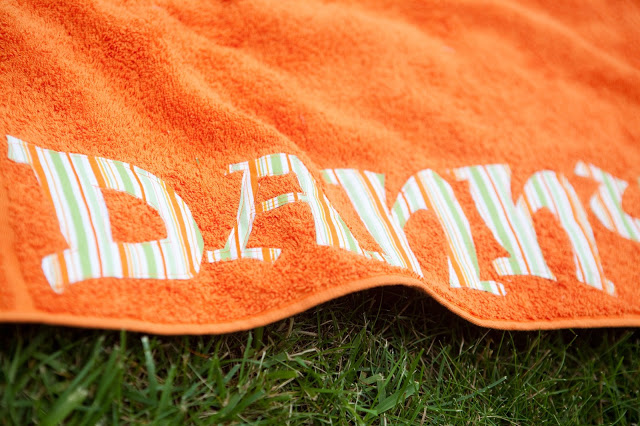
-Pick the letting you want and write the name on the BUBBLY side of the Heat and Bond (NOT THE PAPER SIDE) – use a marker or gel pen so it will show through to the other side
-Iron the name onto the WRONG SIDE of the correct size piece of coordinating fabric
-Cut out your letters (I found sharp scissors worked great, but you can also use an exacto knife – or if you have one of those awesome silhouette machines, even better!)
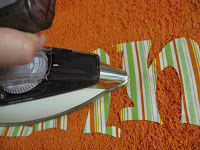
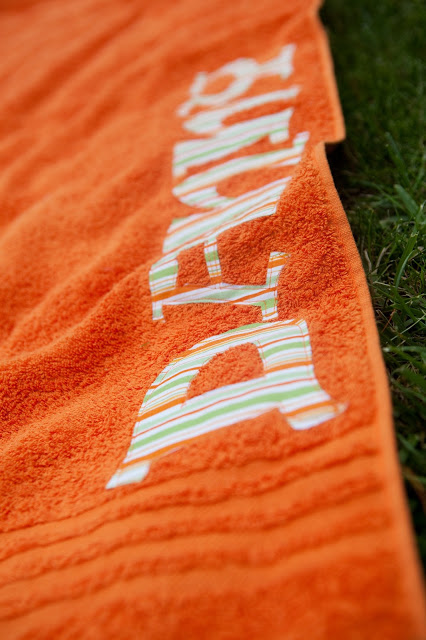
-Peel off the paper backing and iron your letters where you would like on the towel to set the adhesive
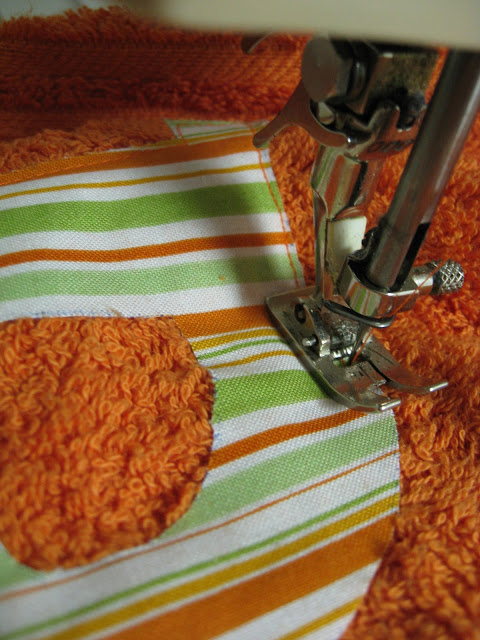
– Using a long straight stitch on your machine, sew around the edges of each letter about 1/8 to 1/4 from the edge. This will keep the letters in place for many washings to come (you can do a satin stitch, but it takes more time and patience than I have ;op).
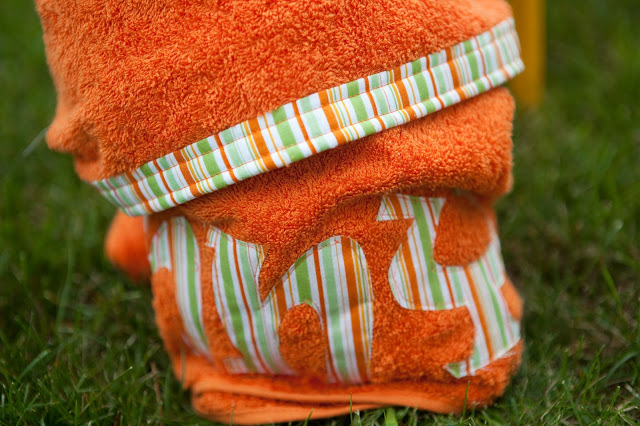
Making the Trim for your hood:
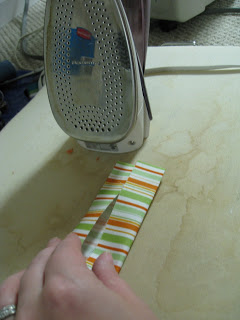
-Take your 4 inch band of fabric and bring it to your ironing board
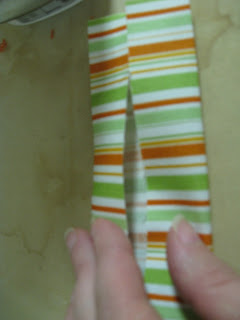
-Fold the edges in so that they meet in the middle and press along the whole length
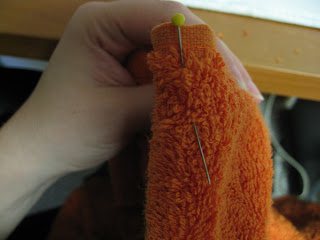
-Open one edge and pin along the long (CUT) edge of your hand towel – Right rides together
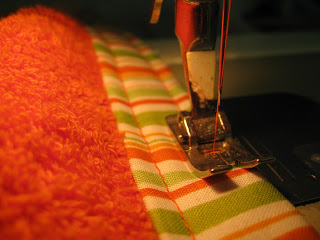
-Stitch in the fold
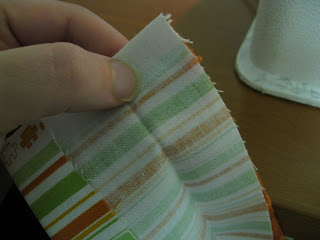
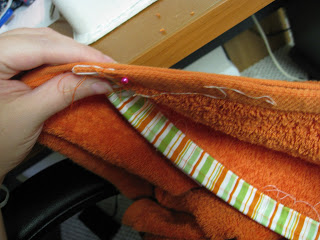
– Fold over the edge of the towel and pin in place
*At the start and end, lay the binding flat, fold your inch of overhang in, fold in half. This will contain any raw edges and prevent fraying
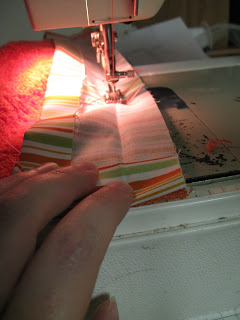
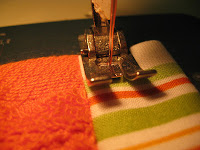
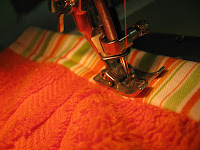
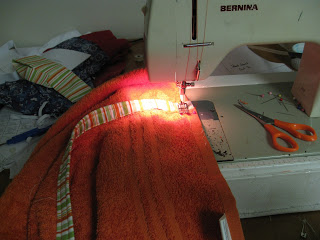
– Stitch along the front 1/4 inch in from the sewn fold (make sure you are catching the back pressed fold)
– Top Stitch along the Folded edge 1/4 in from the edge
Attaching the Hood:
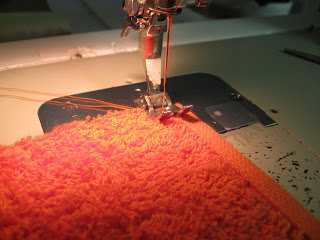
– Fold your hand towel in half – pin together the side opposite your trim and stitch with a 1/2 inch seam
– Fold your Towel in half and mark the center with a pin along the top edge.
– Line up the center of the bath towel with the hood seam (right sides together) pin in place out from the center.
– Stitch along the edge of the towel binding (back stitch at each end)
Hayley
Latest posts by Hayley (see all)
- Music Room: Home Tour - January 11, 2019
- The Ace Cardigan - July 30, 2018
- Susie Halter Top and Shorts: Project Run and Play - July 18, 2018



Thanks so much for having me today Hayley – it is great to be here!
Love this!
Cute idea – thanks for putting it together Suzanne.
This is great. I’m super excited going to do this tonight!
It looks awesome! I’ve never made a hooded towel- thanks so much for sharing.
~Heather