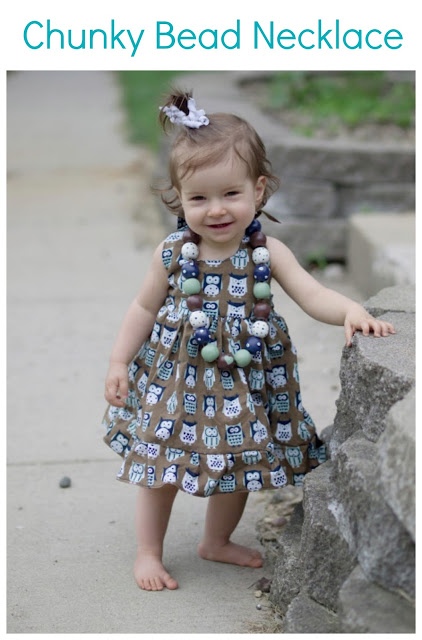
Today, we have the lovely Krista from Woodland Grove sharing a really awesome tutorial for those chunky bead necklaces that have taken Pinterest by storm… If you are anything like Krista (and me), you would rather make your own!
*******************************************
Hi – thanks to Hayley for having me today. I’m Krista and I blog over at Woodland Grove . When I’m not trying to be crafty, I’m being a project manager (full time), a photographer (part-time), and a mom to three little ladies (ages 9, 7, and 1).
I have a confession – I love chunky necklaces. Love them. As much as I would love to buy the really cool ones you can find on etsy, I just can’t justify buying more than one or two. But I want more than a few. I want one to match every outfit my daughters have. For real.
Hayley’s tutorial yesterday for making chunky necklaces was pretty terrific, but I don’t live close enough to a craft store or bead shop to buy cute beads, and I don’t want to order online because I like to see things in person first 😉
So, my solution: Hand paint wooden beads (readily available at most craft stores) Problem solved…an inexpensive solution to my chunky necklace crisis. Want to make some for yourself? It’s super simple and super inexpensive.
What you’ll need:
First determine what you want to string your beads on, and if you want to use clasps. That will tell you if you need ALL of these things or just some.
- Freezer Paper (or other surface protector)
- Wooden Craft Beads (I use 19-23 1″ beads)
- Smaller beads to use as separators (if desired)
- Acrylic Paint
- Glossy Mod Podge (spray or ‘regular’)
- Various Paint Brushes
- 1/2″ Ribbon (you can use craft wire/nylon thread and clasps/jumprings/closures if desired)
- Tapestry Needle or collapsible-eye needle (if not using wire of something similarly ‘skinny’)
Step One: Choose your beads.
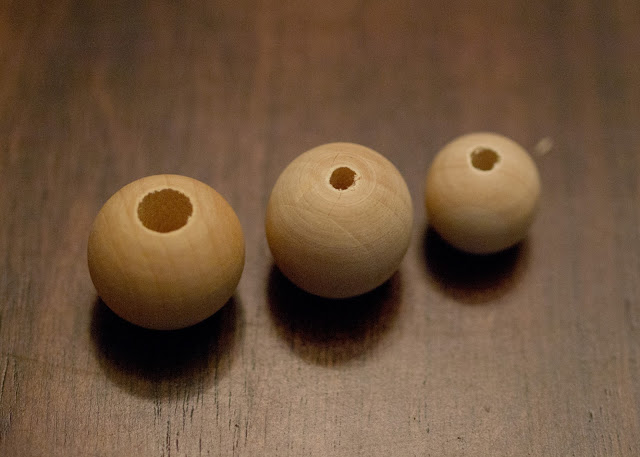
Craft stores usually have 20mm (far right) and 1″ beads (middle and left). I usually use the 1″ beads. I’ve found two types of 1″ wooden beads – one with a small hole, and one with a large hole. My local stores carry the larger hole, but I prefer the smaller hole so I order them online. I usually go with all 1″ beads, but mixing the 1″ and 20 mm might look good too 🙂 be creative. Just a note – if you want to use the beads with the larger holes, you might not be able to use separators because they will slide inside the bead h ole.
For this necklace, I’m using 19 1″ beads with a small opening. I like to string the beads with ribbon so that the beads don’t rub against the back of the girls’ neck. If you prefer a more finished look, you can use jewelry clasps and use about 4 extra beads so the ribbon doesn’t show as much.
Step Two: Decide what colors you want
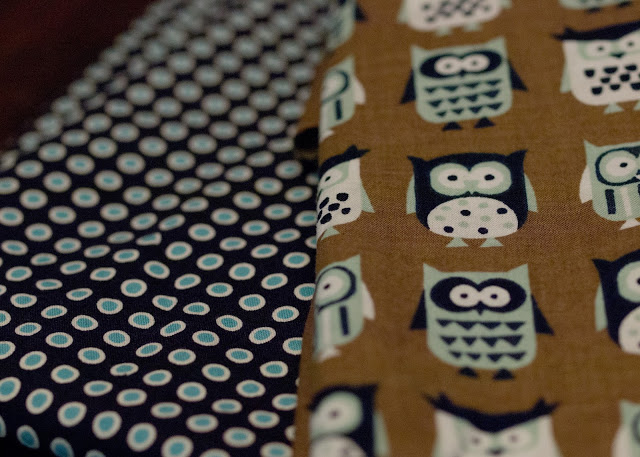
Grab an outfit you have handy that you’ll want your wee-bit to wear with the necklace, or grab some fabric that you’ll us using to make a new outfit. Grab 3-4 coordinating acrylic paints. If you don’t have an exact match, try mixing a few colors together to get the color you want.
Step Three: Start painting
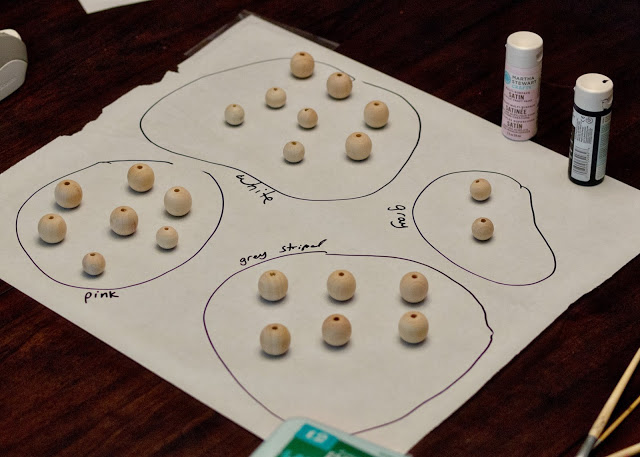
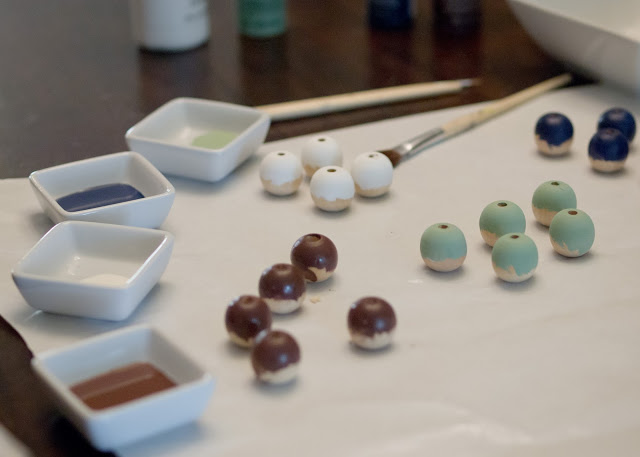
Cover your surface area. I like to use freezer paper (shiny side up) because the beads won’t stick to it as much as regular paper.
I group my beads by color so I don’t lose count of how many of each color I want and accidentally paint one the wrong color. Yes, I’m error prone.
I like to use empty egg cartons to squirt/mix the paint in, but I didn’t have any, so I used dipping saucers.
Paint the top half of each bead and let it sit for 15-30 minutes.
Step Four: More Painting
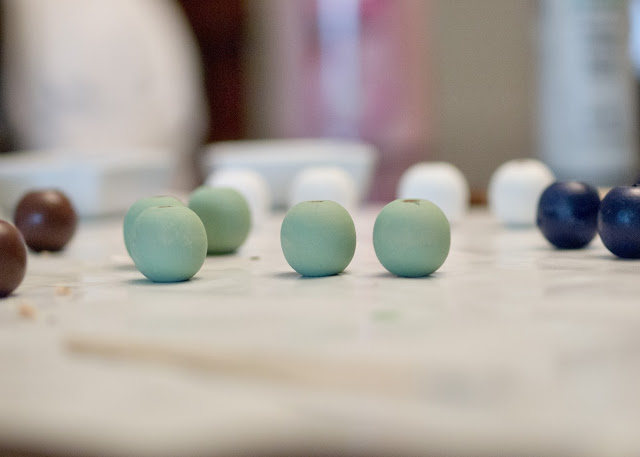
Once dry, flip the beads over and paint the other side. Wait 15-30 minutes, then take a look at each bead to see if another coat of paint is needed.
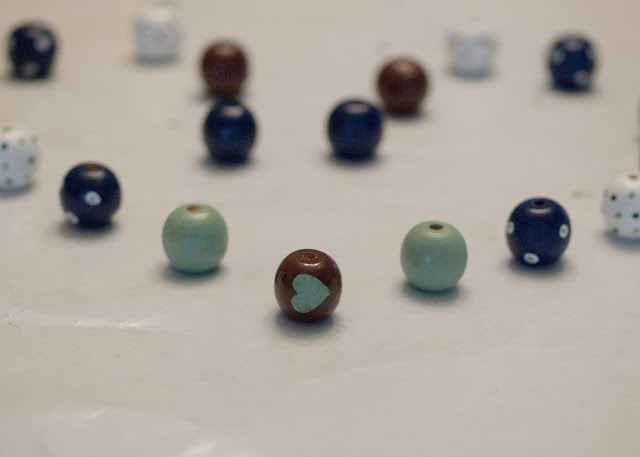
Once you get the amount of coverage you want, and the beads are nice and dry, embellish them with painted designs. Painting is not my forte, so I keep it simple with dots and hearts. Sometimes I like to keep the beads a solid color and don’t embellish them. You can combine different types of paint – pearl, sating, glitter, etc for a more fun effect.
Step Five: Making your beads shiny
Now – time to make them shiny. I usually use a plain ‘ol bottle of glossy Mod Podge and paint the beads with a brush, one side at a time.
This time I tried spray Mod Podge. After two coats on each side, I still wasn’t happy with the results. Probably user error, but I think I’ll stick to the original formula next time.
Step 6: String your beads
Lay your beads out in the order you’ll string them. Move them around until you like the pattern. If using ribbon, heat-seal the ends.
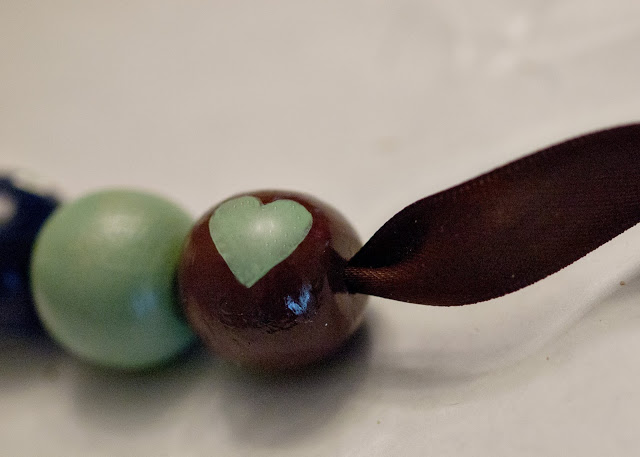
Since my beads have a small opening compared to the width of the ribbon, I use a tapestry needle to thread the ribbon through the beads.
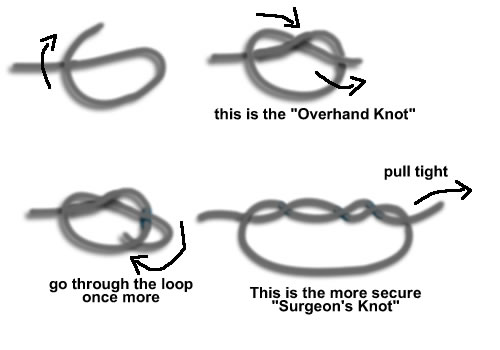
Once strung, decide how you want to fasten the necklace. I prefer to tie them. If the necklace is for a baby, and you prefer the tied look, I highly recommend gluing the knot so it won’t come untied. And pretty please promise to closely supervise the little bit when she’s wearing the necklace. Ok, now that we’re clear on safety…here’s how I prefer to fasten them: I tie a surgeons knot
and dab a bit of glue to secure it. Then I tie a bow.
For older girls, I don’t use glue. This way I can swap beads out and do different color combinations, or add beads as the girls get bigger.
Thanks for having me – go make some necklaces 🙂
Hayley
Hayley Crouse is a wife, mother and multifaceted designer. Her love of sewing, crafting, cooking and interior design infuses her daily life and naturally spills over into her online presence. She pushes the envelope of her creativity and hopes that others will be inspired to do the same. She currently authors the Welcome to the Mouse House Blog, is the pattern designer behind Mouse House Creations and is a collaborative designer with Willow & Co. Patterns.
Latest posts by Hayley (see all)
- Music Room: Home Tour - January 11, 2019
- The Ace Cardigan - July 30, 2018
- Susie Halter Top and Shorts: Project Run and Play - July 18, 2018




This would be SO fun to do w/ my daughter today! We’re looking for a fun summer craft. That little girl is so darn cute in that sundress! Just want to scoop her up!