I am very happy to have the talented Crystal from Ginger Dimples over here today. Recently, I used her Aurelia pattern to create this adorable dress (more on that one day, I promise)
Crystal is here today to share a super cute pattern/tutorial for a Summer Lounge Sleep Dress! Thanks lady!
**********************************************
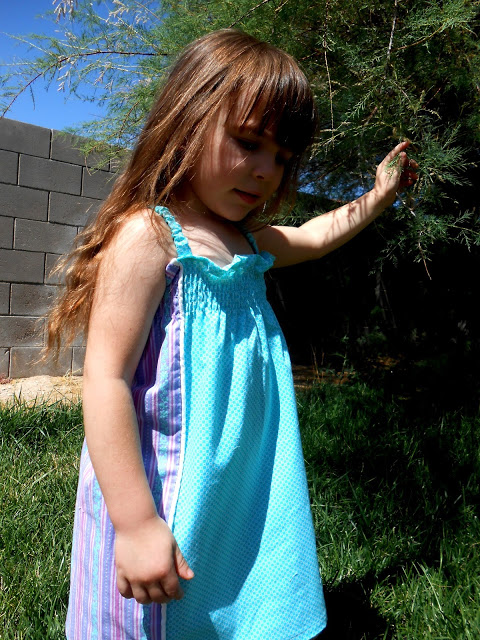
Call her “Nudy Trudy”. My 4 year old hates clothing. In her defense, its sooooo hot in the desert we live in. All the same, when I open the door to get the mail and my girl runs out in nothing but her undies for the world to see, I get a little uncomfortable especially since most days I’m heading to the mailbox for fabric or patterns. Really…and yet my child is naked. OY. I’m in my jammies all day so I can’t really expect her to get all gussied up with no place to go. I decided to make her some light summer jammies that she can sleep in and wear all day until it’s time to change into a new pair for bed again. Just typing that earns me the laziest mother award. An award is an award though, right? I’m the best and I have an award to prove it. I’m sharing this tutorial with you, because you may strive for ultimate sloth or because you want your kids to just have jammies to sleep in…because you’re average and have no awards. Either way, ENJOY! This tutorial includes shirring. If you’re scared of shirring, don’t be! It’s really so super easy. It’s sewing a straight line with elastic thread in your bobbin. That’s it! You can do this and if you can’t, just check out youtube for some helpful tutorials. You’ll soon be shirring like a kitten…word play! It’s very addicting and opens so many doors, windows, and portals into the sewing universe. Sold yet? Of course you are. Without further delay:
THE SUMMER LOUNGE/SLEEP DRESS
Materials:
Fabric amounts are given for children’s sizes through size 8 and may require less or more depending on your child’s height. They are just approximations based on standard measurement charts. Fabric yardage is based off of a 44″ bolt. 3/4 yards of main fabric. 3/4 yard of contrast fabric 1.5-2 yards of piping (optional) 3/8” elastic Coordinating thread Elastic thread for shirring 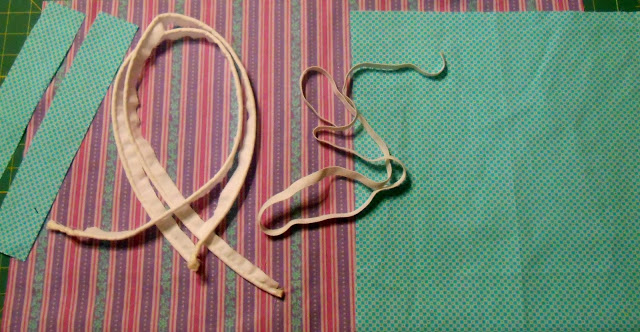

MEASURING FOR YOUR PIECES
* For the LENGTH of each panel: Measure your child from the chest (just above the armpit) to the desired length + 1.5”
*For the WIDTH of each panel:
*BACK: Measure your child’s chest all the way around and add 1” for SA
* FRONT: Chest measurement divided in half plus 1” for SA
(My 4T chest measurement was 23” and Length 20”).
My pieces were as follows: Back Panel: 24” x 21.5” Front Panel 12.5” x 21.5”
*Elastic and strap casing measurements given within the sewing instructions
SEWING INSTRUCTIONS:
Gather your back panel. On the top of the WRONG side, mark the center point right under your bottom fold line. Then make a mark 1.5” on each side of the middle point. These are for strap placement. 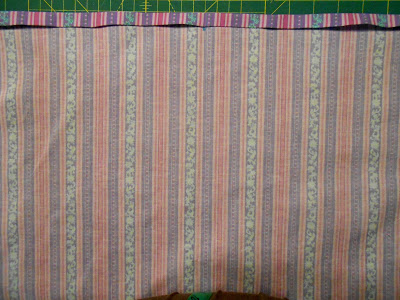
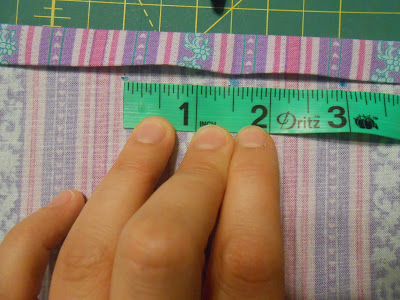


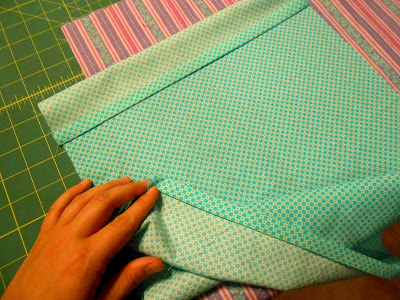
Open folds and lay flat right sides up.
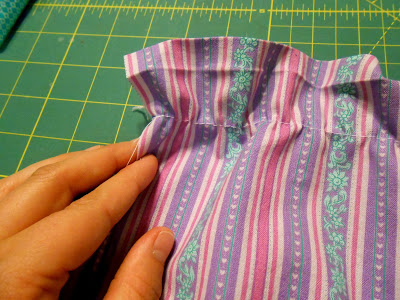
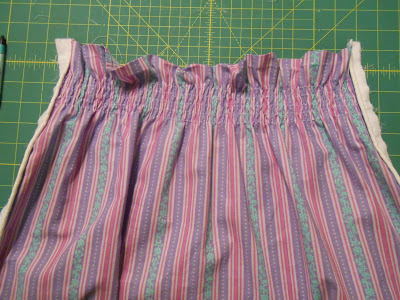
One both sides of your back panel, make a mark 1 3/4” from the top. Starting at this mark and 3/8” in, shirr from mark to mark (Not to be confused with mega hottie Mark E. Mark) 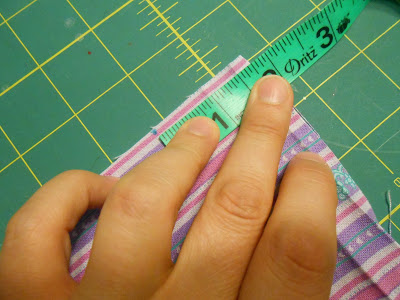

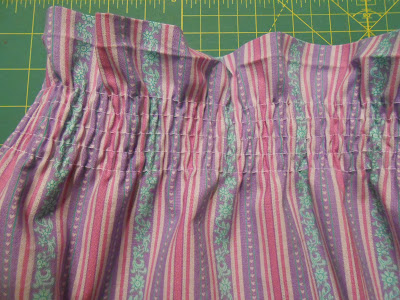
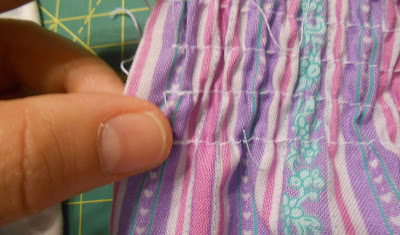
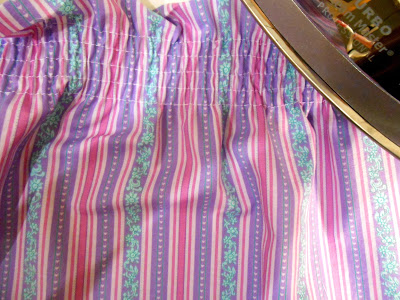
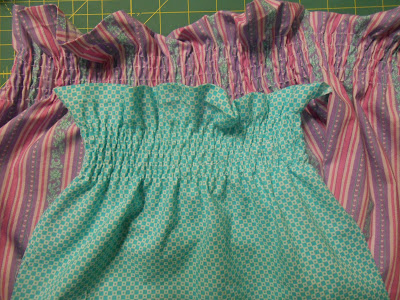
Continue shirring lines 3/8” apart until you’ve reached your desired shirring height.
OPTIONAL PIPING. It’s optional because sometimes we don’t want to pipe and that’s ok.
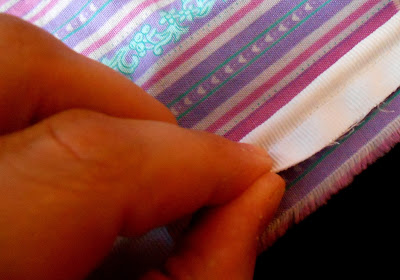
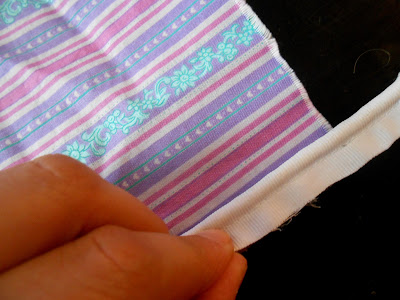
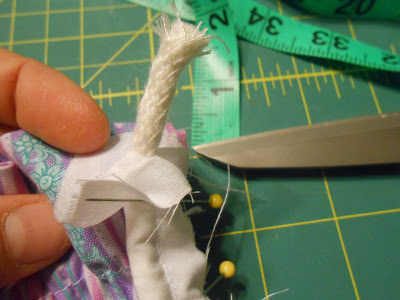
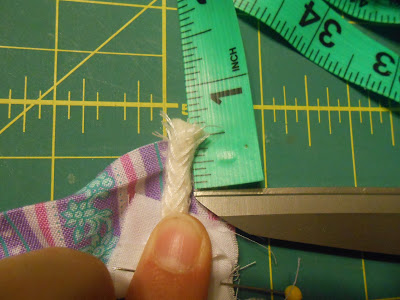
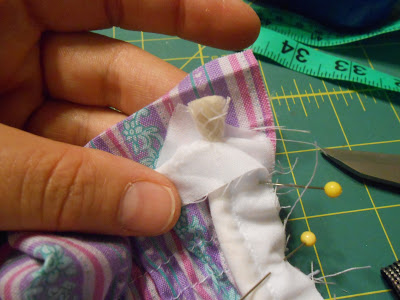
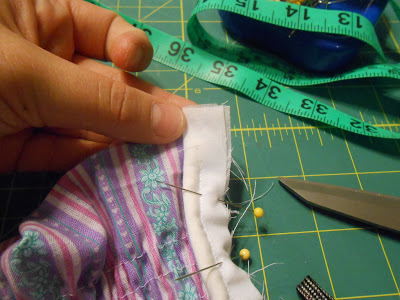
Open piping up about 3/4” from both ends and trim the inside cording ½”. I do this to reduce bulk
from the top and bottom seams.
NIGHTGOWN CONTINUED
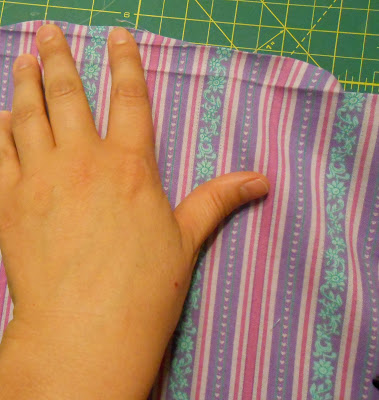
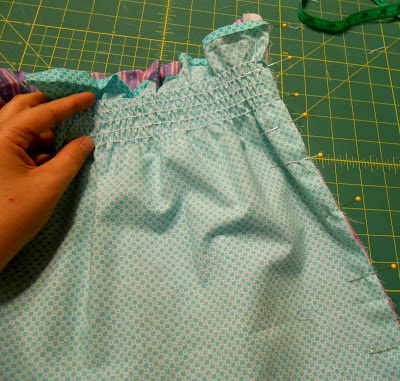
With right sides together line up raw edges of dress sides and front, pin. Sew panels together using a ½” SA. If you sew with the back panel side up, you can just follow the stitch line you just made while attaching the piping. Zig Zag or serge seams and press towards the back. 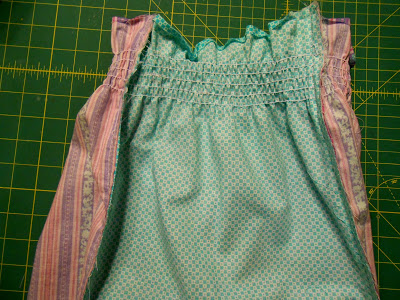
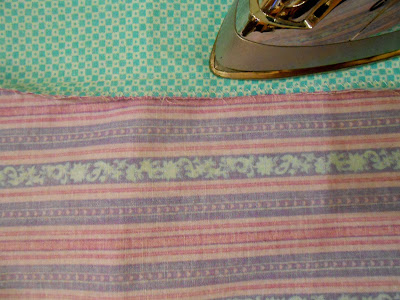


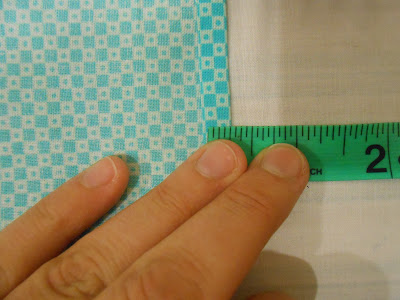
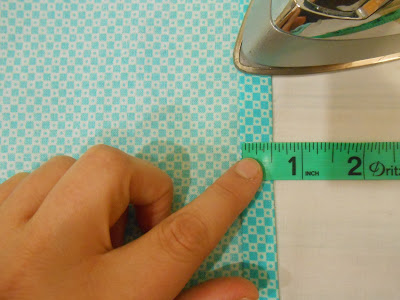
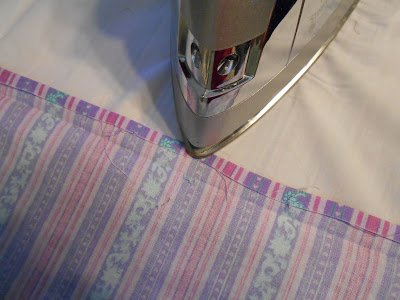
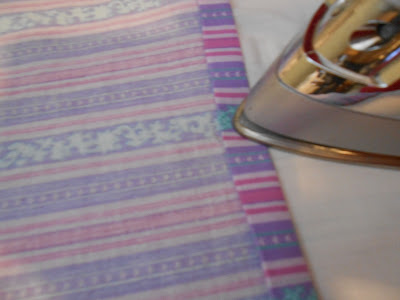
Re-fold the top 2 folds for your top hem and press. DO NOT stitch yet.
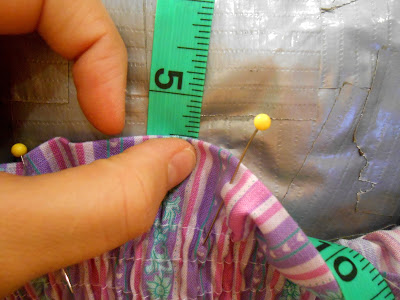
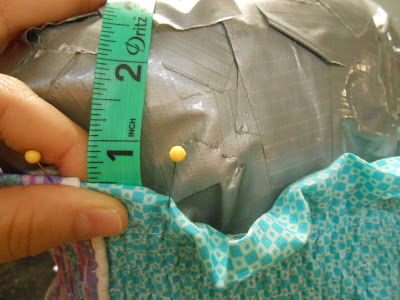
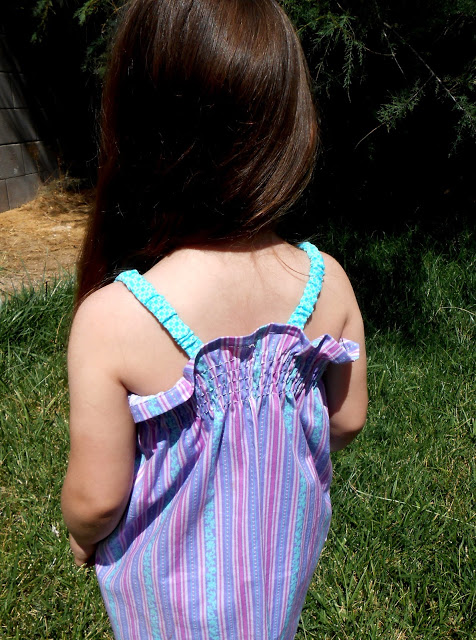
At this point, turn the gown right side out and put it on your child. You are now going to measure for the straps. Measure from the side seam just under the hem line ½”, to your mark on the back, also ½” in. DO NOT criss-cross your straps. I am using pins to hold down the hem line because I’m using my duct tape dummy. I don’t use pins on my wiggly kid, but if you use pins on your child, BE CAREFUL. VERY CAREFUL.
*This measurement will be your elastic measurement. CUT 2
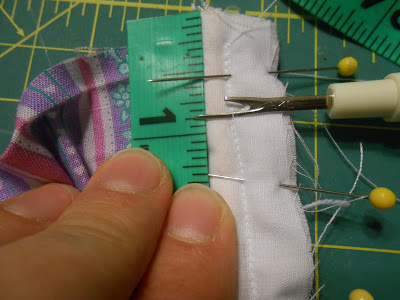
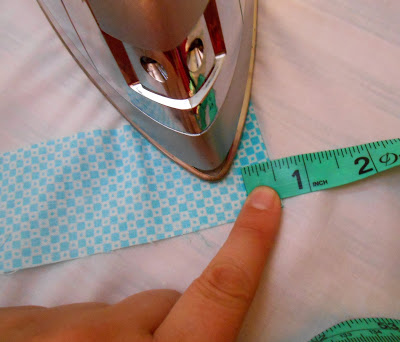
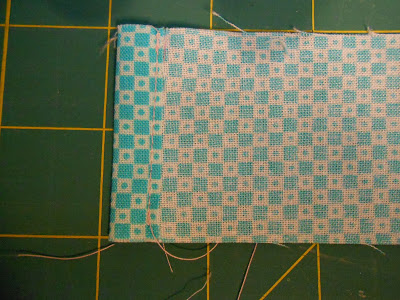
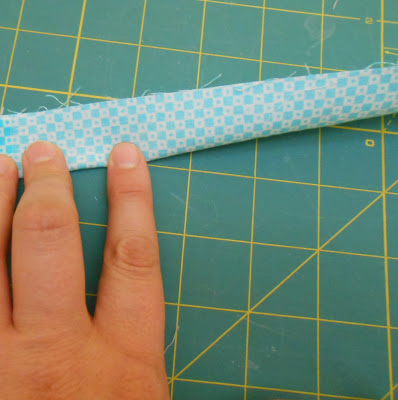
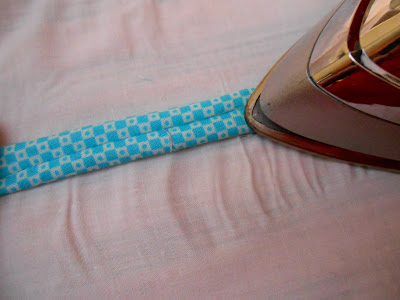
Now, we’re going to figure out the strap casing measurements: The width will be the same for all sizes…2.5” Take your elastic measurement and multiply it by 1.5. Now ADD 1”. For my straps I used the elastic measurement of 6.5”so it would work out like this: 6.5 x 1.5= 9.75 9.75 +1= 10.75” 4T STRAP PIECES (Cut 2): 10.75” x 2.5” YOURS WILL BE A DIFFERENT LENGTH BASED ON YOUR MEASUREMENTS With wrong sides up, fold and press each short end of the strapcasing ½”. Edgestitch into place.
Take your elastic and thread it through the strap using a safety pin on one end. Pull the elastic through to just inside of your strap. Pin down and sew elastic into place over the existing stiching. Now finish threading the elastic through to the other side. Stitch that into place as well. 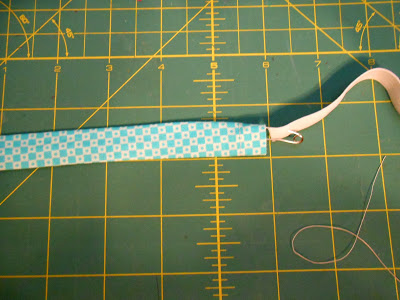
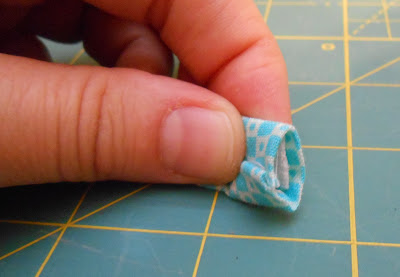
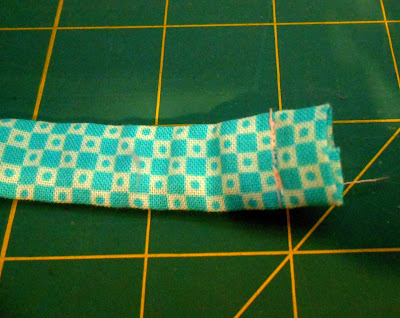
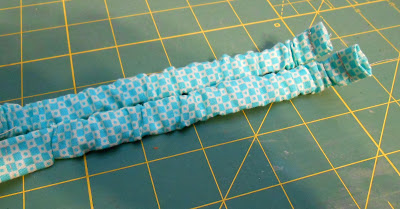


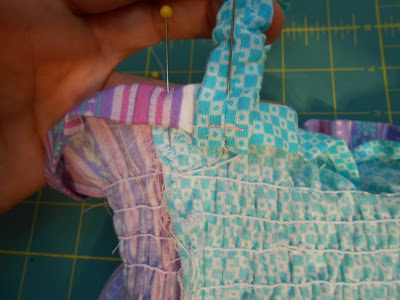
Turn your garment inside out. Take one strap with seam facing up. Pin one end on the front just inside of the piping on the front panel.
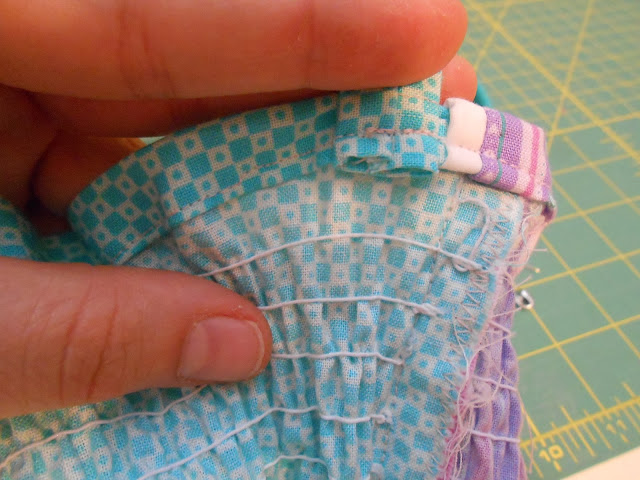
Now take the other end and attach it to the back by placing it just outside of the mark you made earlier. 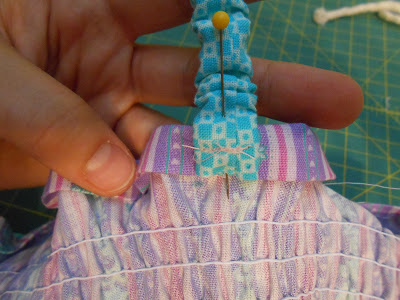

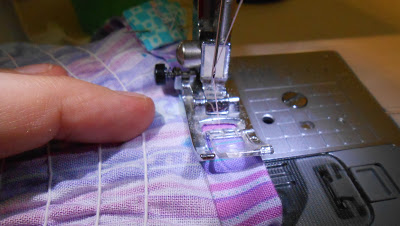
Attach the straps by edgestitching along the folds around the entire top, starting from the back middle point
That’s it! All done! Now your child can be lazy all day, too. Maybe you’ll get an award like me. Doubtful.
Hayley
Hayley Crouse is a wife, mother and multifaceted designer. Her love of sewing, crafting, cooking and interior design infuses her daily life and naturally spills over into her online presence. She pushes the envelope of her creativity and hopes that others will be inspired to do the same. She currently authors the Welcome to the Mouse House Blog, is the pattern designer behind Mouse House Creations and is a collaborative designer with Willow & Co. Patterns.
Latest posts by Hayley (see all)
- Music Room: Home Tour - January 11, 2019
- The Ace Cardigan - July 30, 2018
- Susie Halter Top and Shorts: Project Run and Play - July 18, 2018


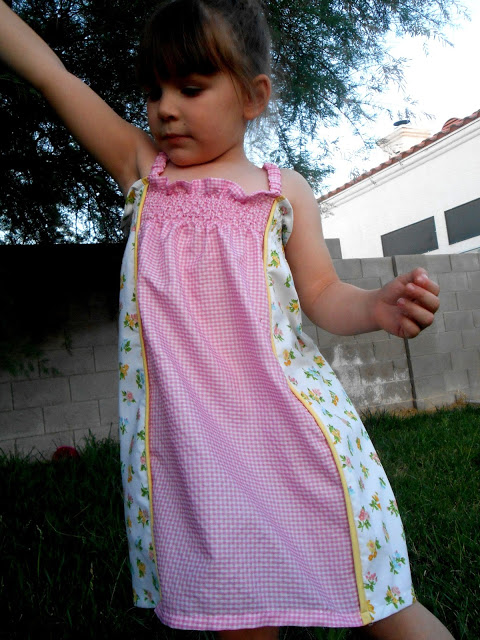

I totally do that but with real PJs since ODD won’t be naked. LOL. I just leave her in her pjs all day until bed.. when I put her in a new pair. Glad to hear its not just a me thing.