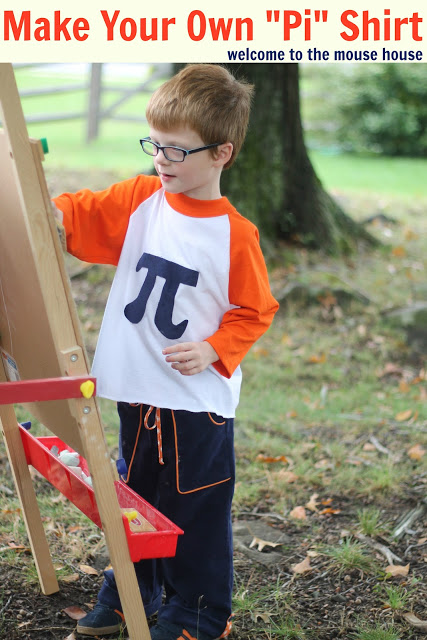
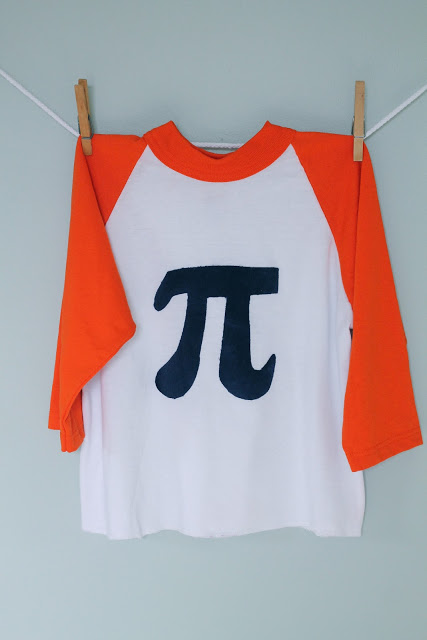
I realized I never posted the tutorial on here for making your own “Pi” symbol shirt from last season of Project Run and Play.
So, here you go…
Make your own pi shirt and embrace your inner nerd .
So, here you go…
Make your own pi shirt and embrace your inner nerd .
First and foremost, I used a basic pattern that I drafted long ago for the actual shirt. There are lots of free tutorials online for raglan-style shirts, so if you have a favorite that you prefer to use, would you mind leaving a comment about it? It is a VERY easy style of shirt to sew, even great for beginners to figure out.
Begin by sewing up your shirt (OR you could always buy a blank tshirt or onesie instead!).
Now, it is time to applique the pi symbol onto your shirt
(easy peasy!)
I have created a downloadable and printable pi symbol for you to use HERE. Go ahead and print it out. The best part is that you can scale the pi symbol to whatever size you might need. So, print it “full size” if you are putting it on a large shirt (like I did) or scale it down if you want to put it onto a baby bib or onesie.
Gather your supplies:
*your pi symbol pattern found HERE
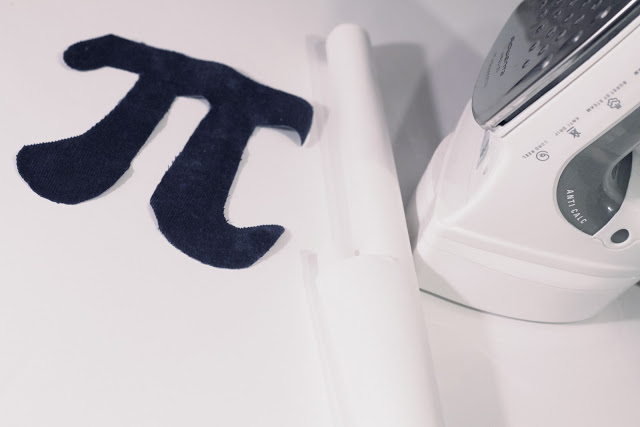
*Heat and Bond iron-on fabric adhesive
*iron
*fabric for the pi symbol
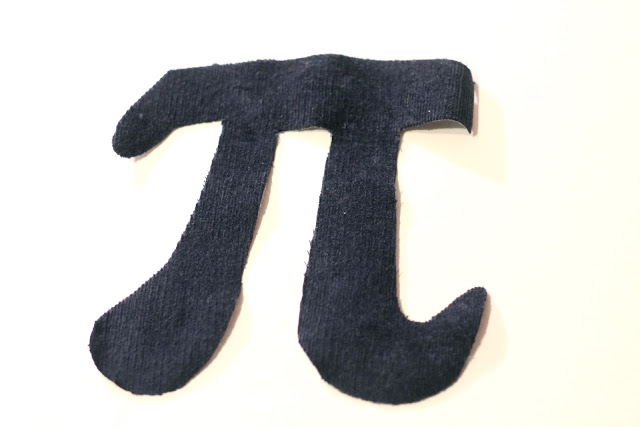
1. Using the pattern you printed out, cut out the pi symbol from your fabric of choice (it is best to choose a fabric that isn’t too busy since the pi symbol has lots of curves and corners already)
2. Now, iron your Heat and Bond to the wrong side of your design.
Peel off paper backing.
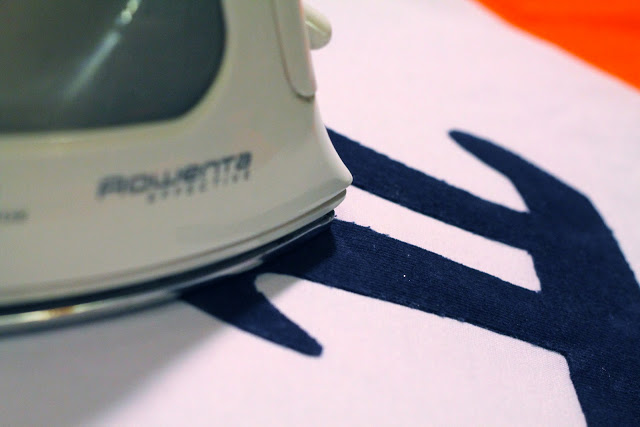
3. Iron the pi symbol onto your shirt where you think it looks best (make sure to center it before ironing it!)
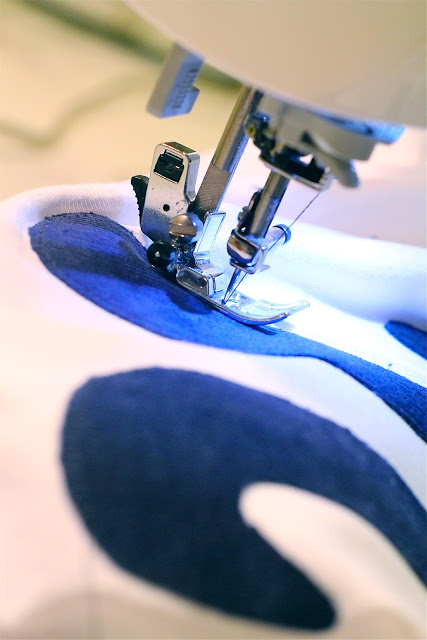
4. Heat and Bond claims to be “no sew”, but trust me, you need to sew it on if you want it to last. There are many types of stitches you can use for this (zig zag stitch, blanket stitch, etc) but I chose to use just a basic straight stitch for this.
Simply stitch around the entire perimeter of your design. This will make sure your applique stays, even after multiple washes.
And that is it! So easy, right?
I really wanted to provide a tutorial that was helpful to everyone, not just advanced sewers and I hope that I accomplished that.
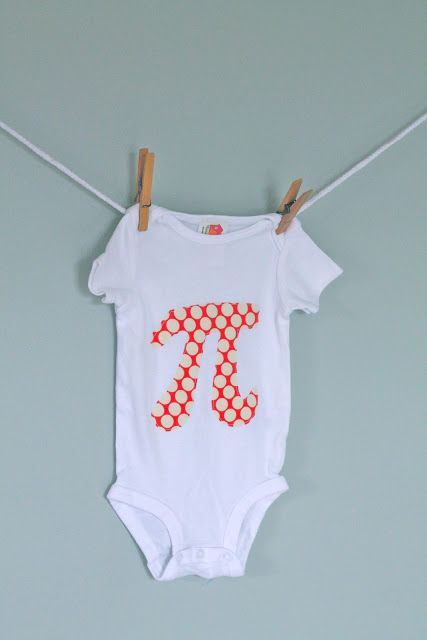
Don’t forget you can add these appliques to onesies for adorable and unexpected baby gifts:
This project got my wheels turning:
square roots, sine, cosine, infinity symbol, sum….
I am such a geek.
Perhaps you should keep an eye out on my etsy shop because I may be adding some geekwear very soon 🙂
Hayley
Hayley Crouse is a wife, mother and multifaceted designer. Her love of sewing, crafting, cooking and interior design infuses her daily life and naturally spills over into her online presence. She pushes the envelope of her creativity and hopes that others will be inspired to do the same. She currently authors the Welcome to the Mouse House Blog, is the pattern designer behind Mouse House Creations and is a collaborative designer with Willow & Co. Patterns.
Latest posts by Hayley (see all)
- Music Room: Home Tour - January 11, 2019
- The Ace Cardigan - July 30, 2018
- Susie Halter Top and Shorts: Project Run and Play - July 18, 2018




I have something a good deal more geeky than pi that I’d like to put on a T shirt. A golden rectangle with spiral, surrounded by the formulas that go into it. I can get it into .pdf format and print it out, no problem, but all those skinny lines won’t work well with applique. Do I need to embroider it, or is there some way to either print it directly to the T shirt or to make an iron on color transfer?
I am not really sure how to do that…. sorry!