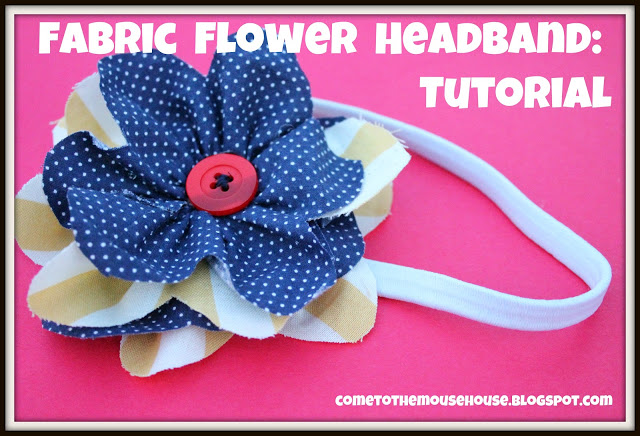
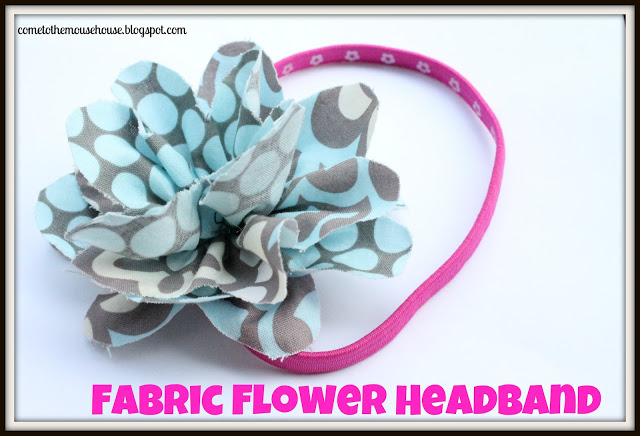
I have had several requests to repost the Fabric Flower tutorial here to make it easier for you to find, so here it is!
(Also find it HERE on Project Run and Play)
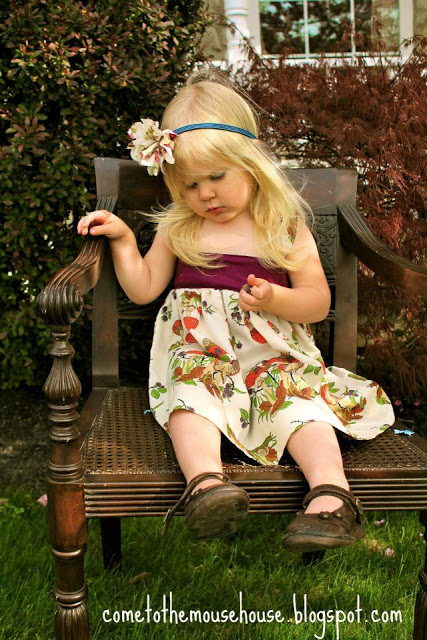
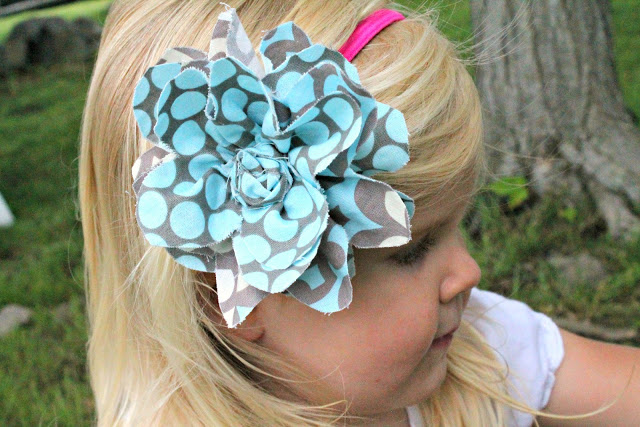
A few months ago, I made a dress for the sew-along portion of Project Run and Play and I also created a fabric headband to match. People seemed to like the dress, but more people were interested in how I made the headband!
I realized that my guest post here is the perfect opportunity to finally create the tutorial, so I hope you enjoy!
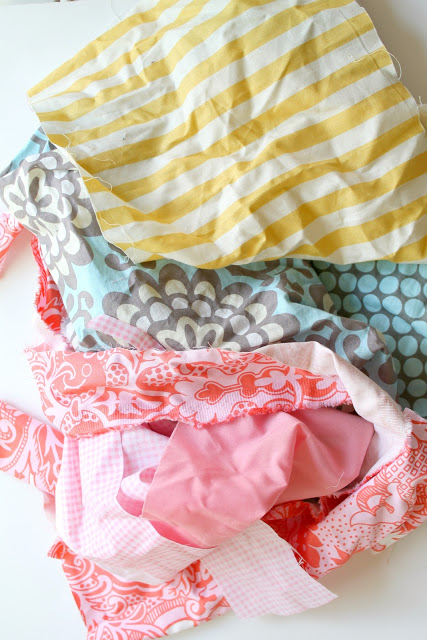
I am always looking for ways to use up the baskets and baskets (and baskets!) of scrap fabrics I have and this headband is a perfect way to destash.
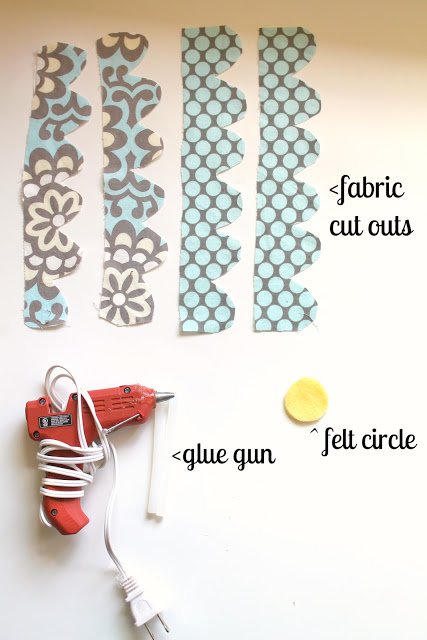
Go ahead print out the pattern found HERE
Cut out the fabric and the felt circle.
Grab your trusty glue gun and your sewing machine
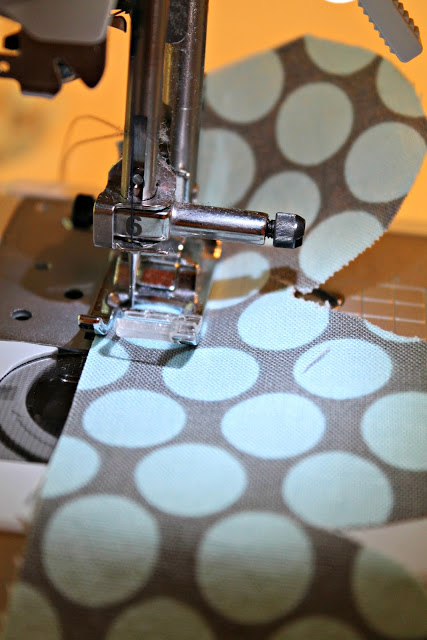
You are going to use your sewing machine to gather each strip of fabric on the straight side.
Here is a tip on how to easily gather fabric:
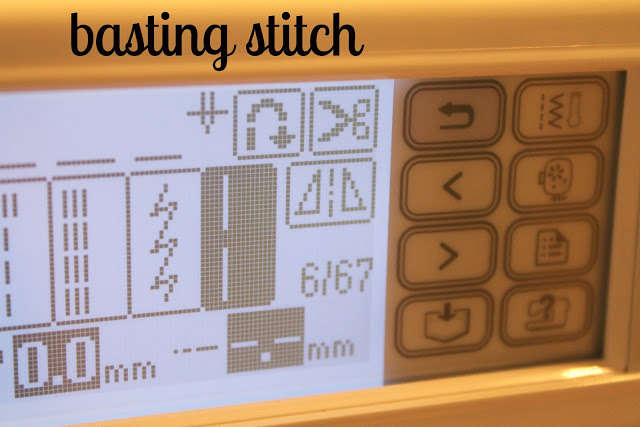
Set your machine to a “basting stitch” or a long stitch
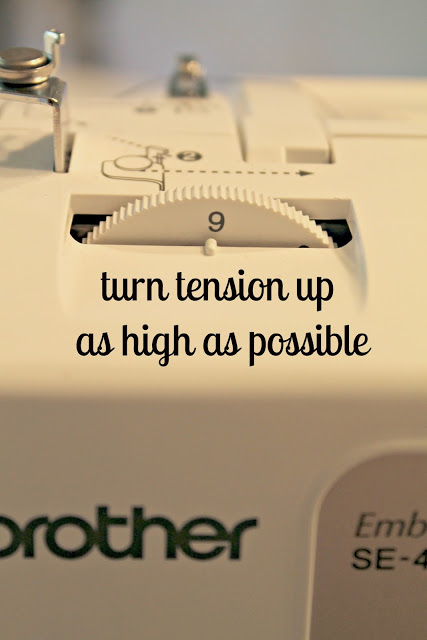
Then, crank up the tension, as high as it will go
Then run a straight stitch down the side of the fabric
(don’t back stitch or lock stitch at all)
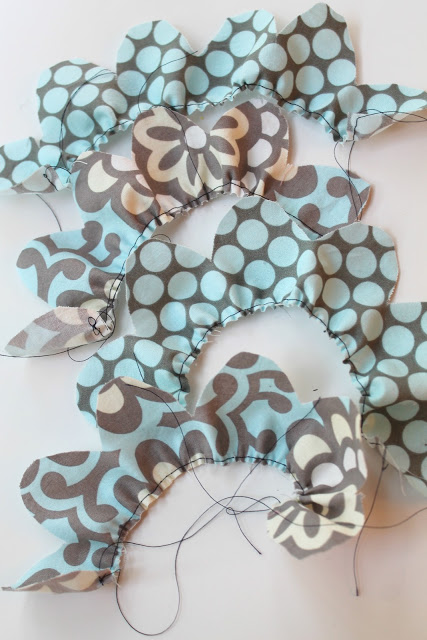
That simple technique automatically gathers your fabric!
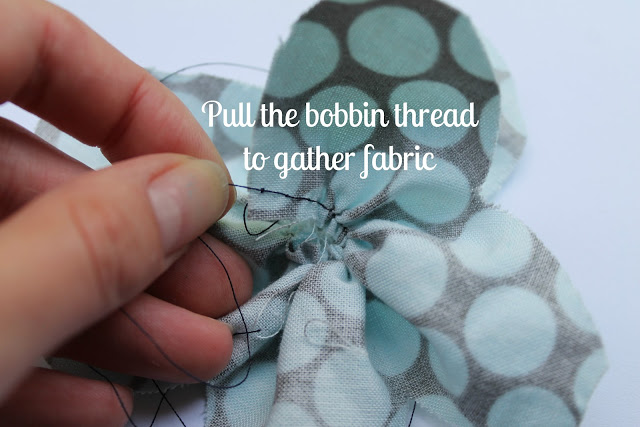
To adjust the gathers, simply pull the bobbin threads until you have the desired amount of gathering
Do that to all four strips of fabric.
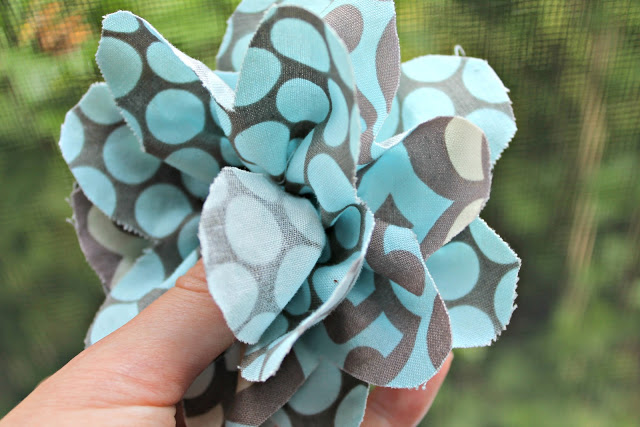
You now have 4 fabric “flowers”.
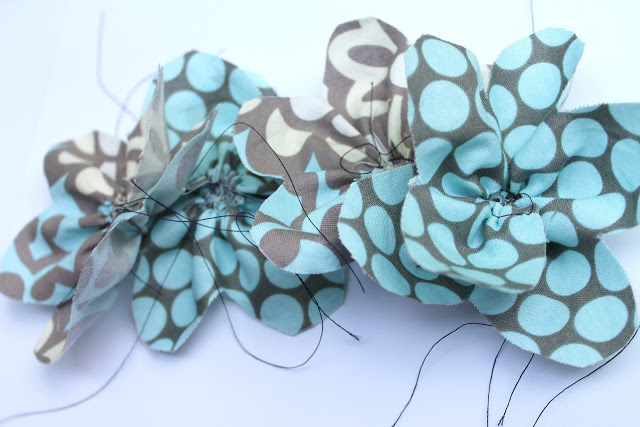
Cut the long threads off.
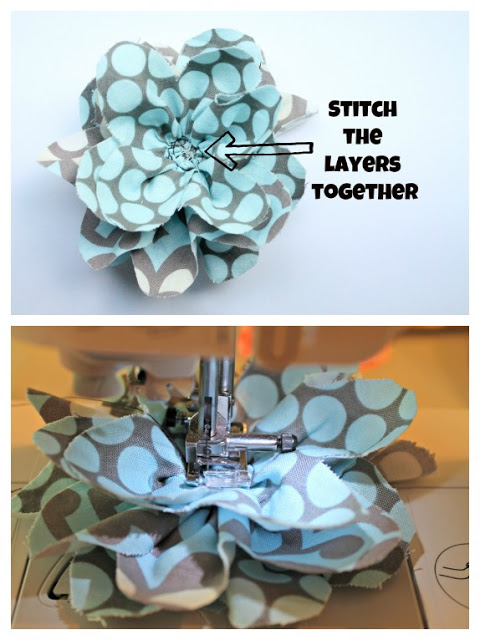
Stack your four fabric flowers
Stitch the four layers together using a basic straight stitch
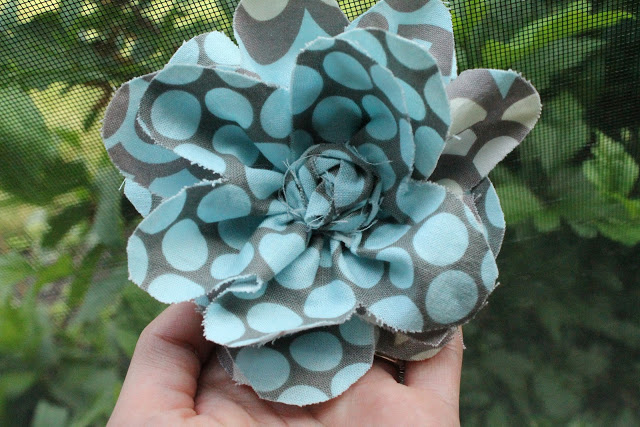
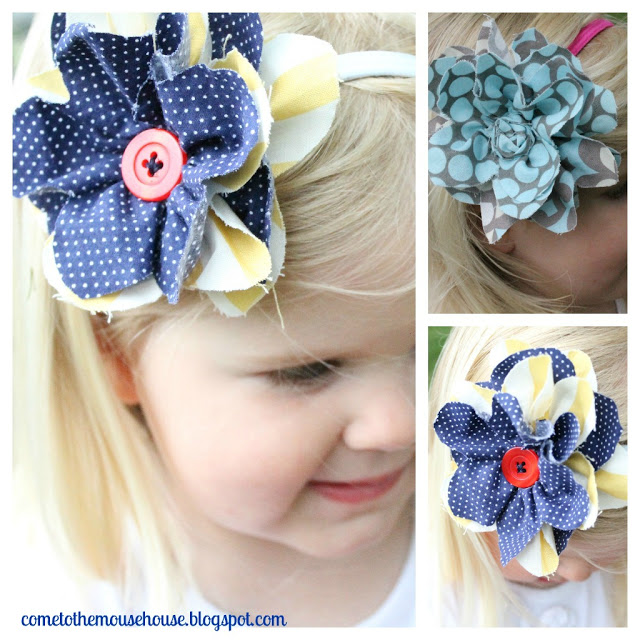
At this point, you can add a button or a fabric rosette to the middle using your hot glue gun or sewing machine
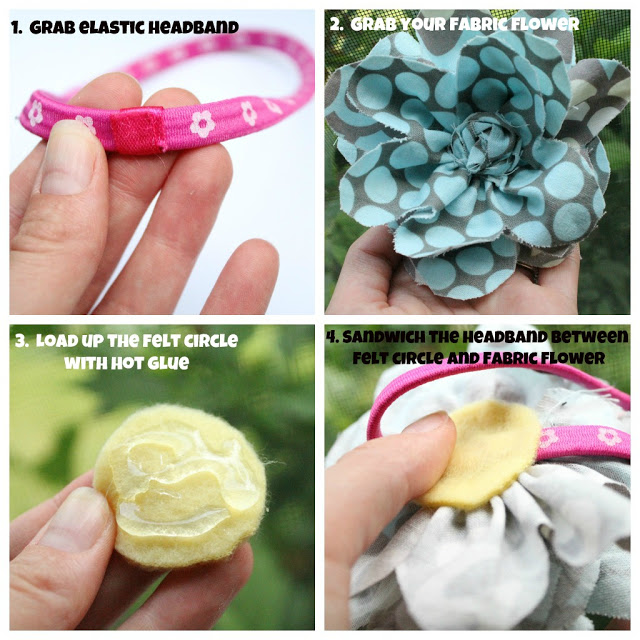
Time to assemble!
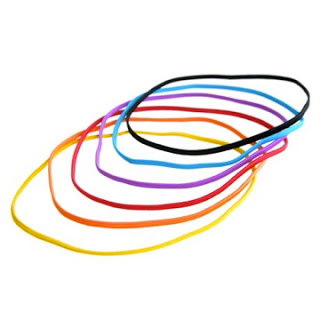
Don’t forget to buy some elastic headbands from the store
And go!
DONE-ZO!
Once you get the hang of it, you can probably whip out 100 of these babies in under an hour. That might be a tad ridiculous to do, but it is possible.
I actually have another style of flower headband that I make and there will be ANOTHER tutorial on my blog next week, so be sure to check it out!
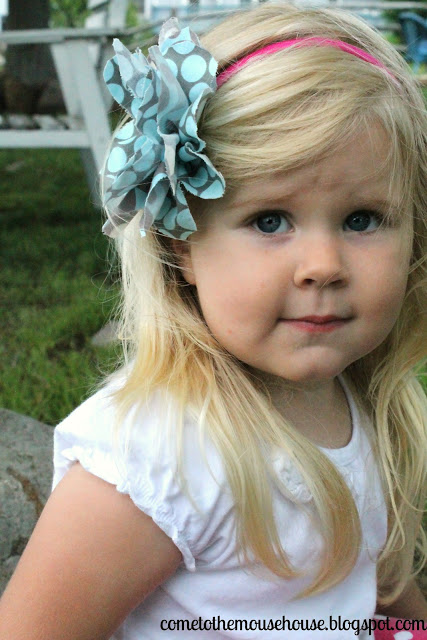
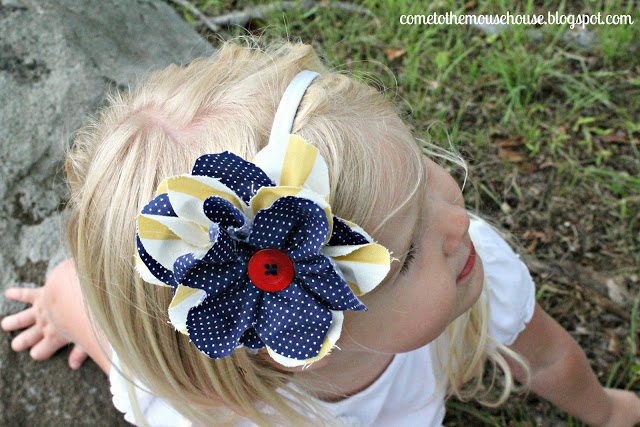
Now, please scroll down to see some photos of my adorable child.
I have no shame.
I am okay with that.
Just please agree with me that her cheeks are amazing.
Hayley
Hayley Crouse is a wife, mother and multifaceted designer. Her love of sewing, crafting, cooking and interior design infuses her daily life and naturally spills over into her online presence. She pushes the envelope of her creativity and hopes that others will be inspired to do the same. She currently authors the Welcome to the Mouse House Blog, is the pattern designer behind Mouse House Creations and is a collaborative designer with Willow & Co. Patterns.
Latest posts by Hayley (see all)
- Music Room: Home Tour - January 11, 2019
- The Ace Cardigan - July 30, 2018
- Susie Halter Top and Shorts: Project Run and Play - July 18, 2018




Yes. The cheeks are completely and totally amazing! 🙂
Thank You for the tutorial! OMG, those cheeks are so adorable. Oh my, I could just squeeze them! 🙂
Lovely!
Even with my pathetically meager sewing skills I think I might be able to do this! 🙂
The cheeks are to die for. Totally.
I’m impressed that she keeps the headbands in (mine won’t). And those cheeks are simply wonderfully kissable and pinchable. I hope that I can figure out my sewing machine so that I can make these:-)
She is adorable
Awesome and omg she’s adorable!
Cutest girl with the cutest cheeks