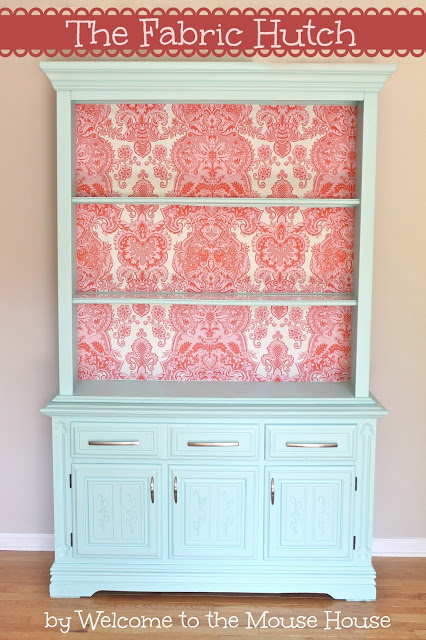
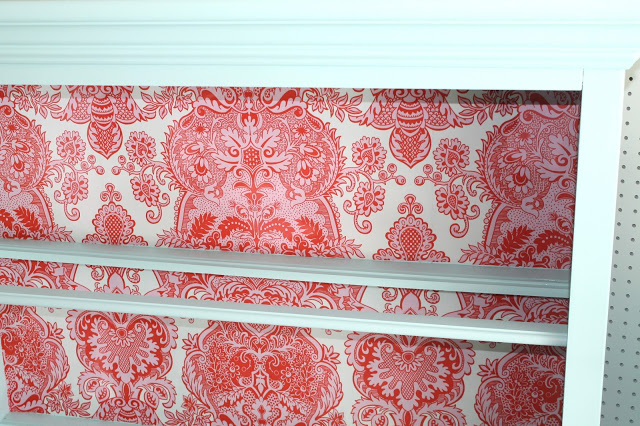
Today, I am going to show you guys how to create removable fabric wallpaper. I have been doing this for years, but most recently on The Fabric Hutch from Week #1 of So You Think You’re Crafty.
There are so many beautiful fabrics out there and this is one of the easiest ways to transform a piece of furniture. And guess what? You could even use this technique to add fabric appliques to a wall! The best part is that the fabric can be removed when you are ready for a change….wash it and it is ready for a new project!
So, let’s get started.
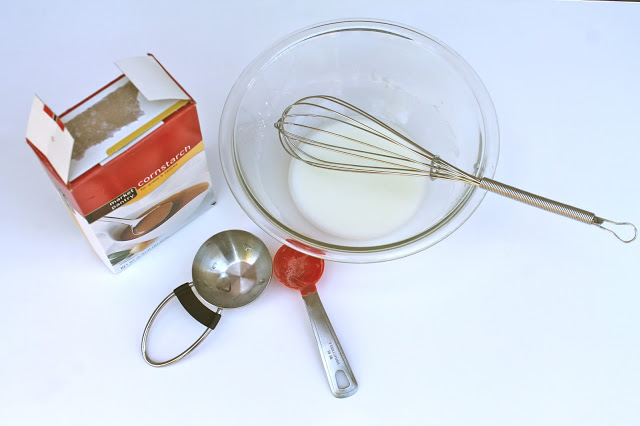
Supplies:
* 1/8 cup cornstarch
*1/4 cup tap water
*2 cups of boiling water
*whisk
*paint brush
To make the paste:
Mix up 1/8 cup cornstarch with 1/4 cup of tap water into a large bowl. Bring 2 cups of water to a boil and slowly add the boiling water to your cornstarch mix. Mix well. Let it sit until cool.
Add more cornstarch as necessary (you want it to be thick, but still runny and easy to brush on.)
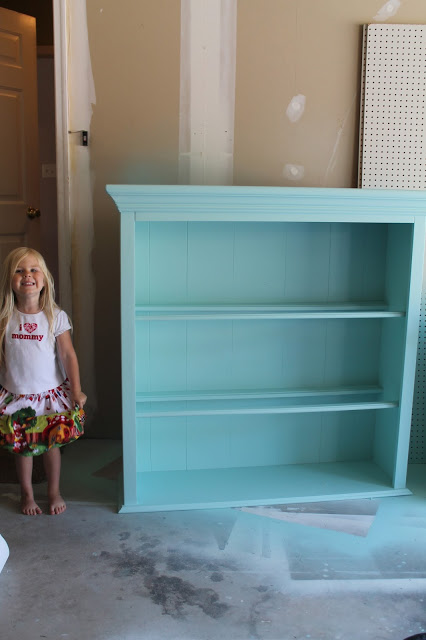
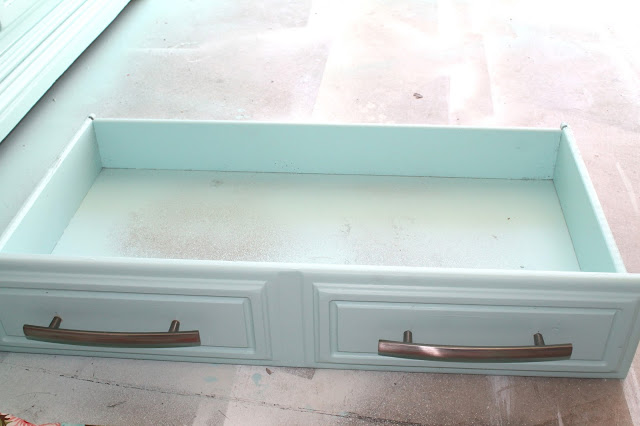
Here are my furniture items after being painted.
Doesn’t my garage floor look fabulous?
While your paste is cooling, you can cut and measure your fabric. Measure carefully because you don’t want any fabric to go to waste.
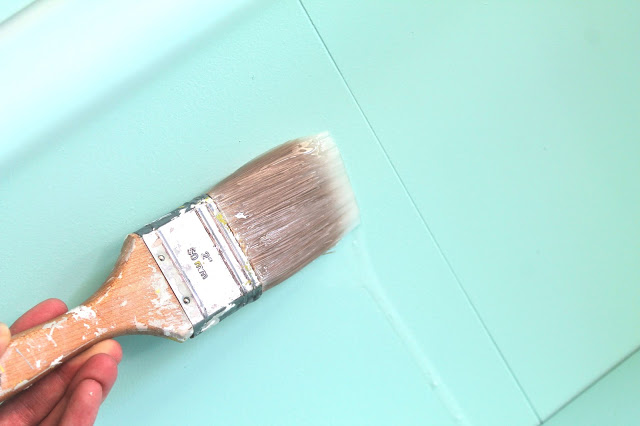
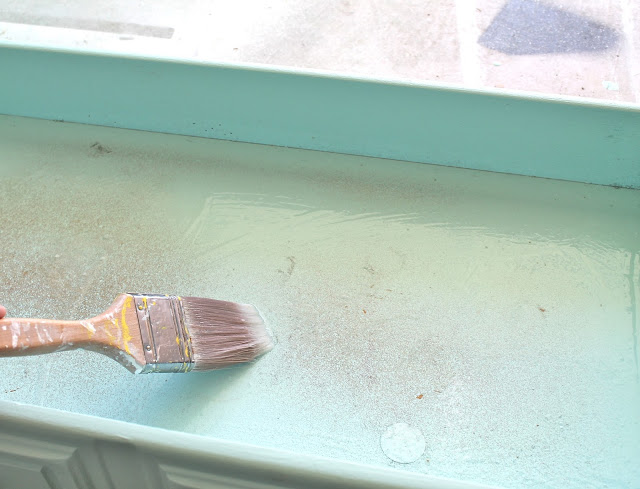
Once your cornstarch paste has cooled, (you don’t want to burn your fingers!) dip your paint brush into it and start “painting” it onto the surface. It will be drippy and be messy. Don’t worry… you can wipe the excess up later. Apply liberally and get your area covered in paste.
Once you have covered the area with the paste, you can grab your precut fabric. Line up the corners and edges and stick it up. It will adhere to the paste you applied. Adjust the fabric until it is straight and lined up as best as you can get it.
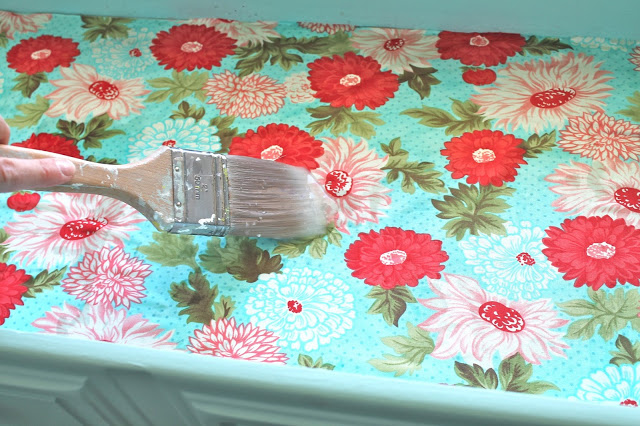
Now, you “paint” the paste over top of your fabric. You want it to get pretty wet, so get that paint brush dipping and painting. Do this over the entire fabric surface. This is what adheres it, so make sure every spot has been pasted.
At this point, you still have wiggle room and you can pull and tug at your fabric to get it placed just right.
Wipe up any drips or excess paste with a wet paper towel.
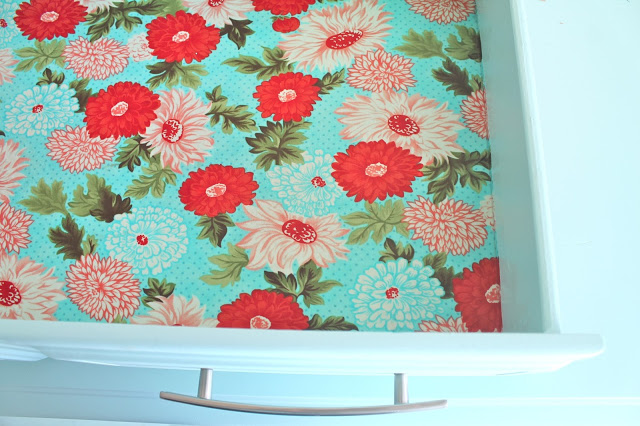
Here is the process again with a drawer
Let the fabric dry for a few hours. Once dry, it stays put, I promise! And then when you are ready for a change, you literally just peel it away. It leaves no damage to your surface and your fabric just gets washed and it is ready for a new project!
(if you are doing it on a wall, I suggest that you only do it on primed surfaces to avoid water damage)
Hope you guys love this project and I would love to see this (and any other project created from one of my tutorials) over at my Flickr Page or on my Facebook Page!
Hayley
Hayley Crouse is a wife, mother and multifaceted designer. Her love of sewing, crafting, cooking and interior design infuses her daily life and naturally spills over into her online presence. She pushes the envelope of her creativity and hopes that others will be inspired to do the same. She currently authors the Welcome to the Mouse House Blog, is the pattern designer behind Mouse House Creations and is a collaborative designer with Willow & Co. Patterns.
Latest posts by Hayley (see all)
- Music Room: Home Tour - January 11, 2019
- The Ace Cardigan - July 30, 2018
- Susie Halter Top and Shorts: Project Run and Play - July 18, 2018






I love this idea! Once I find *that* hutch, I am going to try this. Thanks for the inspiration.
Ashley @ 3littlegreenwoods
Do you have an alternate adhesive to cornstarch? (I ask because silverfish thrive on cornstarch.) Thanks!
I use modpodge to adhere my fabric to furniture. You can’t peel it off, but it stays put. I also spray with acrylic sealer. No silverfish!
would you know if this also work for adhering fabric to walls?
What a great idea! I am prepping my refurbished desk drawers right now as part my sewing room creation project.
Thanks for this.